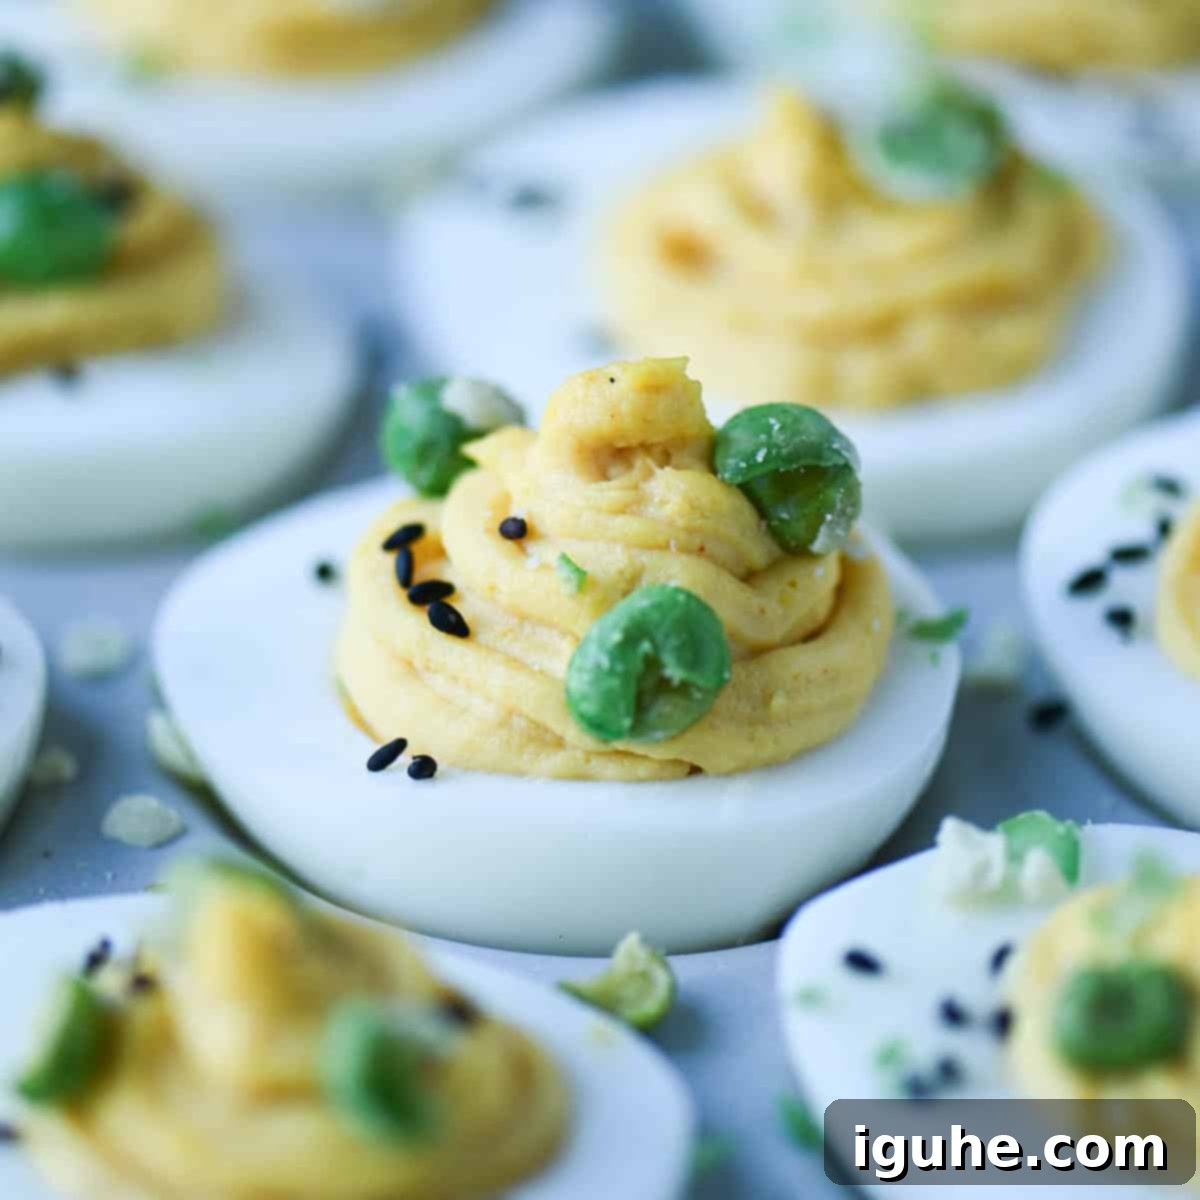
Irresistible Miso Deviled Eggs: A Japanese-Inspired Twist on a Classic Appetizer
Prepare to elevate your appetizer game with these phenomenal Miso Deviled Eggs! Taking a beloved retro classic and infusing it with vibrant Japanese flavors, this recipe delivers an unexpected and utterly delicious experience. We’re talking about a rich, creamy yolk filling supercharged with the savory depth of white miso paste, the umami kick of soy sauce, and a delightful spicy crunch from crushed wasabi peas. Forget bland deviled eggs; these are a perfect crowd-pleasing appetizer, a sophisticated brunch addition, or even a satisfying light lunch that will leave everyone raving.
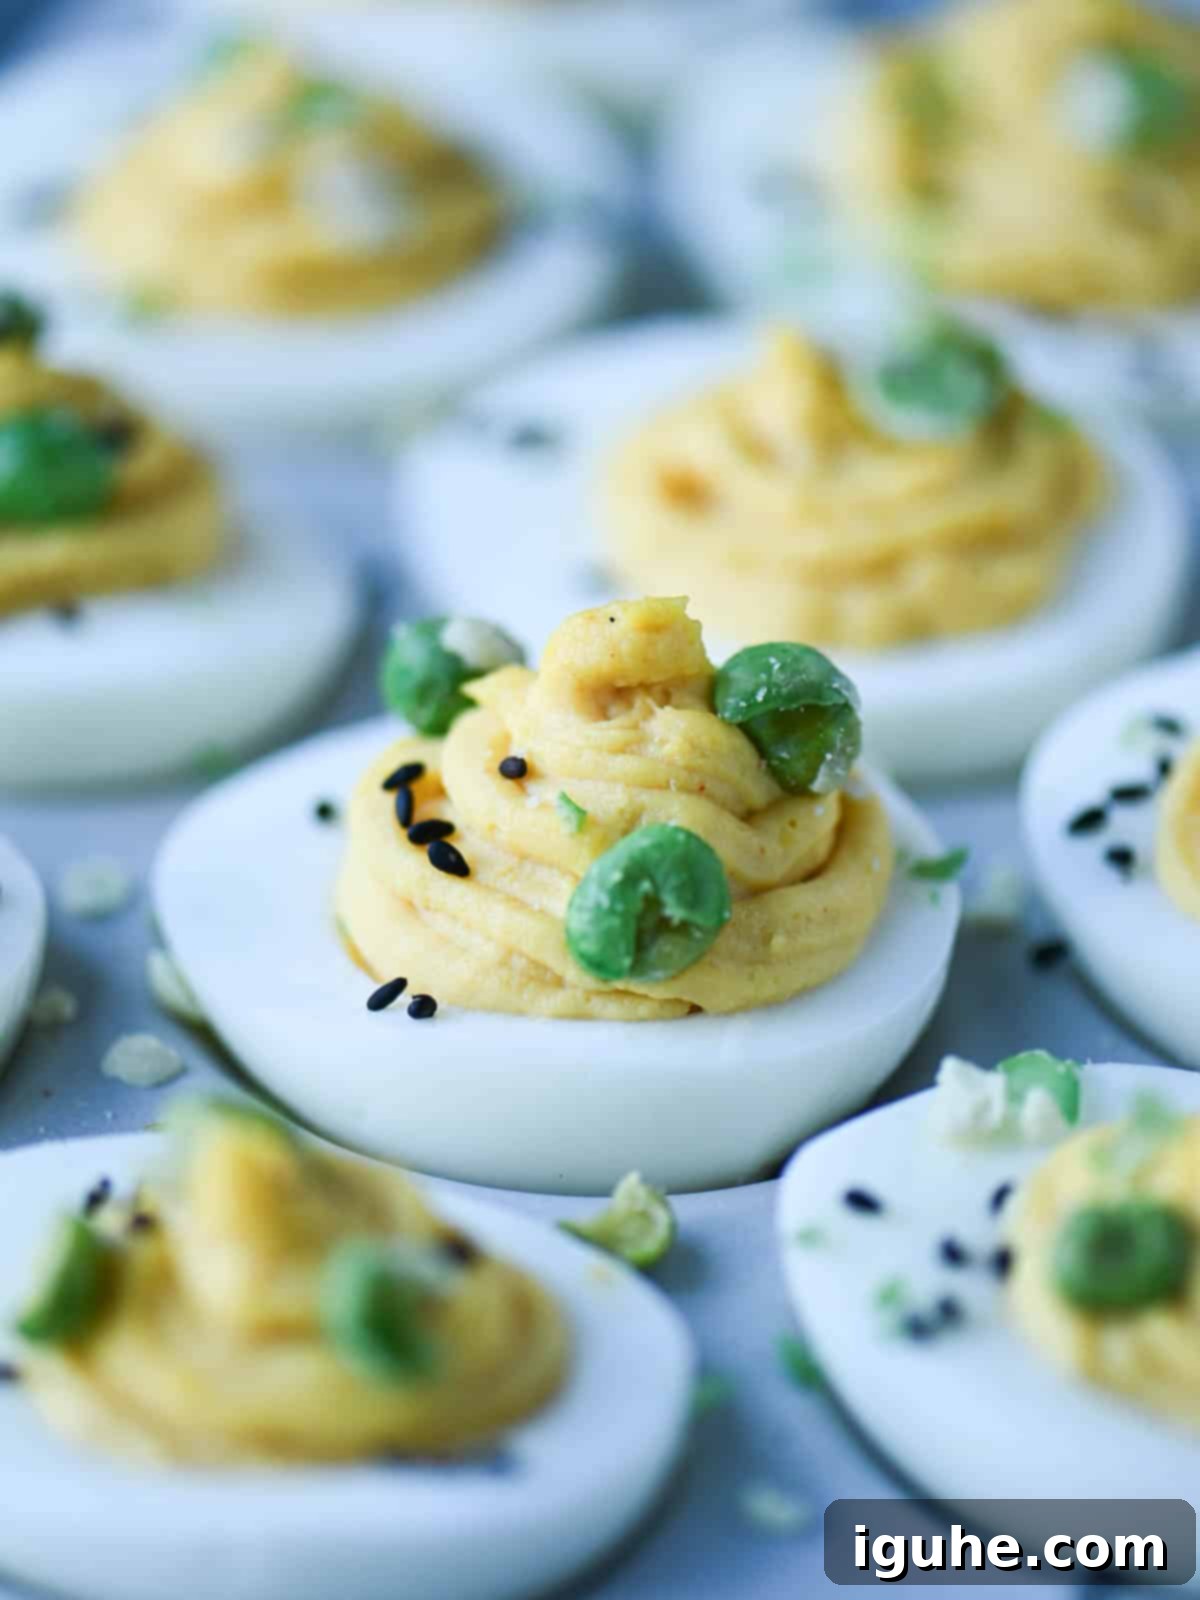
Much like the incredible flavor of sesame oil eggs, these miso-deviled eggs boast a depth of flavor that is truly remarkable. The delicate yet distinct umami of white miso paste works wonders, balancing the inherent richness of the egg yolks and adding a complex savory note. A touch of wasabi brings a subtle, delightful heat that complements the overall profile without overpowering it. This unique combination transforms a simple snack into a gourmet delight.
Whether you’re hosting a lively gathering, preparing a special brunch, or simply looking for an exciting new way to enjoy hard-boiled eggs, these Miso Deviled Eggs are guaranteed to be a conversation starter. Get ready to impress your family and friends with this innovative twist!
[feast_advanced_jump_to]
Ingredient Notes for Exceptional Flavor
Understanding each ingredient is key to achieving the perfect balance of flavors in these Japanese-inspired deviled eggs. Here’s a detailed look at what you’ll need and why it matters.
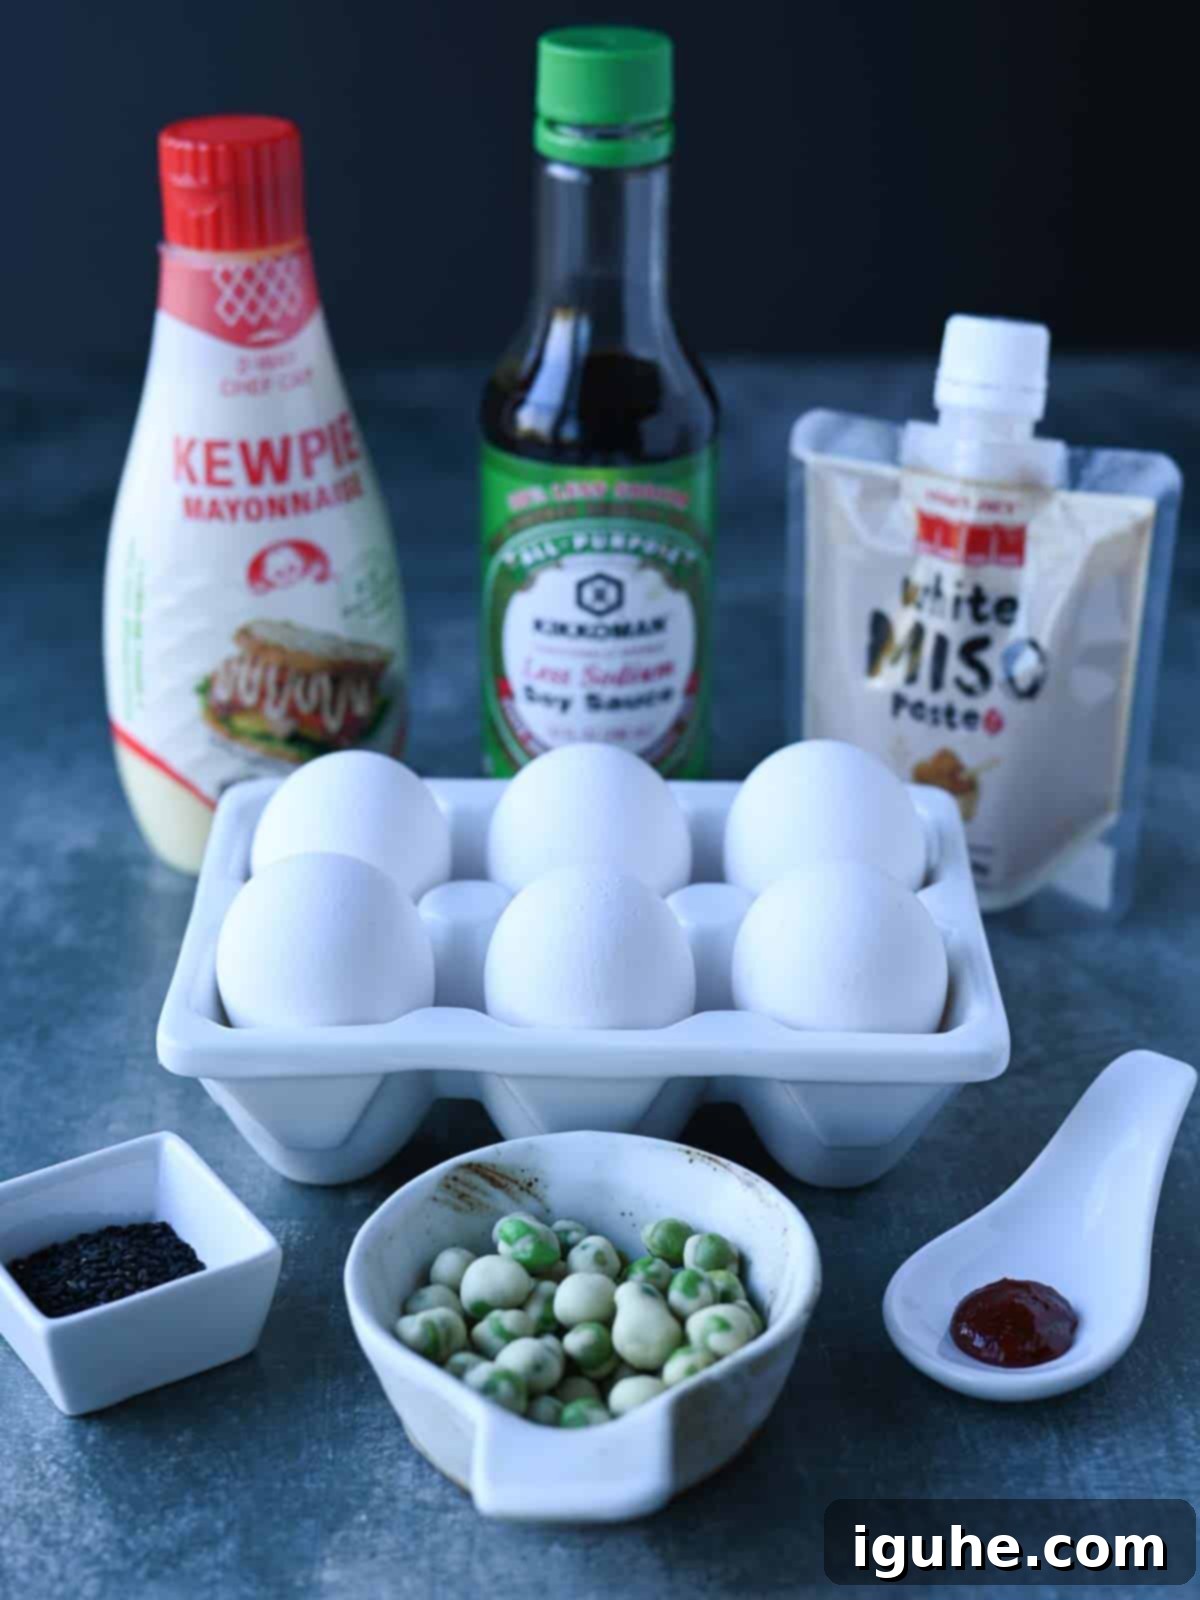
- Eggs: The foundation of any deviled egg recipe! For the easiest peeling experience, opt for older eggs, ideally those that have been in your fridge for about a week, rather than a freshly bought carton. Older eggs tend to have a larger air pocket and a weaker membrane, making them significantly easier to peel once hard-boiled.
- Mayonnaise: While regular mayonnaise works perfectly fine, if you want to lean into the Japanese theme and achieve an extra layer of creaminess and tang, seek out Kewpie Mayo. This Japanese mayonnaise is famously made with only egg yolks, giving it a richer, more umami-forward flavor and a silkier texture compared to Western counterparts which often include whole eggs.
- White Miso Paste: Also known as Shiro miso, this is a cornerstone of Japanese cuisine. Made from fermented soybeans and rice, white miso is prized for its mild, slightly sweet, and salty flavor profile with unmistakable umami notes. It’s lighter in both color and taste than red or yellow miso, which makes it the ideal choice for these deviled eggs. Its delicate flavor enhances the eggs without overwhelming them. You can typically find white miso in the Asian section of larger grocery stores, specialty food markets, or easily online. Many stores, including Trader Joe’s, often carry it.
- Soy Sauce: A fundamental ingredient in Asian cooking, soy sauce contributes a salty depth and a rich umami dimension that beautifully complements the miso. It helps to round out the overall savory profile of the egg filling, creating a more cohesive and deeply flavored bite. For a gluten-free option, tamari works as an excellent substitute.
- Gochujang: This vibrant red chili paste is a savory, sweet, and moderately spicy fermented condiment originating from Korean cuisine. While it adds a fantastic layer of complex heat and flavor to these deviled eggs, it’s an optional addition. If you don’t have gochujang on hand, don’t feel obligated to buy it just for this recipe. You can easily substitute it with your favorite hot sauce like Sriracha, Tabasco, or Sambal Oelek to achieve a similar spicy kick.
- Salt and Pepper: Essential for seasoning, these are added to taste. Remember that miso and soy sauce already contribute significant saltiness, so adjust accordingly. Freshly ground black pepper adds a subtle aromatic warmth.
- Sesame Seeds: Used as a topping, toasted sesame seeds (both black and white varieties are suitable) provide a delicate nutty flavor and a pleasing visual contrast, making the finished deviled eggs even more appealing.
- Wasabi Peas: These dried, crunchy peas coated with a potent wasabi seasoning are the secret weapon for texture and a burst of sharp, clearing heat. Crushing them lightly before sprinkling ensures an even distribution of flavor and a satisfying textural contrast to the creamy filling. You can find them in the snack aisle of most grocery stores or purchase them online.
Please refer to the complete recipe card below for exact quantities.
Crafting Your Miso Deviled Eggs: A Step-by-Step Guide
Follow these simple instructions to create perfect, flavorful miso deviled eggs every time. We’ll walk you through the process, from boiling the eggs to the final presentation.
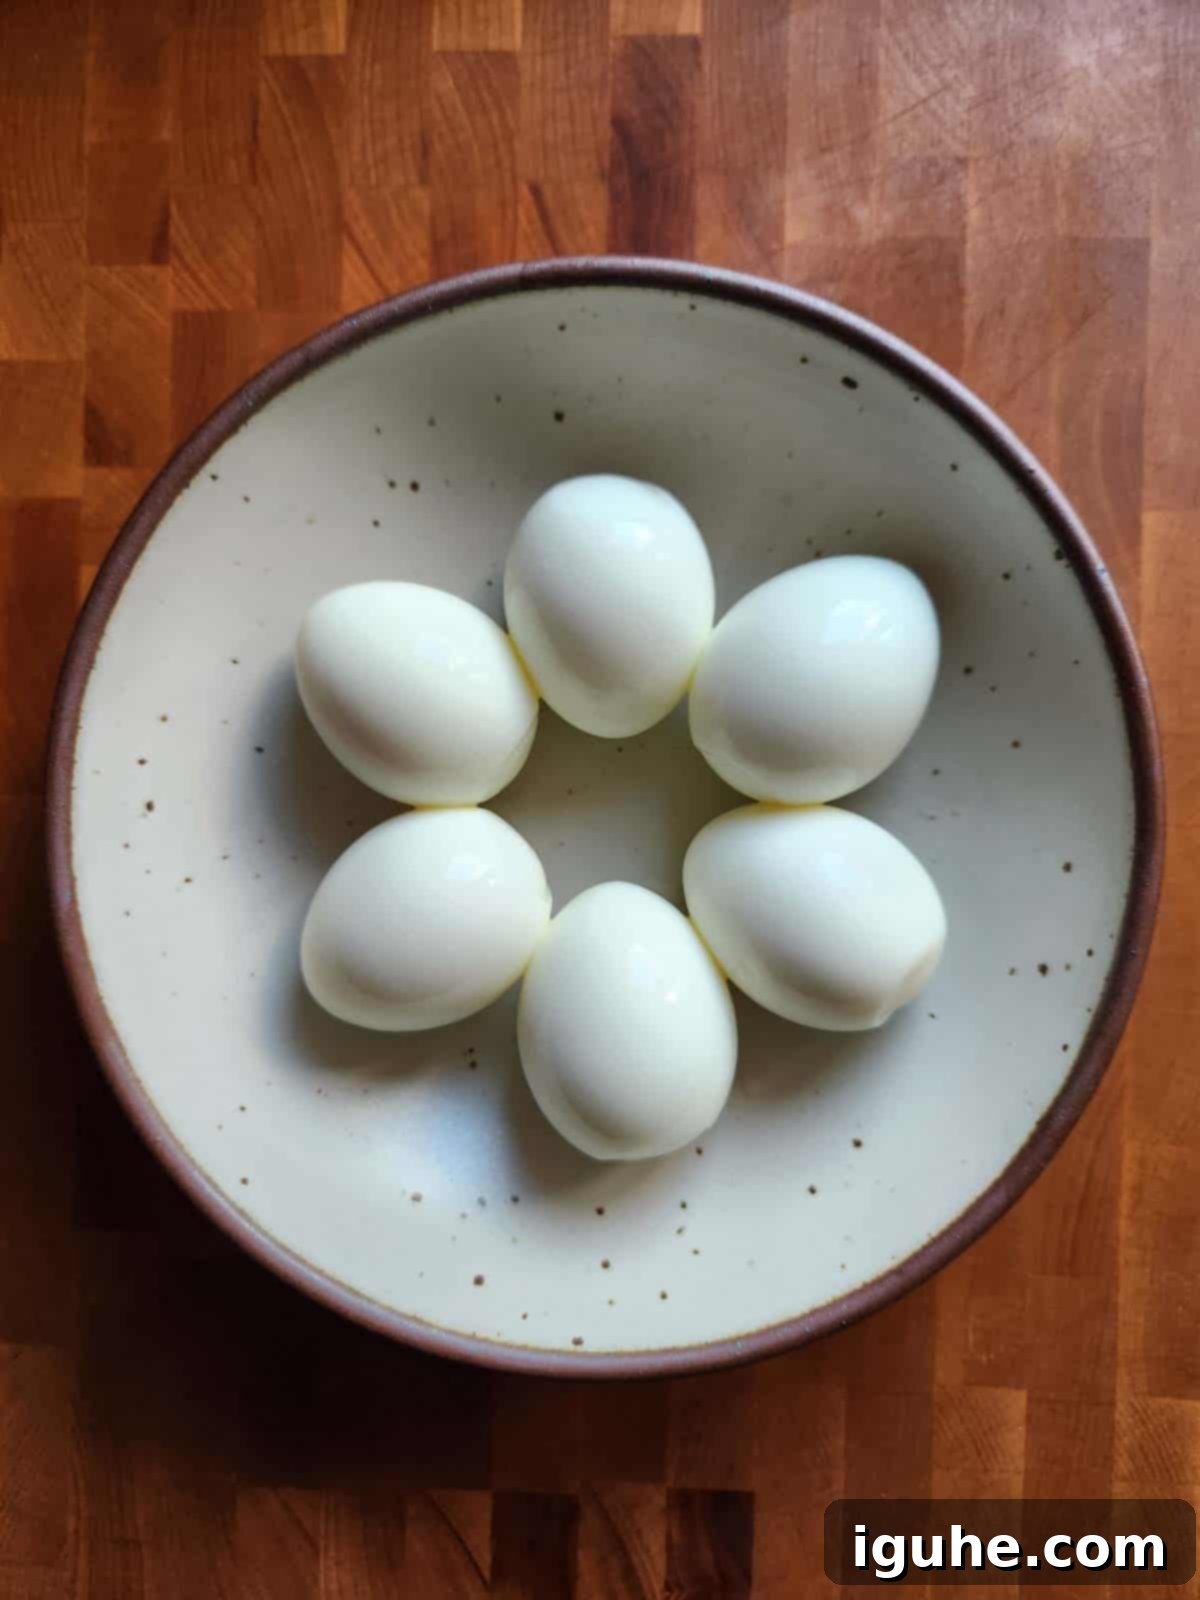
Step 1: Peel Your Hard-Boiled Eggs. Once your eggs are perfectly hard-boiled and cooled, gently peel away the shells. Refer to our “Pro Tips for Peeling Eggs” section below for techniques to make this process easier and ensure smooth, intact whites.
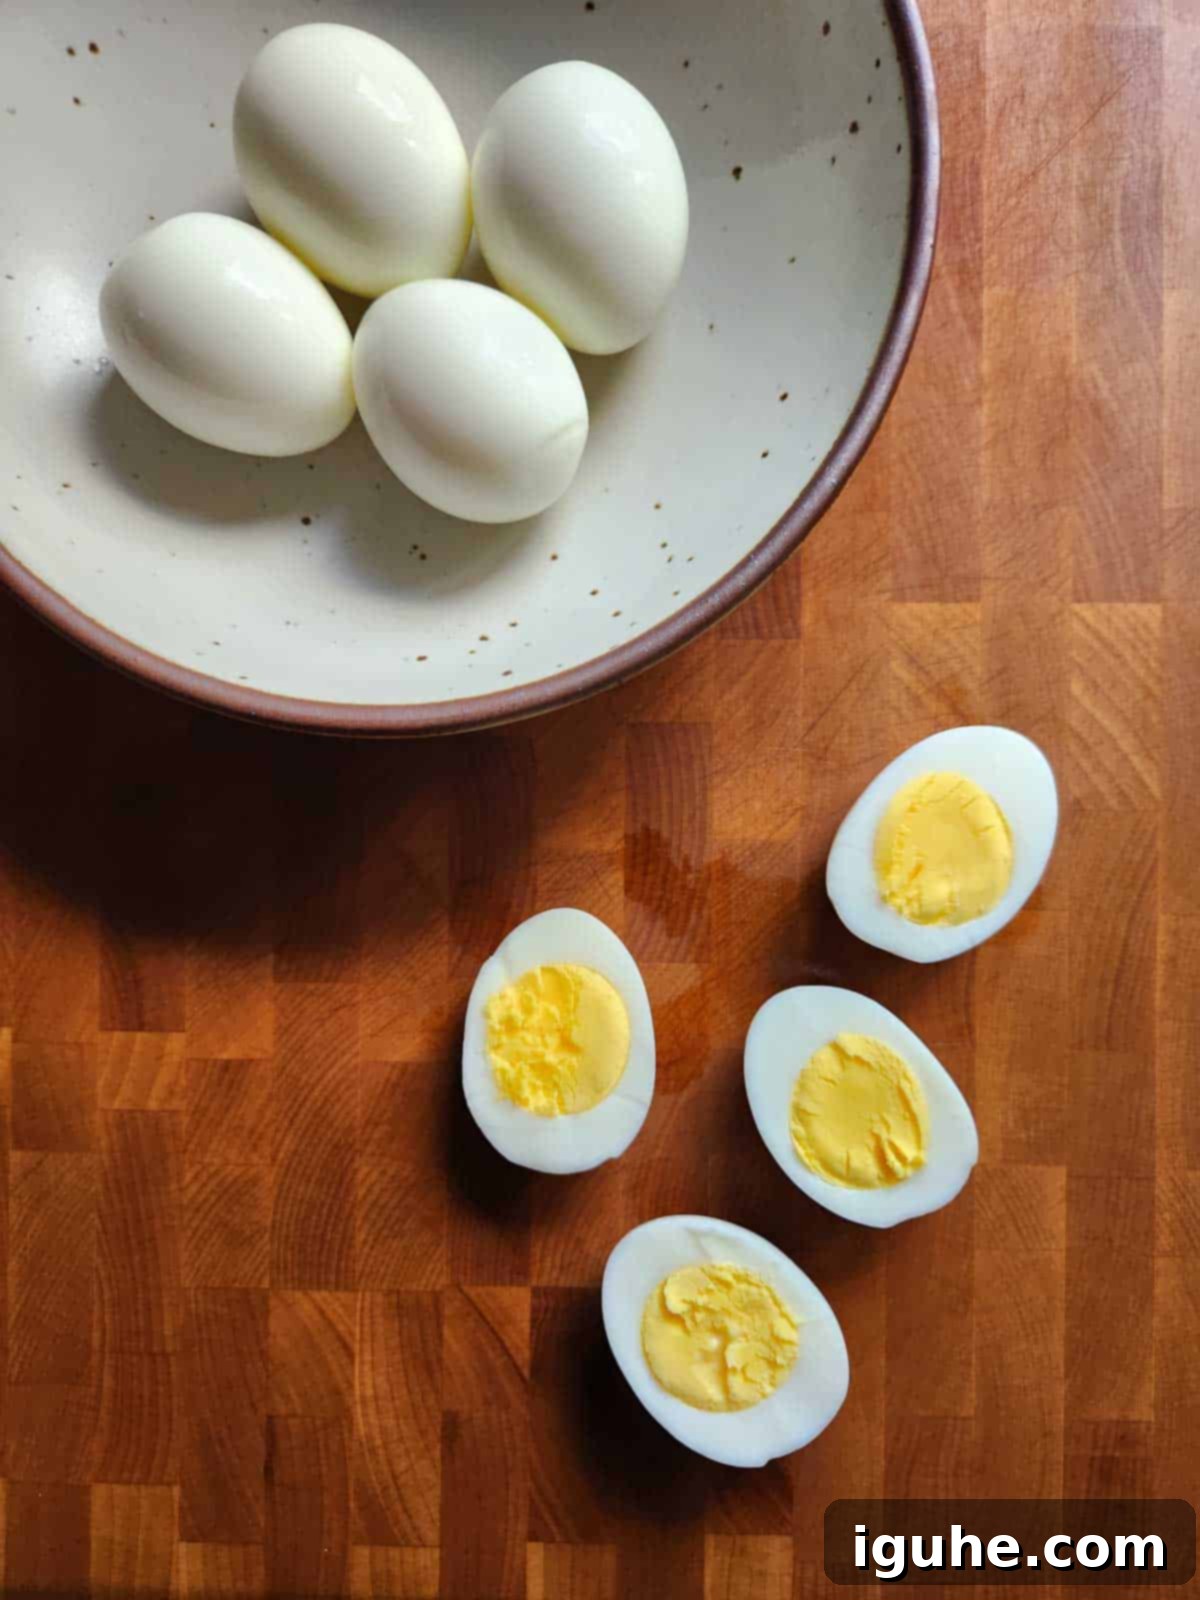
Step 2: Slice the Eggs. Carefully slice each peeled hard-boiled egg in half lengthwise. This creates the traditional shape for deviled eggs and makes it easy to scoop out the yolks.
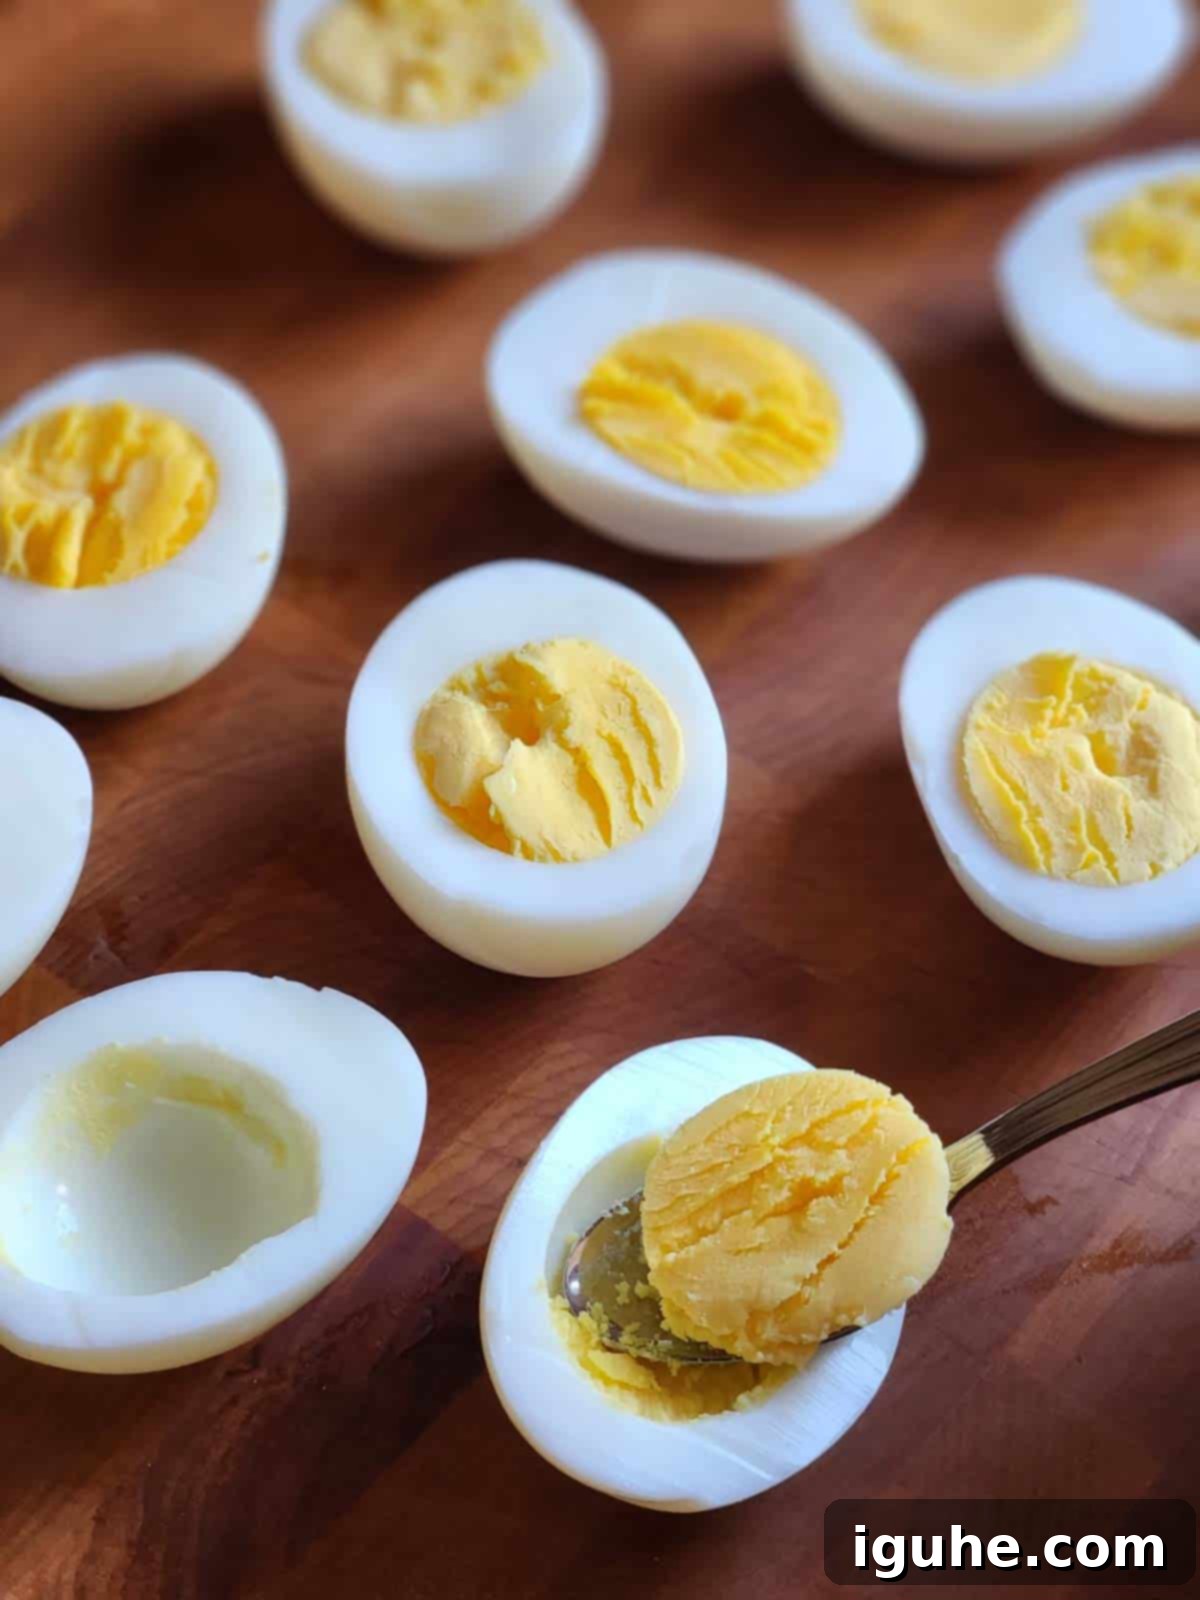
Step 3: Remove the Yolks. Using a small spoon, carefully scoop out the cooked egg yolks from each white half. Place all the yolks into a clean mixing bowl, ensuring the egg whites remain intact and ready for filling.
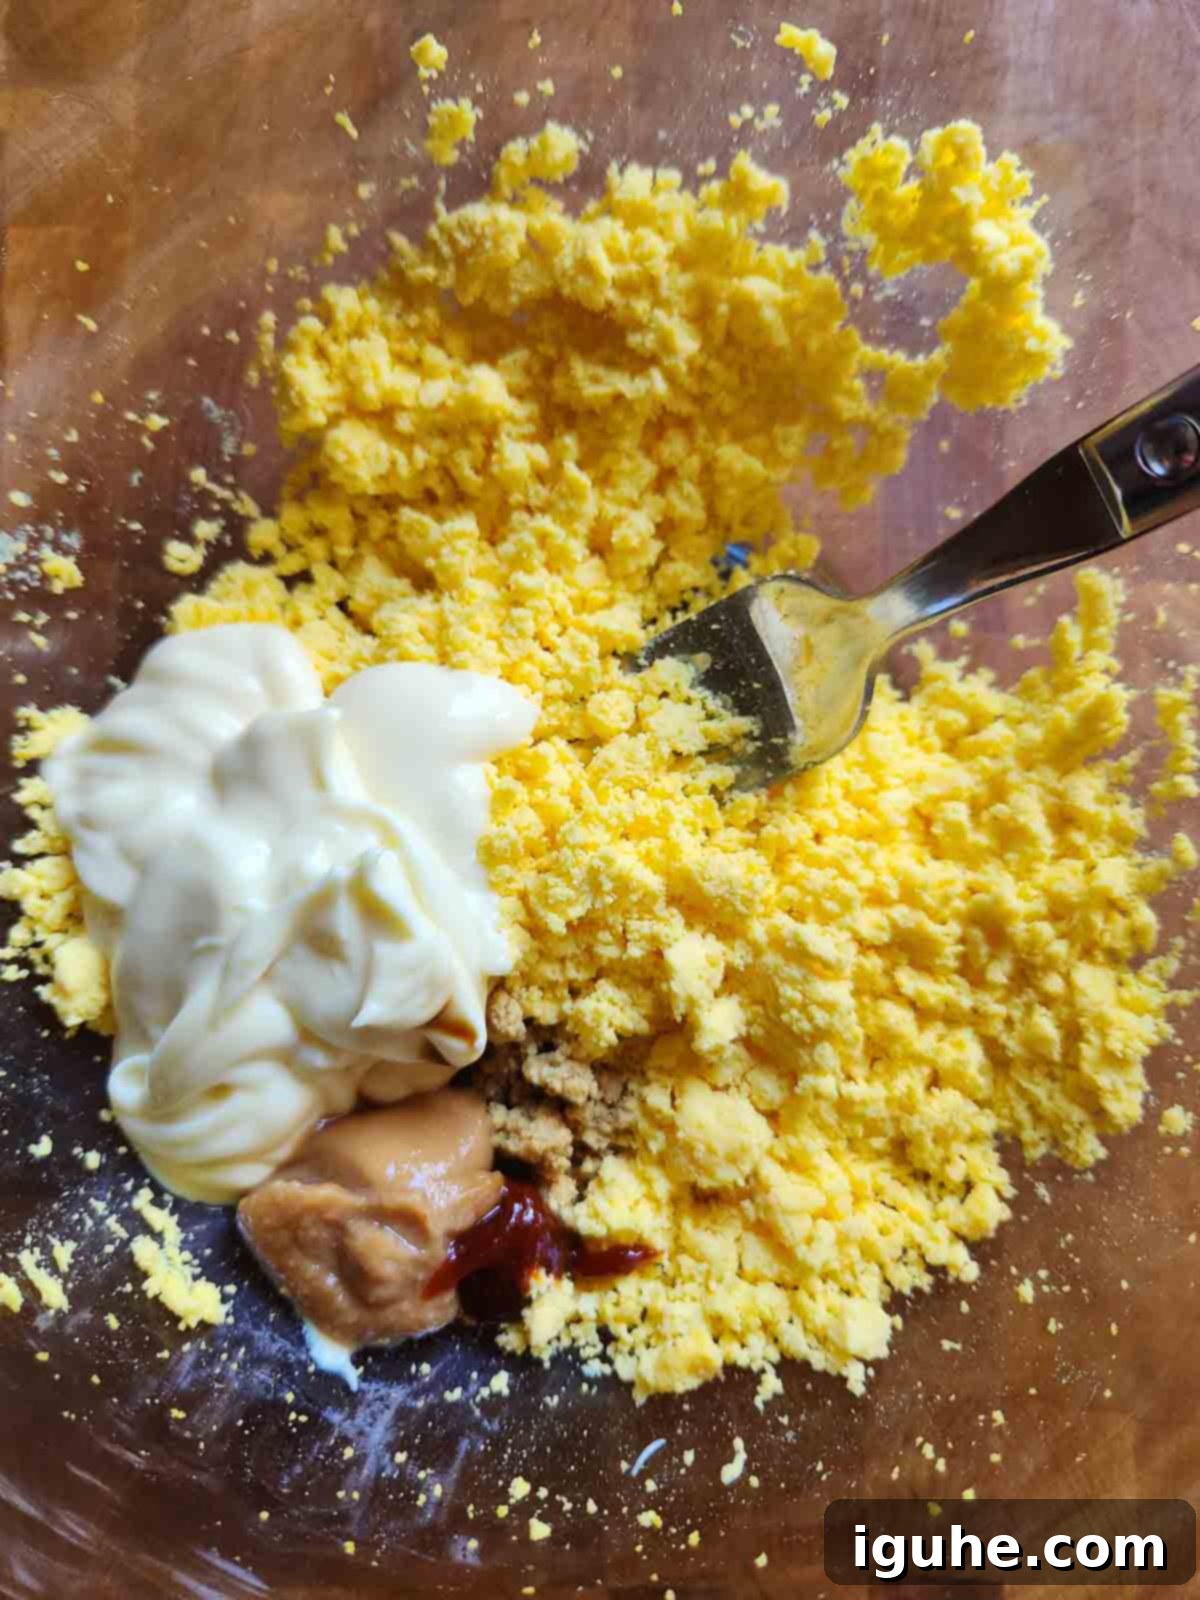
Step 4: Create the Filling. Begin by thoroughly mashing the egg yolks with a fork until they are finely crumbled. Then, add the mayonnaise, white miso paste, soy sauce, and gochujang (if using) to the bowl. Mix everything together until the ingredients are well combined and the mixture is creamy. For an extra smooth and fluffy filling, you can transfer the mixture to a food processor or use a hand mixer for a few seconds.
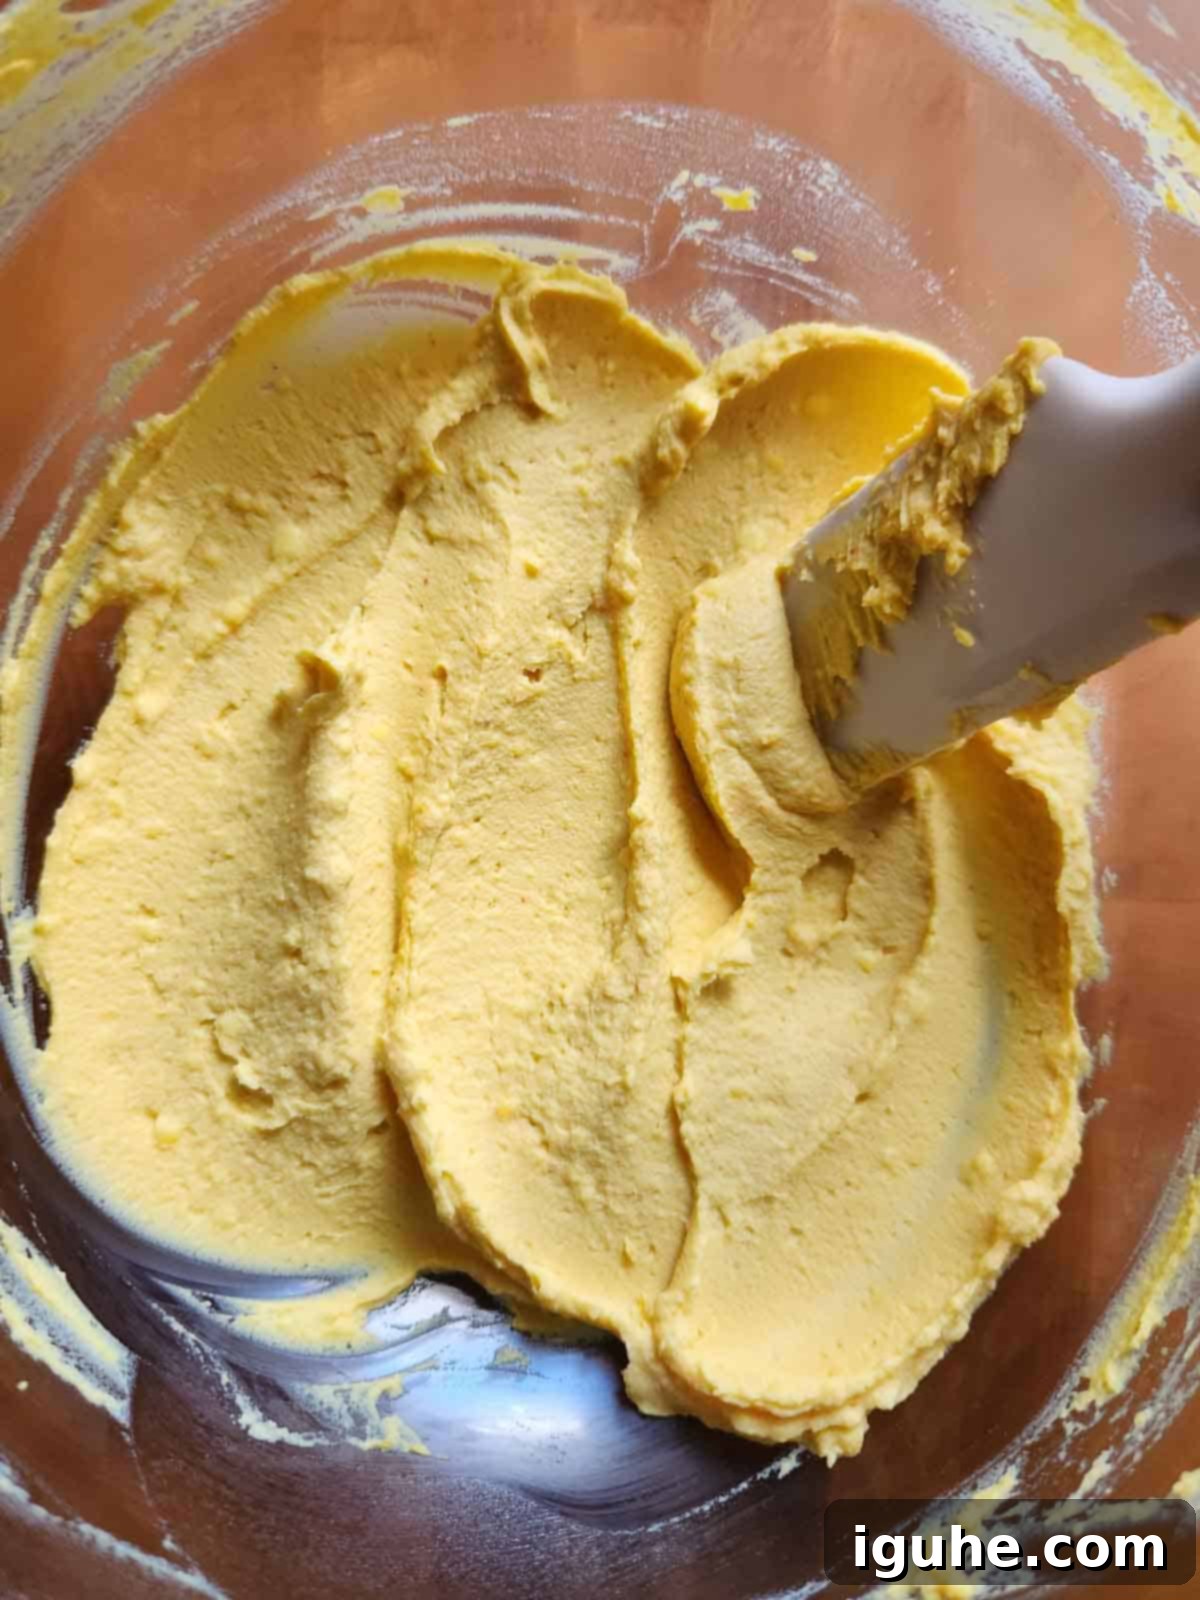
Step 5: Perfect the Filling Texture (Optional). For the silkiest, fluffiest deviled egg filling, give it a quick pulse in a food processor or use a hand mixer. This extra step eliminates any remaining lumps and incorporates air, resulting in a delightfully smooth texture. Season with kosher salt and freshly ground pepper to your liking, remembering to taste as you go.
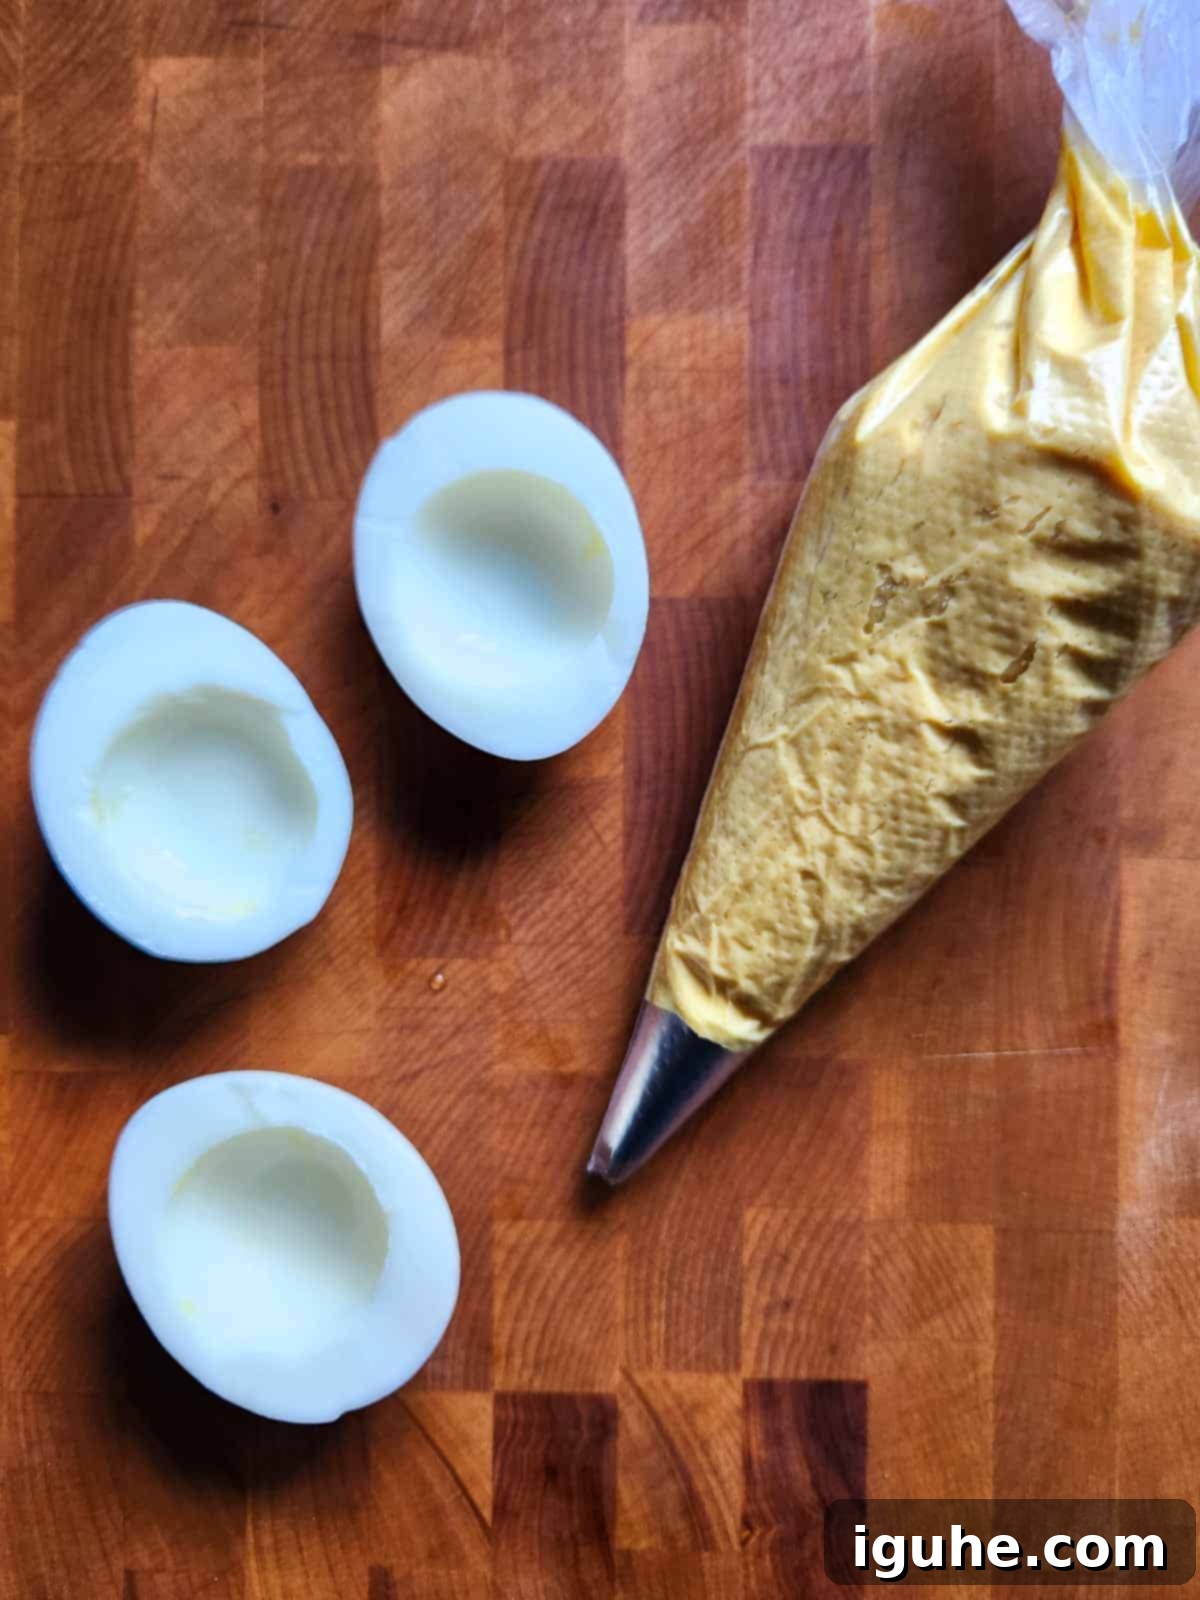
Step 6: Fill the Egg Whites. Now for the fun part! You can either spoon the creamy filling generously into each egg white half for a rustic look, or for a more elegant and polished presentation, use a piping bag fitted with a star tip (like a Wilton 1M or Ateco #824) to pipe the filling. A Ziploc bag with a corner snipped off also works well in a pinch.
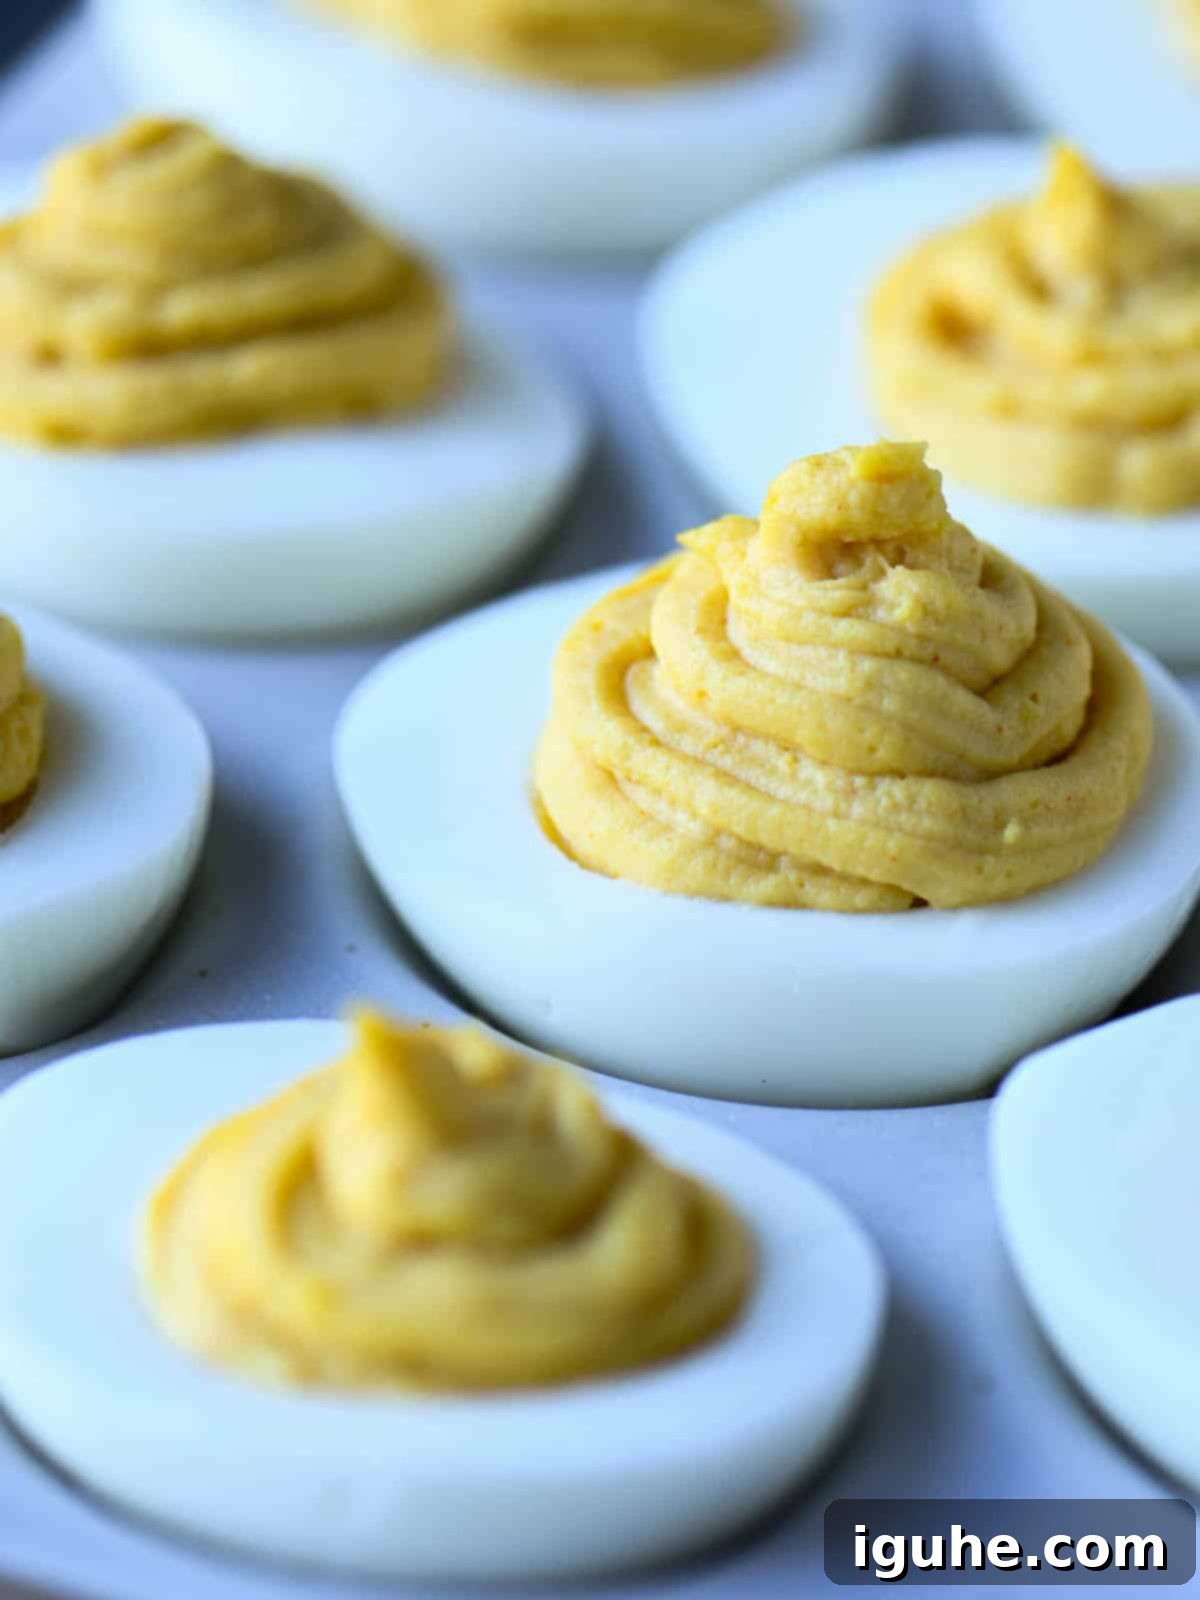
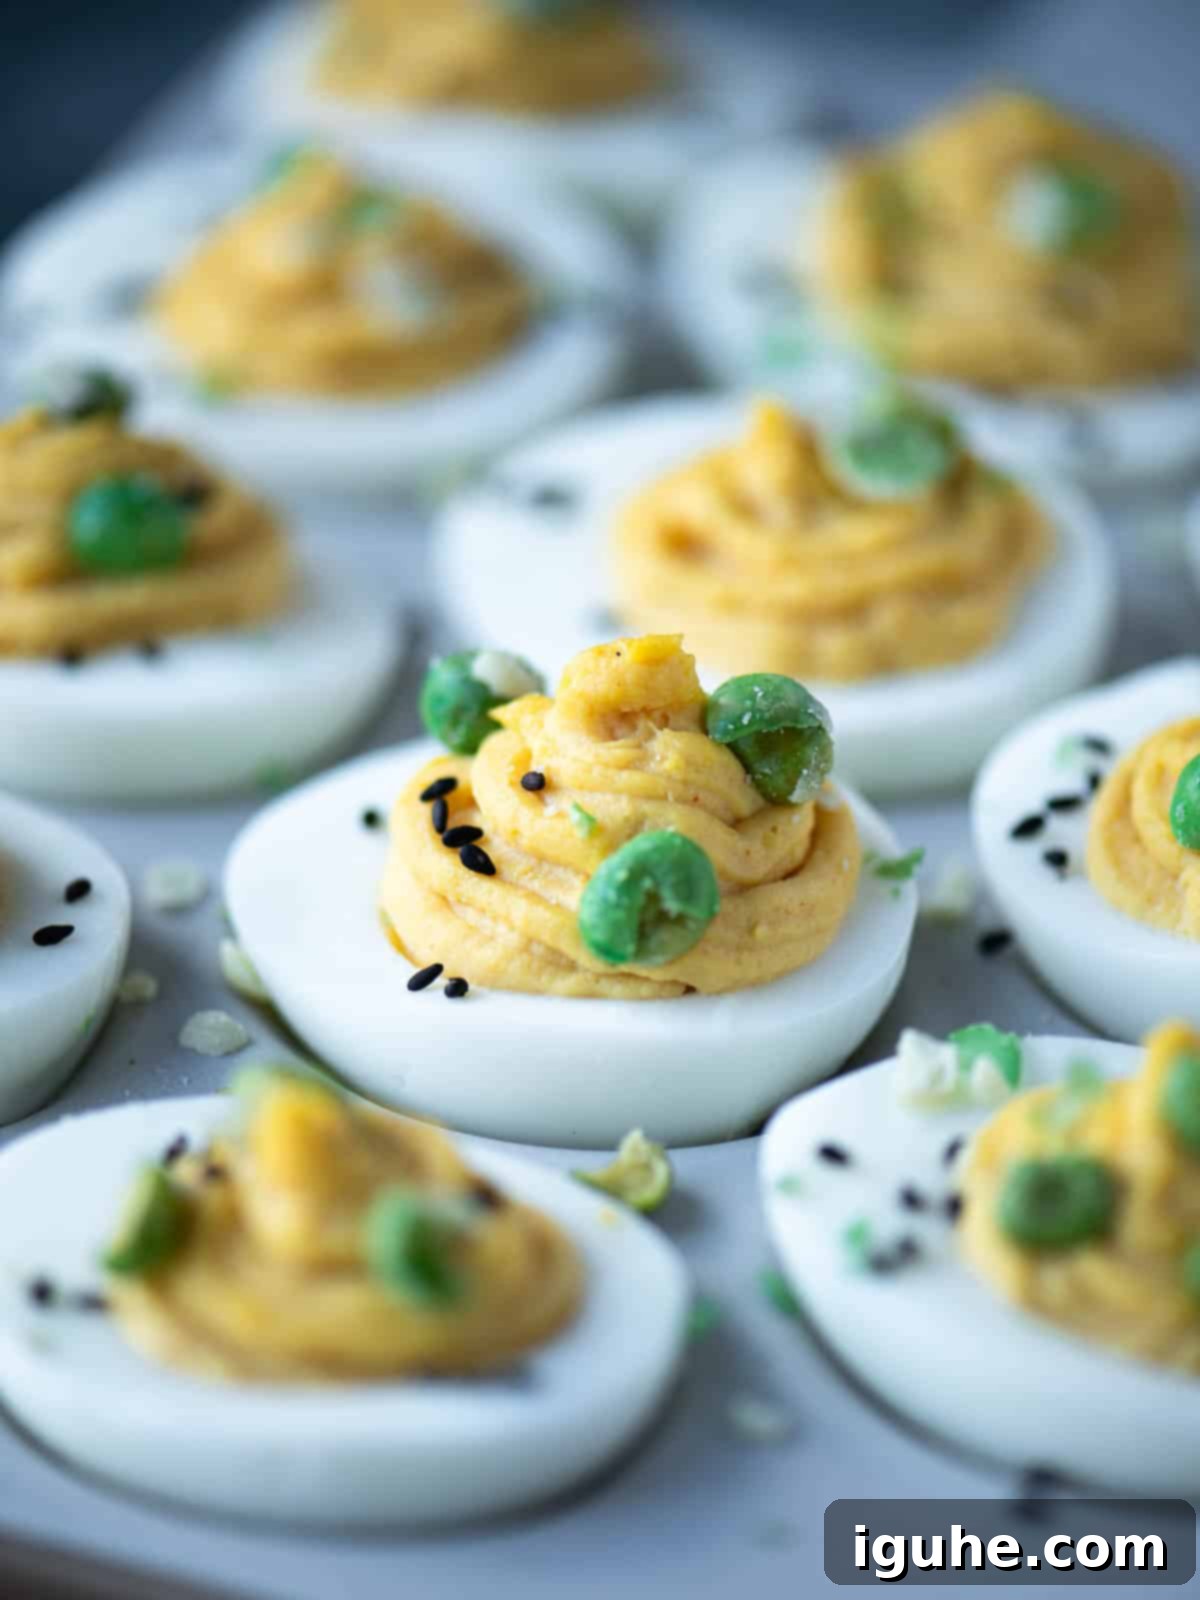
Step 7: Garnish and Serve. Finish your deviled eggs by sprinkling them with toasted sesame seeds and a final dash of salt and pepper if desired. The most crucial topping, the crushed wasabi peas, should be added just before serving to maintain their signature crispness. If you’re preparing these eggs in advance, hold off on the wasabi peas until right before they hit the table to prevent them from becoming soggy. Serve chilled and enjoy!
👩🍳 Pro Tips for Effortless Egg Peeling
Peeling hard-boiled eggs can sometimes be a frustrating task, but with these expert tips, you’ll achieve perfectly smooth whites every time, ready for your delicious miso filling.
- Choose Older Eggs: This is perhaps the most important tip. Older eggs (about 7-10 days old) have a slightly more alkaline pH, which causes the egg white to separate more easily from the inner membrane. Fresh eggs, while great for poaching, tend to cling stubbornly to their shells.
- Immediate Ice Bath: As soon as your eggs finish boiling, transfer them immediately to an ice bath (a bowl filled with ice and cold water) for 5-10 minutes. This rapid cooling causes the egg whites to contract quickly, pulling them away from the shell and making them much easier to peel.
- Gentle Cracking: Once cooled, gently tap the egg on a flat surface (like a countertop) to create small cracks all around the shell. You don’t need to smash it, just create a network of fine cracks. This helps loosen the shell.
- Peel Under Running Water: For an even smoother experience, peel the eggs under a gentle stream of cold running water. The water helps to get under the shell and membrane, washing away tiny fragments and making it easier to remove the shell without tearing the delicate whites.
- Roll and Peel: After cracking, you can also gently roll the egg between your hands to further loosen the shell before peeling. Start peeling from the wider end where the air pocket is typically located.
Creative Substitutions and Delicious Variations
While this recipe for Miso Deviled Eggs is fantastic as is, don’t hesitate to experiment! Here are some ideas to customize your deviled eggs based on available ingredients or personal preference.
- Miso Alternatives: If you don’t have white miso paste, you can still achieve an Asian-inspired flavor profile. Increase the amount of soy sauce (or tamari for gluten-free) for an extra savory punch. A tiny bit of fish sauce (just a few drops) can also add depth, or for a different kind of umami and a sweeter note, a small amount of tomato paste could work in a pinch. However, the flavor will be different from true miso.
- Spicy Enhancements: If you love heat, consider adding a touch of finely minced fresh ginger or a pinch of red pepper flakes to the yolk mixture.
- Flavor Boosters: A dash of rice vinegar or lime juice can add a bright, acidic counterpoint to the richness of the eggs. A tiny amount of sesame oil (toasted or plain) can also enhance the nutty notes.
- Additional Toppings: Elevate the visual appeal and texture with these ideas:
- Scallions: Finely sliced green onions add a fresh, mild oniony flavor and vibrant color.
- Dried Seaweed (Nori): Crumbled or thinly sliced nori sheets bring a distinct oceanic umami flavor and a delicate crunch.
- Crunchy Edamame Beans: Roasted or dried crunchy edamame beans offer another layer of texture and a slightly sweet, nutty taste.
- Togarashi: A sprinkle of this Japanese seven-spice blend adds a complex spicy, citrusy, and savory flavor.
- Furikake: This Japanese rice seasoning, often containing seaweed, sesame seeds, and dried fish, is another excellent and flavorful topping.
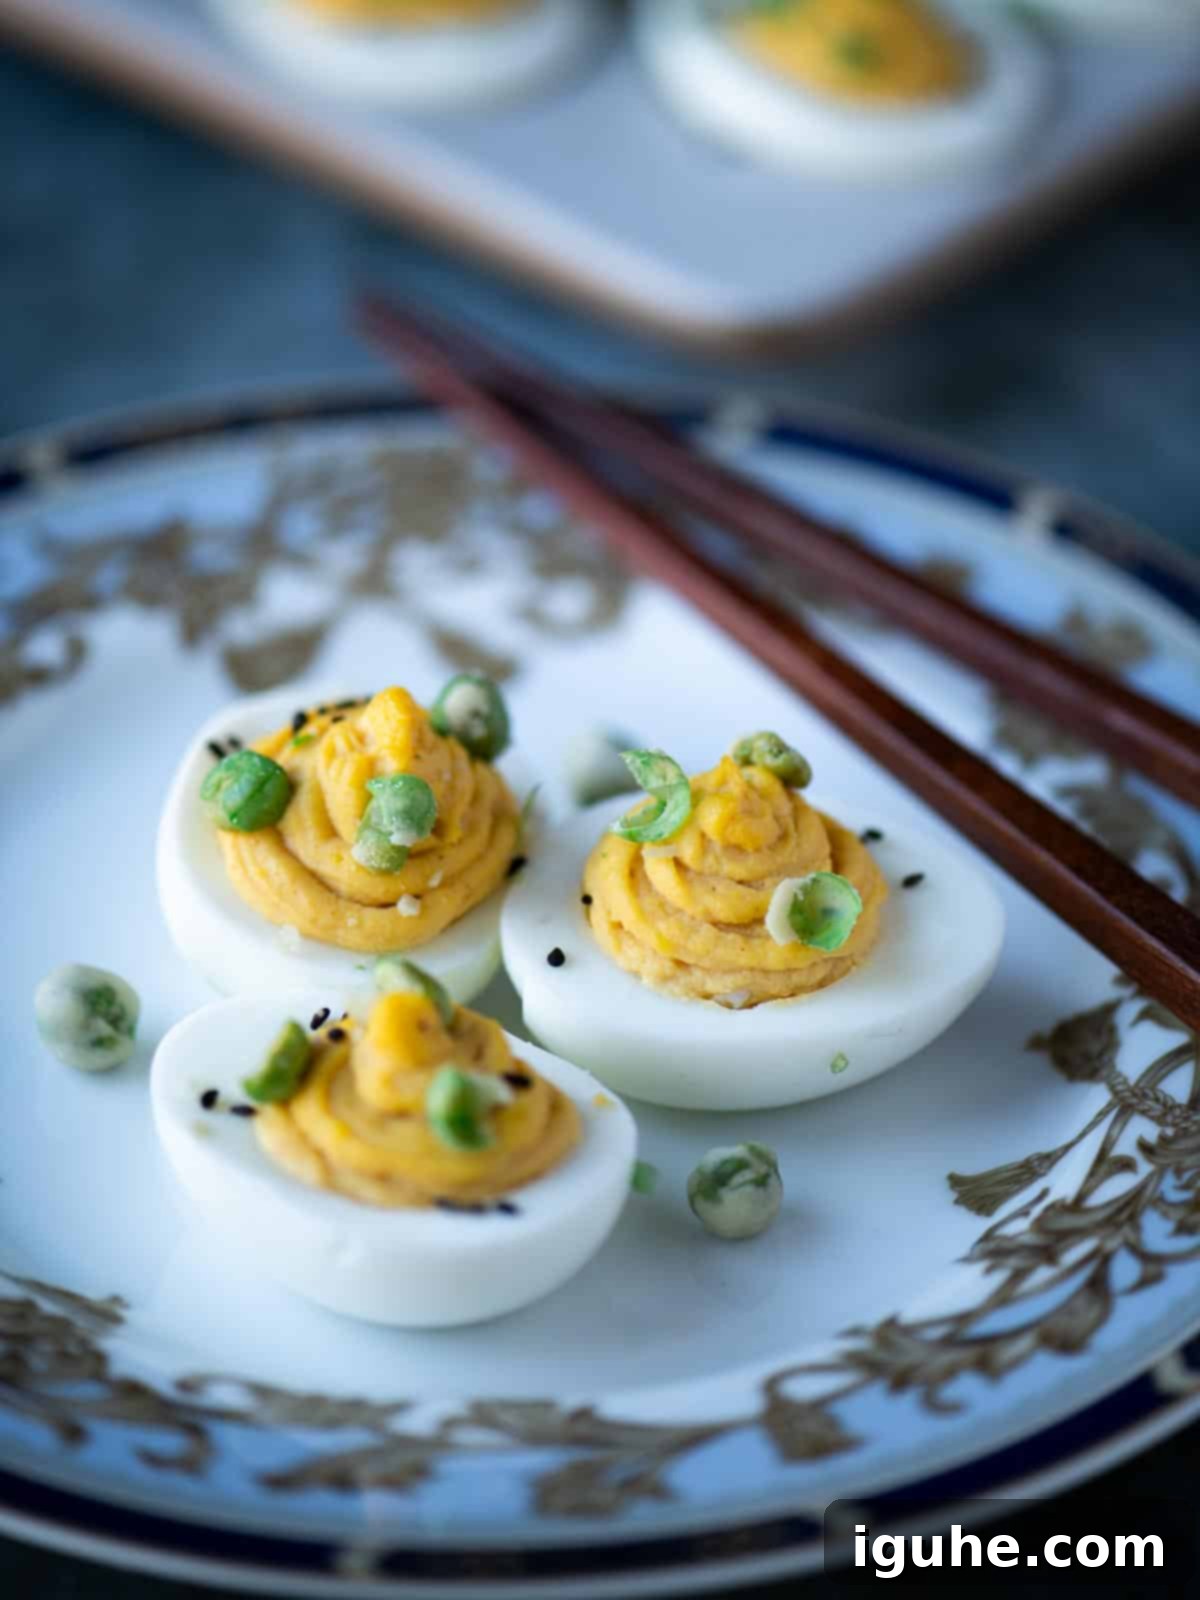
Serving Suggestions and Creative Pairings
These Miso Deviled Eggs are not just a snack; they’re a statement. Here’s how to serve them beautifully and what to pair them with to create a memorable culinary experience.
Miso-deviled eggs are best enjoyed chilled, straight from the refrigerator. For food safety, ensure they are not left at room temperature for more than two hours. Their cool, creamy texture and vibrant flavors are most delightful when served cold.
If you’re catering to a larger group, this recipe can easily be doubled or even tripled. Remember that for every six large eggs, you’ll yield 12 deviled egg halves. A good rule of thumb for serving is to estimate two egg halves per person, but don’t be surprised if guests go back for more!
Presentation matters! For a classic look, arrange your deviled eggs on a beautiful platter. If you own a dedicated deviled egg serving dish (like this one), it’s an excellent way to keep them stable and organized. If using a flat platter, consider lining it with crisp lettuce leaves or, to maintain the Japanese theme, elegant sheets of nori seaweed. This not only prevents sliding but also adds a lovely visual backdrop. For individual portions or an extra touch of flair, place each deviled egg half in a small cupcake liner.
For a truly unique and impressive spread, integrate these deviled eggs into a charcuterie board. Surround them with complementary elements like creamy dips, an assortment of crackers and toasted bread slices, crunchy fresh vegetables (cucumber, carrots, bell peppers), and perhaps some marinated olives or pickled ginger for an extra Asian touch. And here’s a fantastic idea for any rare leftovers: transform them into a gourmet egg salad! Simply chop them up, add a bit more mayo if needed, and enjoy on toast or in a sandwich.
Storage and Make-Ahead Tips for Convenience
Planning ahead can save you time and stress, especially when entertaining. Here’s how to best store your Miso Deviled Eggs and prepare them in advance.
For optimal freshness and flavor, Miso Deviled Eggs should be stored in an airtight container in the refrigerator. They will maintain their quality for up to two days. It’s important to note that if you’ve already added the crushed wasabi peas, they will absorb moisture from the eggs and lose their crispness over time, becoming somewhat soggy. For the best texture, always add wasabi peas just before serving.
To get a head start on your preparation, you can boil the eggs up to five days in advance. Keep them in their shells and store them in the refrigerator. Once peeled, hard-boiled eggs can be kept refrigerated for up to three days. You can also prepare the yolk filling a day in advance and store it in an airtight container in the fridge. This way, on the day of serving, all you need to do is slice the whites, pipe in the filling, garnish, and enjoy!
Frequently Asked Questions About Miso Deviled Eggs
The best way to achieve a perfectly smooth and creamy deviled egg filling is to use a food processor or a hand mixer to blend the mashed yolks with the other ingredients. This process effectively breaks down any lumps and incorporates air for a fluffy texture. If you don’t have these appliances, ensure you mash the yolks very thoroughly with a fork until they are as fine as possible before adding the wet ingredients.
While the core of deviled eggs is, by nature, eggs, you can certainly find vegan alternatives! There are many excellent plant-based “egg” recipes using ingredients like tofu, kala namak (black salt for egg flavor), and turmeric for color. You would also need to use vegan mayonnaise and ensure your miso paste and soy sauce are vegan-friendly (most are, but always check labels). The spirit of this recipe, the umami-rich filling, can absolutely be adapted!
For optimal freshness and food safety, Miso Deviled Eggs should be stored in an airtight container in the refrigerator and consumed within 2 days. If you’ve added wasabi peas, they are best enjoyed on the day they are made, as they will soften over time.
White miso paste (Shiro miso) is highly recommended for this recipe. It has a milder, slightly sweeter, and less intensely salty flavor compared to red or yellow miso. This ensures the miso enhances the eggs with a delicate umami without overpowering the other ingredients.
Discover More Global-Inspired Delights
If you loved these Miso Deviled Eggs, you’re sure to enjoy these other internationally-inspired recipes that bring unique flavors to your table!
- Labneh Toast with Roasted Strawberries
- Easy Cardamom Coffee Cake
- Mexican Eggs Benedict with Chipotle Hollandaise
- Irish Soda Bread with Currants and Apricots
Did you make this recipe? I would love to hear about it! Please leave a ⭐⭐⭐⭐⭐ rating with a comment right below the recipe card. If you snap a photo of your creation, don’t forget to tag me on Instagram @brunchandbatter.
📖 Recipe

Miso Deviled Eggs
Prevent your screen from going dark
Pin Recipe
10 minutes
18 minutes
10 minutes
38 minutes
Appetizer, Brunch, Lunch, Side Dish, Snack
American, Japanese
6
(12 halves)
130
kcal
Equipment
-
medium pot
-
deviled egg platter or regular platter for serving
Ingredients
-
6
large
eggs -
3
tablespoon
Kewpie mayo (Japanese mayo) or regular mayo -
½
tablespoon
white miso paste -
¾
teaspoon
soy sauce or tamari -
¼
teaspoon
Gochujang (red chili paste) or siracha - Kosher salt and freshly ground pepper to taste
- wasabi peas, crushed
- toasted sesame seeds (black or regular), optional
Instructions
-
Place the eggs in a medium-sized pot. Add enough water to cover the eggs by 1 inch. Bring the pot to a boil. As soon as it starts to boil, remove the pot from the heat. Leave the eggs in the pot, covered, for 11 minutes (I like to set a timer).6 large eggs
-
While the eggs are sitting, prepare an ice bath (a medium-sized bowl filled with ice and water). After 11 minutes, remove the eggs from the pot and place them in the ice bath to cool for 5-10 minutes.
-
Peel the eggs: Start by gently cracking the eggs on a hard surface. Grab some of the cracked shells with your fingers, and gently peel them off. **See post for tips on peeling eggs.
-
Take each egg and slice it in half lengthwise. Using a small spoon, remove the yolks from the eggs and add them to a clean bowl. Using a fork, mash the egg yolks until broken down. Add the mayo, miso, soy sauce, red chili paste and mix until creamy. You can use a food processor or hand mixer to create a smoother filling. Season with salt and pepper to taste.3 tablespoon Kewpie mayo (Japanese mayo) or regular mayo,
½ tablespoon white miso paste,
¾ teaspoon soy sauce or tamari,
¼ teaspoon Gochujang (red chili paste) or siracha,
Kosher salt and freshly ground pepper to taste -
Fill the eggs: Using a spoon, scoop the filling evenly into each egg half. Alternatively, you can use a piping bag (see notes) or a Ziploc bag with a corner snipped off. Top with crushed wasabi peas, and sesame seeds (if using). Arrange them on a platter and serve immediately.wasabi peas, crushed,
toasted sesame seeds (black or regular), optional
Notes
- White miso paste is a popular ingredient in Japanese cooking. It has a mild nutty taste with salty, sweet, and umami notes. Look for it in the Asian section of your grocer, or order it online. I get mine at Trader Joe’s.
- If using a piping bag and tip, choose one with a star tip, such as the Wilton 1M or Ateco #824.
- For maximal freshness, store miso-deviled eggs in the refrigerator (covered) for up to two days. If you have already added the wasabi peas, just note they will become soggy as they sit.
- To save time, you can boil the eggs up to five days in advance and keep them in their shells. The peeled eggs can stay in the fridge for up to 3 days
Nutrition*
Serving:
2
halves (1 egg)
Calories:
130
kcal
Carbohydrates:
3
g
Protein:
7
g
Fat:
10.2
g
Saturated Fat:
2.6
g
Cholesterol:
189
mg
Sodium:
208
mg
Potassium:
108
mg
Fiber:
0.6
g
Sugar:
0.9
g
Calcium:
36
mg
Iron:
1
mg
*Nutrition information is provided as a courtesy and is an estimate only. Nutrition information can vary depending on many factors, such as products used, measurements and substitutions, therefore it is recommended that you obtain nutritional calculations based on your own finished recipe.
Have you tried this recipe?
Leave a comment below and share a photo on Instagram. Tag @brunchandbatter or hashtag it with #brunchandbatter
