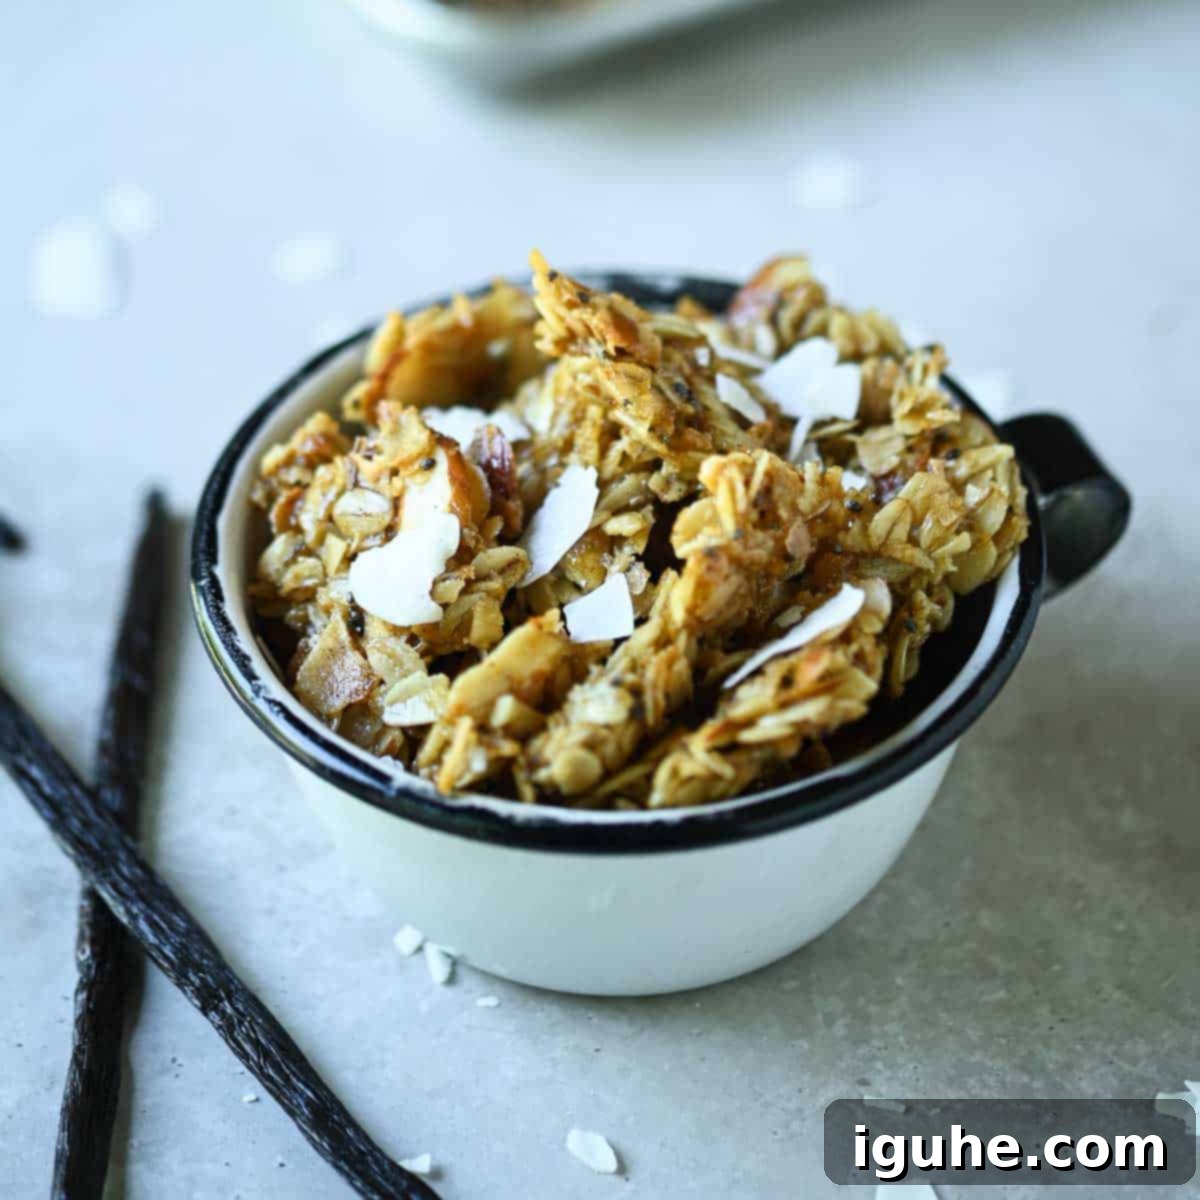
Homemade Vanilla Coconut Granola: Your Easy Guide to a Healthy, Flavorful Crunch
Thinking about elevating your breakfast routine with homemade granola? It’s much easier than you might imagine, and the reward is a deliciously fragrant home filled with the warm, inviting scent of freshly baked oats. This recipe features a delightful combination of vanilla and coconut, creating a versatile **Vanilla Coconut Granola** that you’ll want to sprinkle on everything from yogurt to ice cream, or simply enjoy by the handful as a satisfying snack.
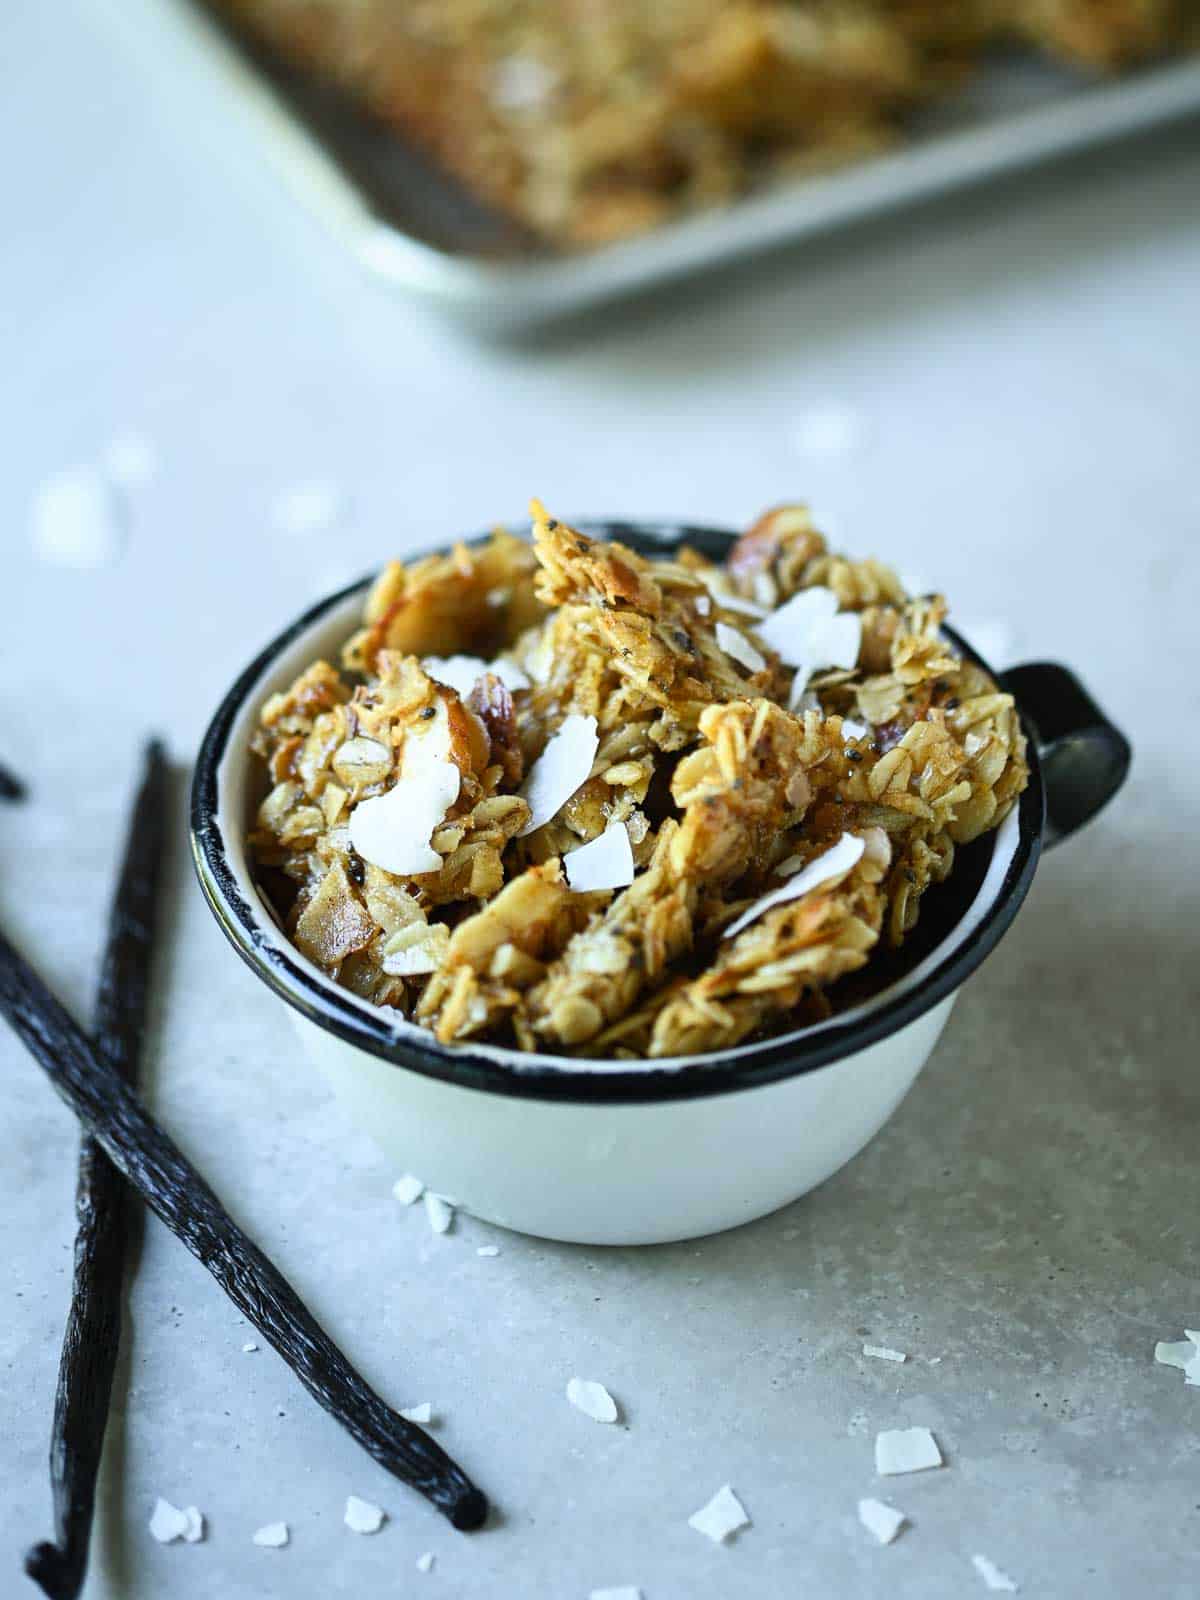
You truly won’t believe how simple it is to whip up this homemade granola. While store-bought options offer convenience, they often come with a hidden cost: unwanted additives, preservatives, and an excessive amount of added sugars. Taking a few minutes to prepare your own ensures you know exactly what goes into your food, giving you peace of mind and superior taste.
This vanilla coconut granola recipe stands out because it’s crafted with wholesome, easy-to-find ingredients and demands minimal effort. If you can manage a gentle stir, you possess all the culinary skills needed to create this delightful treat. It’s a perfect entry point for anyone new to baking or looking for a healthier alternative to commercial cereals.
Why Make Your Own Granola?
Beyond the incredible flavor and inviting aroma, there are numerous compelling reasons to choose homemade granola over its store-bought counterparts:
- Control Over Ingredients: Say goodbye to artificial flavors, preservatives, and high-fructose corn syrup. With homemade granola, you dictate the quality and quantity of every ingredient.
- Reduced Sugar Content: Many commercial granolas are sugar bombs. By making your own, you can significantly reduce the sugar and opt for natural sweeteners like maple syrup or honey.
- Customizable Flavors: This vanilla coconut combination is just the beginning. Homemade granola allows for endless customization with your favorite nuts, seeds, spices, and dried fruits.
- Cost-Effective: Buying oats, nuts, and sweeteners in bulk can often be more economical than regularly purchasing premium store-bought granola.
- Freshness and Aroma: Nothing beats the taste and smell of freshly baked granola. It brings a comforting warmth to your kitchen and your plate.
Essential Ingredients for Vanilla Coconut Granola
You’ll only need a few pantry staples to be well on your way to crafting this truly amazing vanilla coconut granola. Each ingredient plays a crucial role in achieving the perfect balance of flavor and texture.
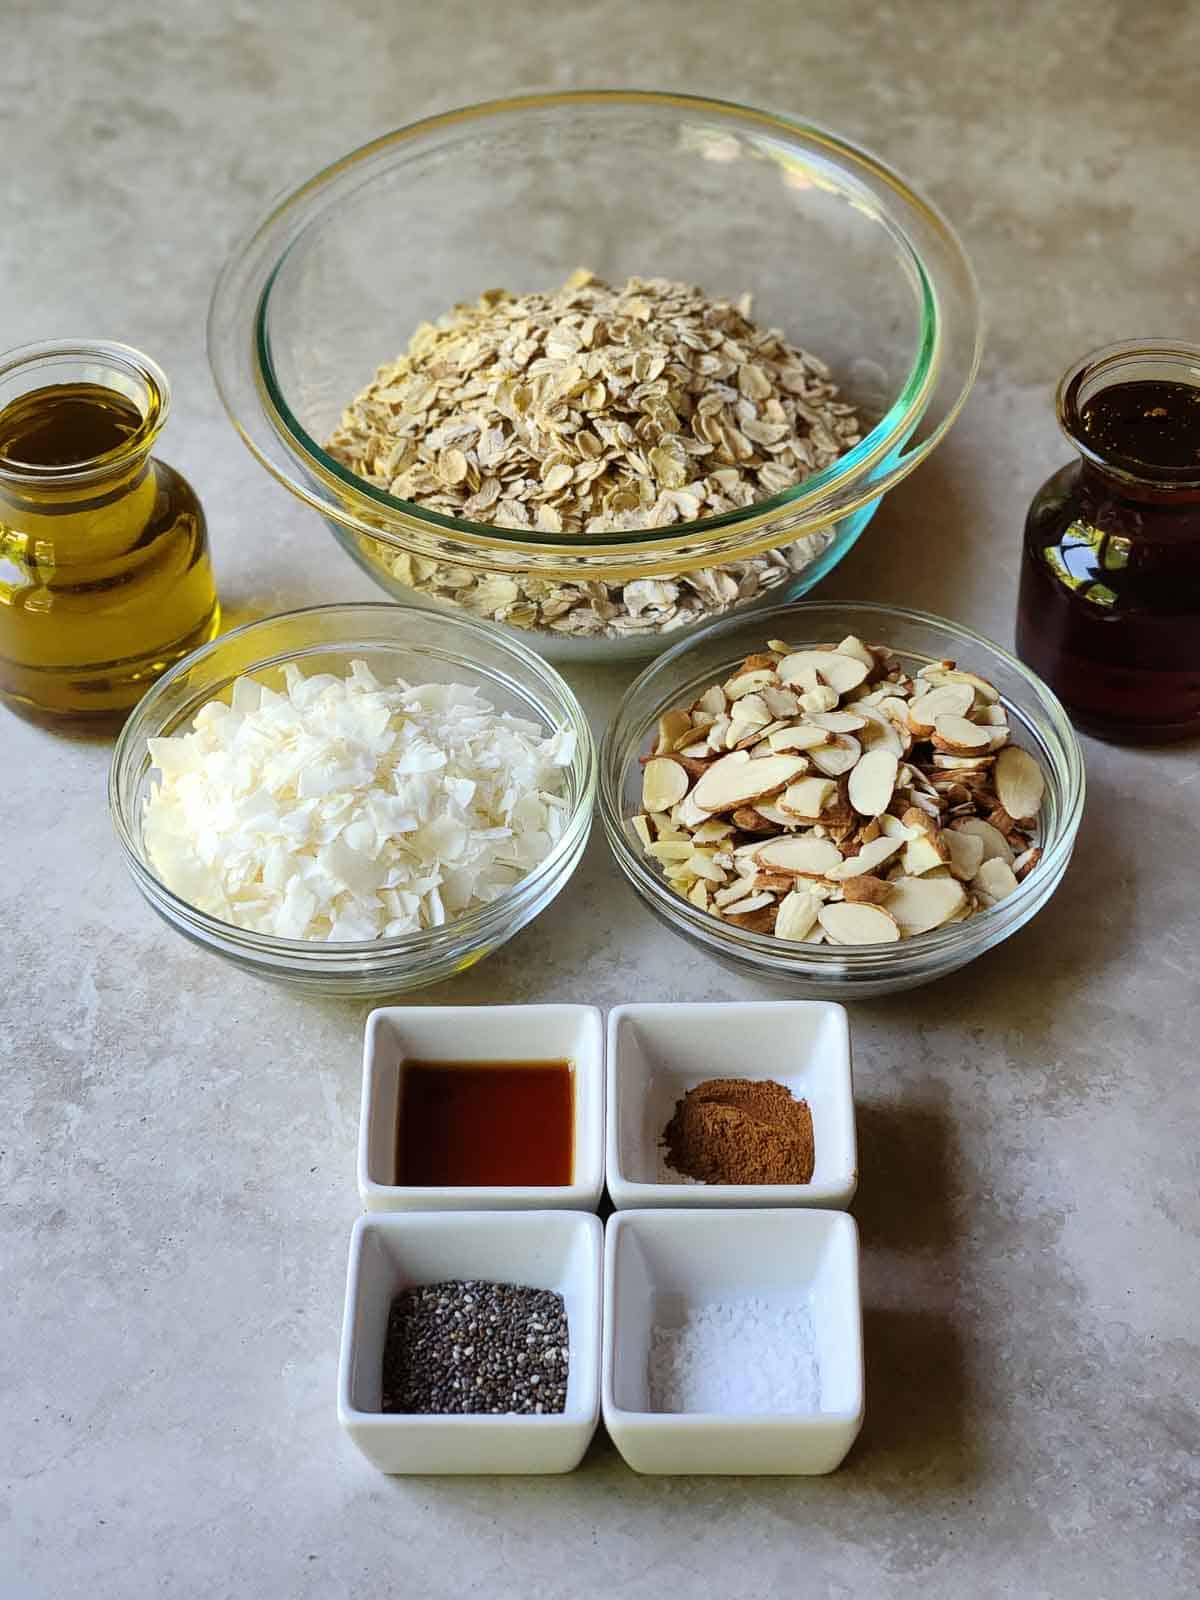
- Old-fashioned oats: These are the backbone of your granola. It’s crucial to use old-fashioned or rolled oats, not quick-cooking or instant varieties, as they will turn mushy during baking and won’t give you that desirable crunchy texture. For a gluten-free option, ensure you purchase certified gluten-free old-fashioned oats.
- Almonds: Adding a wonderful crunch and a dose of healthy fats and protein, almonds are a fantastic choice. Feel free to substitute with other nuts like walnuts, pecans, or cashews, or use a mix for added complexity. Lightly toasting them before mixing can enhance their flavor even further.
- Chia seeds: These tiny powerhouses contribute additional texture, healthy omega-3 fatty acids, and a significant boost of fiber. They also help absorb moisture, contributing to the granola’s crispness. If you don’t have chia, flax seeds or hemp seeds can be good alternatives.
- Unsweetened coconut flakes: This is key! Make sure you choose unsweetened coconut flakes. Since you’ll be adding natural sweetener (maple syrup), you don’t want the coconut to already be sweetened, which could lead to an overly sweet or even burnt taste. They offer a delightful chewiness and intense coconut flavor when toasted.
- Cinnamon: Ground cinnamon provides a beautiful warmth and depth of flavor that complements both vanilla and coconut perfectly. It’s a classic spice that brings out the best in oat-based dishes.
- Maple syrup: Our natural sweetener of choice, maple syrup provides a delicate sweetness and acts as a binder, helping the granola clump together into those coveted clusters. Ensure you use pure maple syrup, not pancake syrup, for the best flavor. Honey or agave nectar are viable substitutes.
- Salt: Just a pinch of salt is essential to balance out the sweetness and enhance all the other flavors in the granola. Don’t skip it, as it truly makes a difference in the overall taste profile.
- Oil: The oil is what helps the granola achieve its gorgeous golden-brown color and irresistible crispiness. Use a neutral-tasting oil such as vegetable, canola, or grapeseed oil. For an even more pronounced coconut flavor, melted coconut oil is an excellent choice. I’ve even experimented successfully with olive oil for a richer, more complex note.
- Vanilla extract: Pure vanilla extract is non-negotiable for that authentic, comforting vanilla aroma and taste. Invest in good quality vanilla for the best results.
- Coconut extract: If you can get your hands on coconut extract, it’s a game-changer! It significantly enhances and deepens the natural coconut flavor, taking your granola to the next level. You can also use coconut extract in my key lime coconut pie, if you need further inspiration for this versatile ingredient.
Step-by-Step Instructions to Homemade Perfection
Follow these simple steps to create delicious vanilla coconut granola that will quickly become a household favorite. A crucial tip for a smooth baking experience: always line your baking pan with parchment paper or a silicone baking mat. This prevents sticking and makes cleanup a breeze – trust me, you want to avoid a sticky mess!
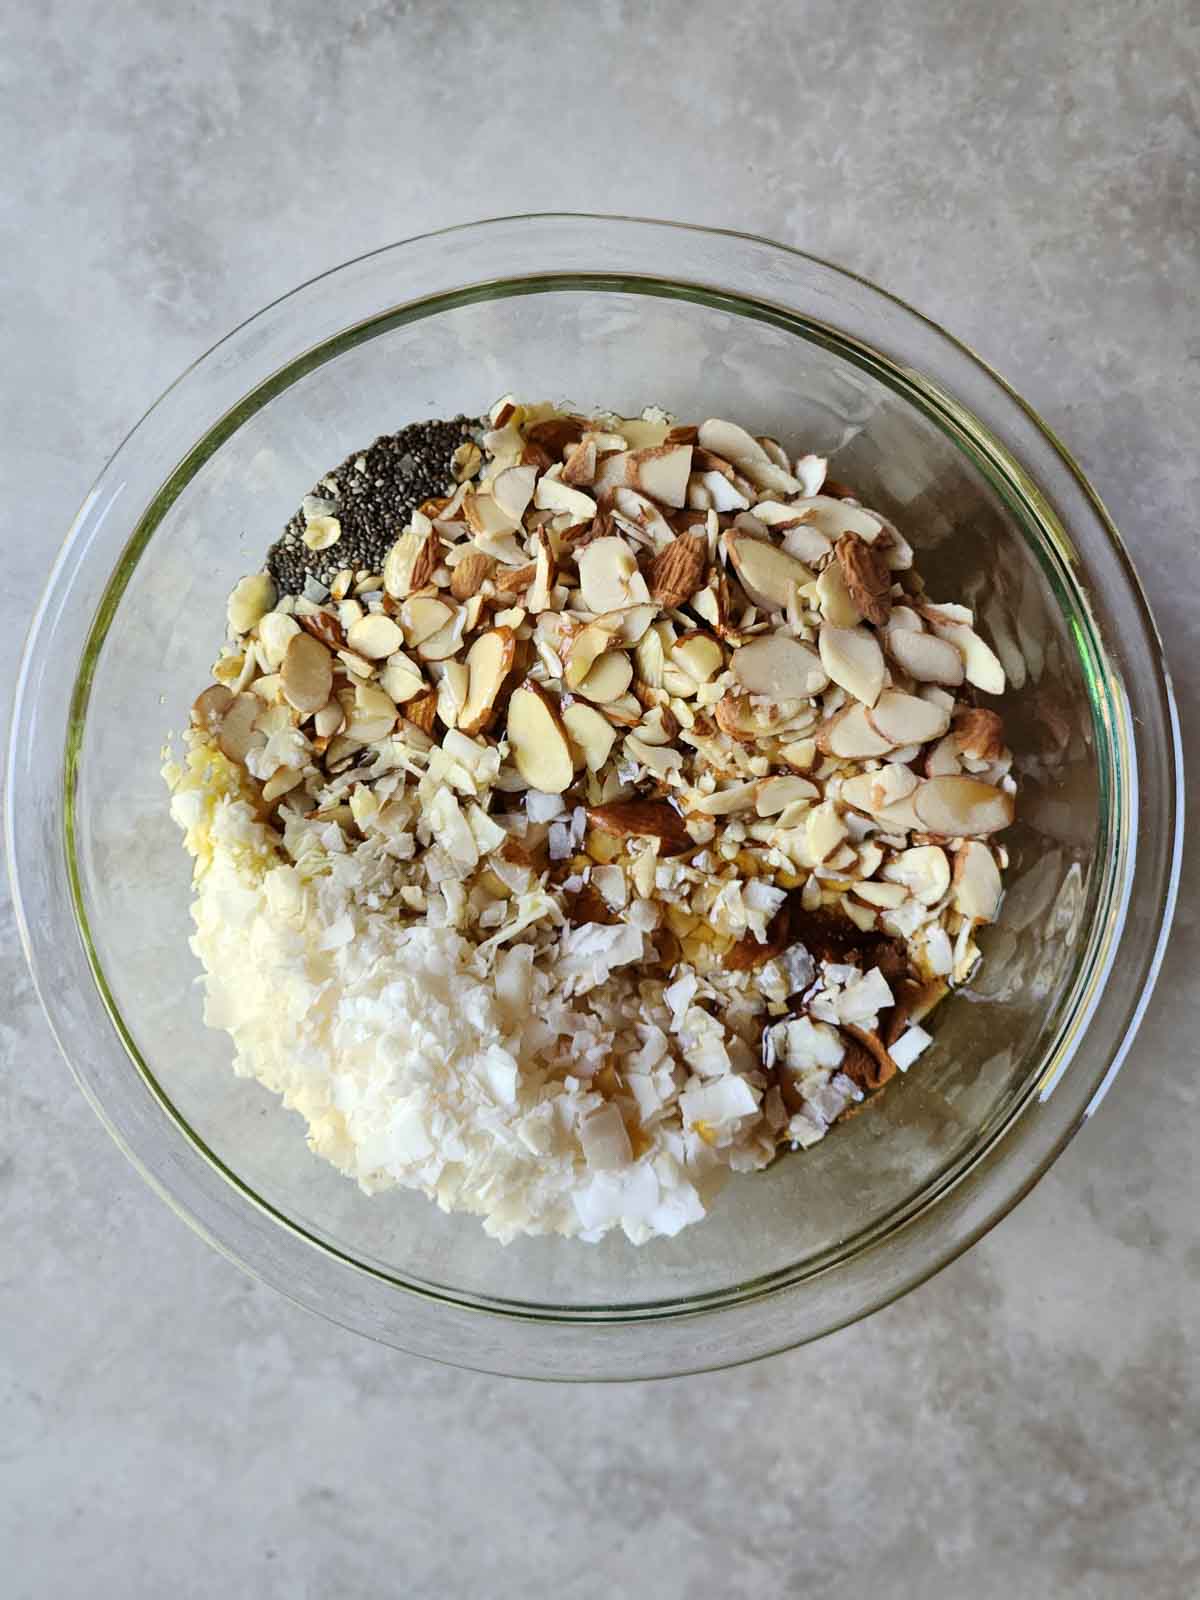
Step 1: Prepare & Combine Dry Ingredients. Preheat your oven to 300°F (150°C). In a large mixing bowl, combine all your dry ingredients: the old-fashioned oats, almonds, chia seeds, unsweetened coconut flakes, cinnamon, and salt. Give them a good stir to ensure they are evenly distributed.
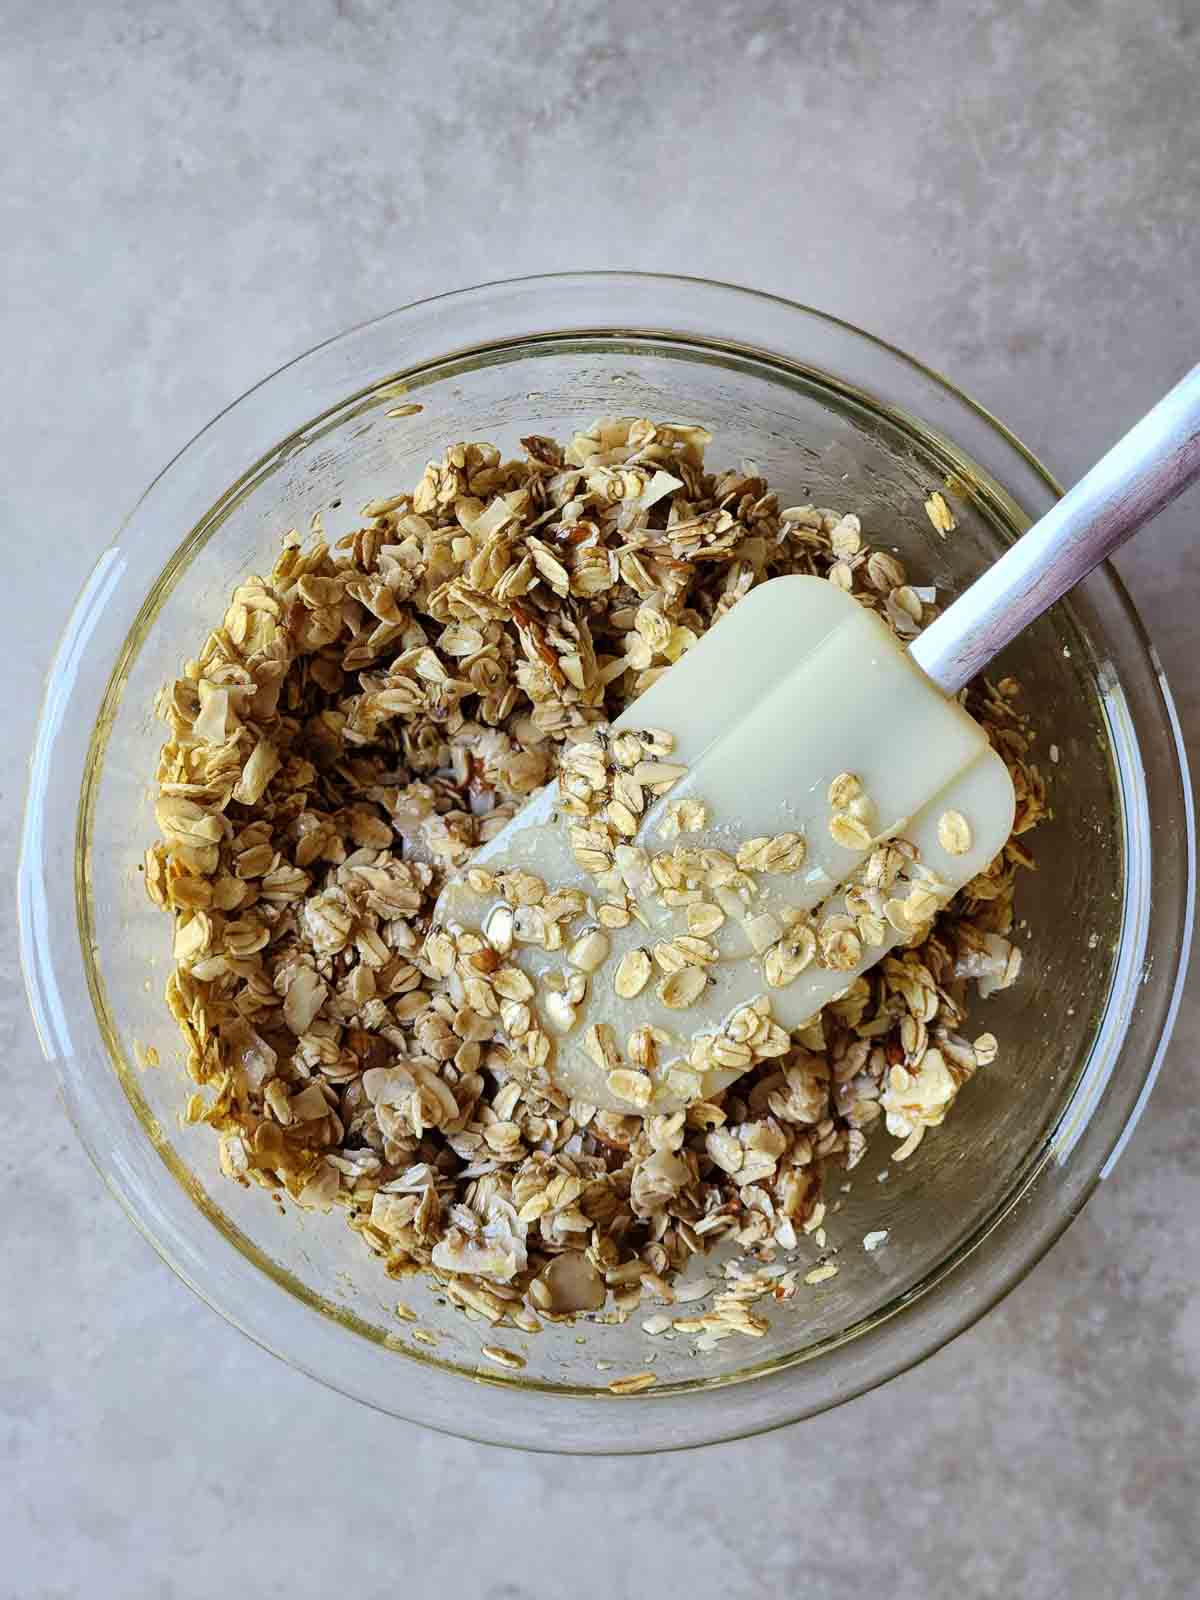
Step 2: Add Wet Ingredients and Coat. Pour the maple syrup, neutral oil, vanilla extract, and coconut extract over the dry mixture. Using a sturdy spatula or wooden spoon, stir everything together thoroughly. Ensure that all the oats, nuts, and coconut flakes are completely coated with the wet mixture. This uniform coating is essential for even baking and delicious clusters.
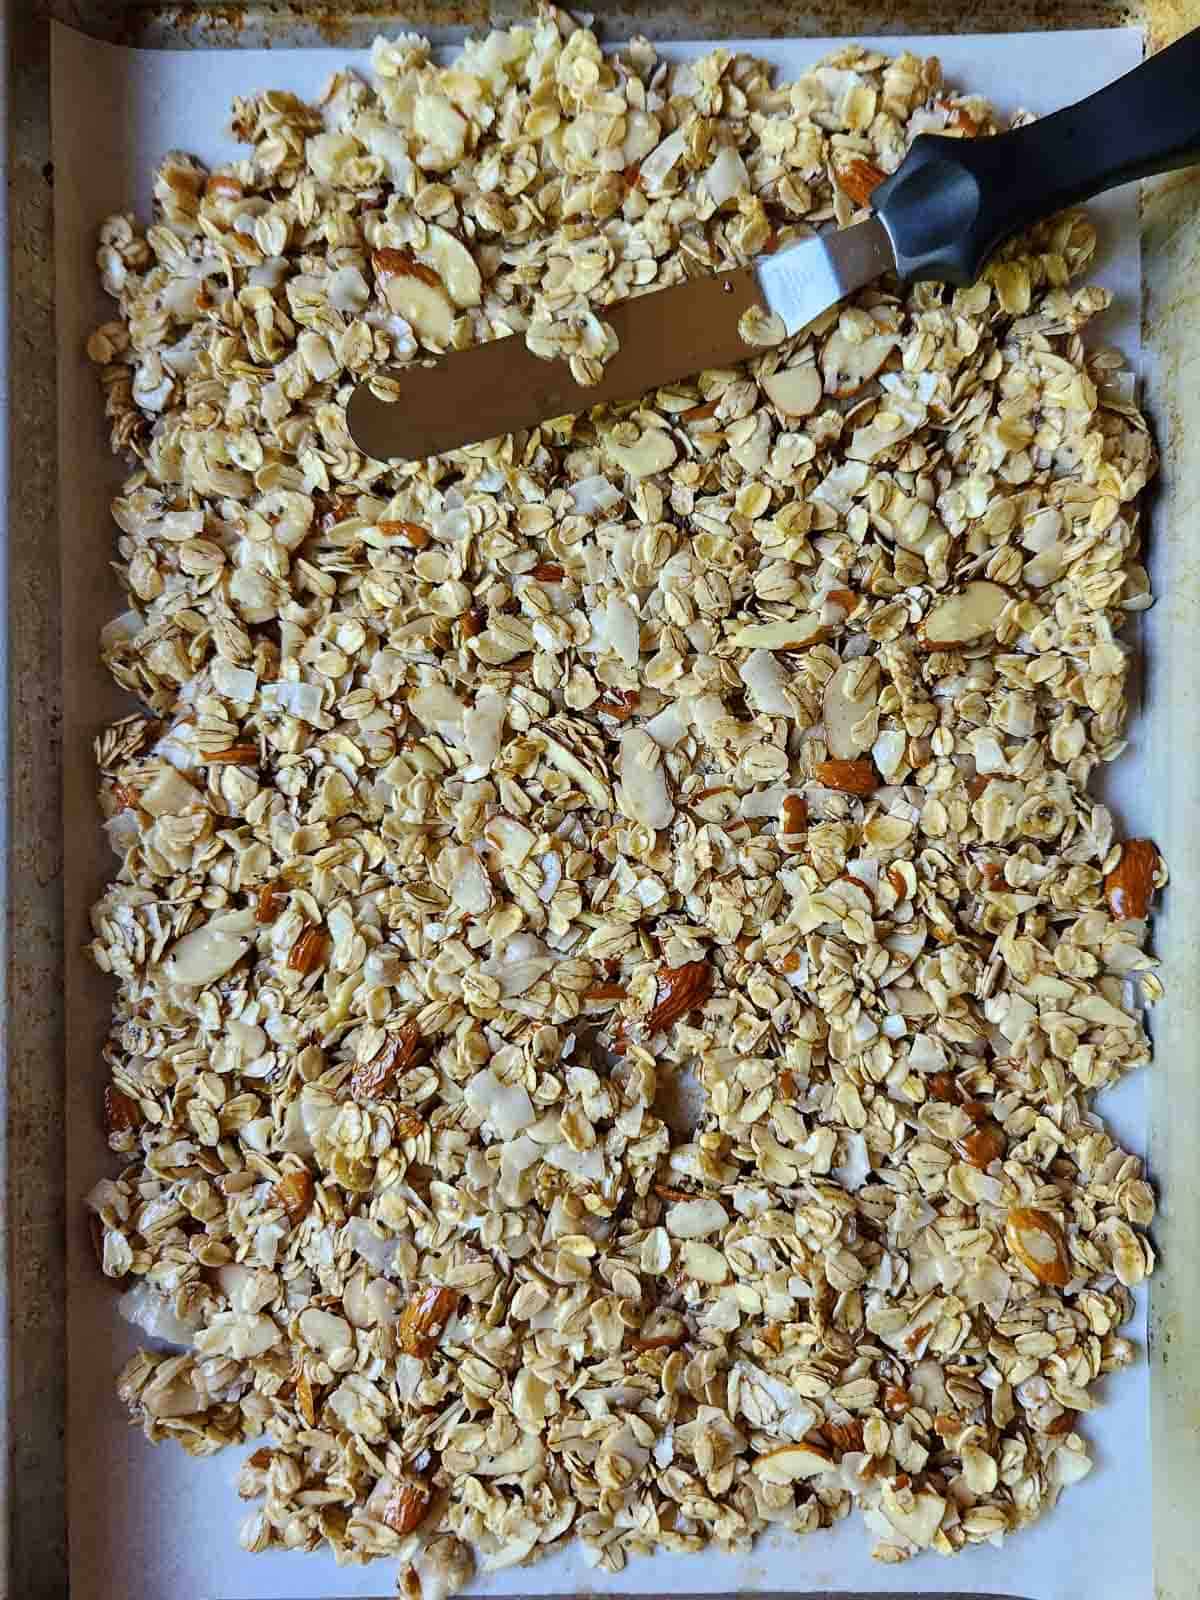
Step 3: Bake and Flip. Pour the evenly coated oat mixture onto your prepared baking pan. Spread it out flat and evenly across the entire surface of the pan to ensure consistent baking. Bake the granola in your preheated oven for about 20 minutes. The edges should just begin to turn golden brown.
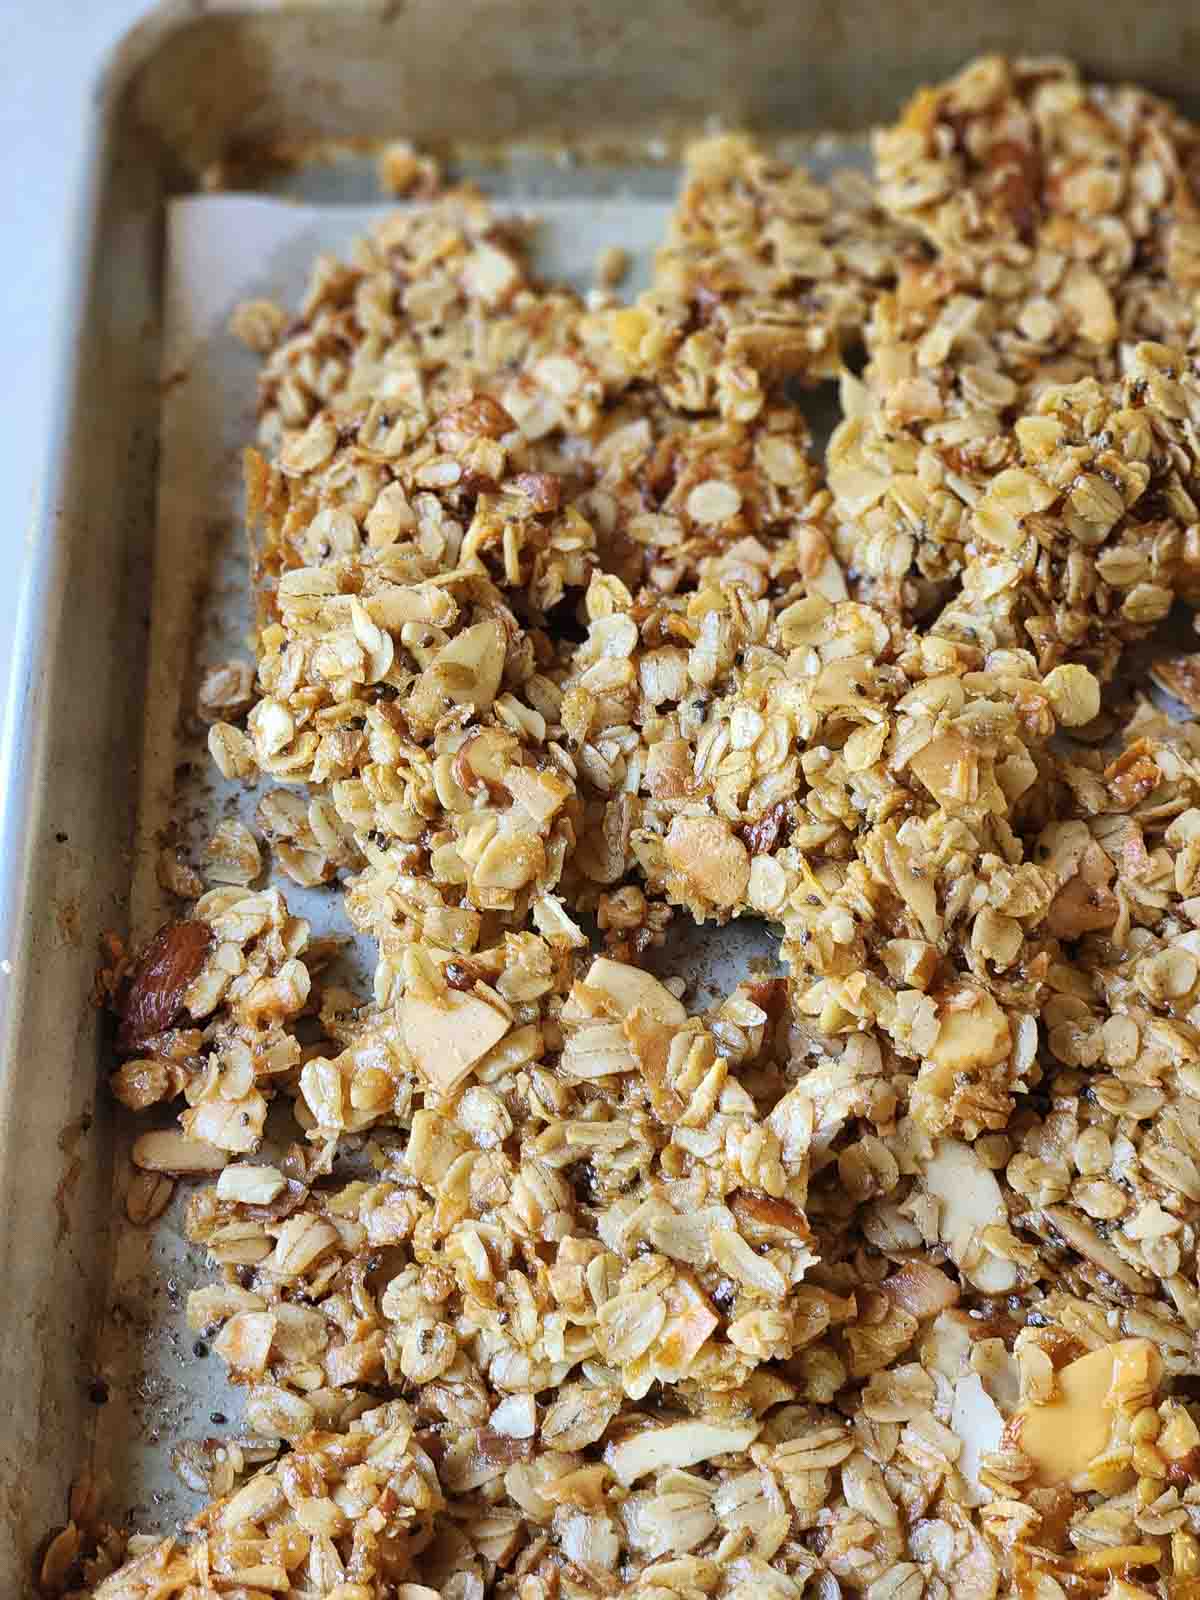
Step 4: Continue Baking and Cool. After the initial 20 minutes, gently toss the granola with a spatula to ensure even browning. Return it to the oven and continue baking for another 15-20 minutes, or until it reaches a beautiful golden-brown color. Remember, the granola will still feel soft when it comes out of the oven. This is normal! Remove it from the oven and allow it to sit at room temperature, uncovered and undisturbed, until it has completely cooled, hardened, and dried. Serve immediately or store for later enjoyment.
💡Top Tips for Perfect Granola Every Time
- Resist the urge to overbake: It’s a common mistake to think granola isn’t done because it’s still soft. Granola actually hardens as it cools and dries. Baking it until it’s crispy in the oven will likely result in burnt granola once it’s cooled. Aim for a golden-brown color, and trust the cooling process to work its magic.
- Cool completely before storing: This tip is paramount for crunchy granola. Ensure that your granola is entirely cool and dry, straight from the pan, before transferring it to an airtight container. If it’s even slightly warm or contains residual moisture, it will create condensation in the container, leading to soggy, mushy granola that spoils faster.
- Embrace the clusters: When breaking up the cooled granola, try to keep some of those delightful clusters together. These larger chunks are perfect for easy snacking, adding texture to yogurt, or just enjoying on their own. Don’t break it up too finely unless you prefer a loose cereal.
- Even spread is key: When spreading the granola mixture onto the baking sheet, make sure it’s in an even, thin layer. Overlapping or thick patches will bake unevenly, leading to some parts being undercooked and soft, while others might be too dark and crispy.
- Use parchment paper: While mentioned in the instructions, it bears repeating. Lining your baking sheet with parchment paper or a silicone baking mat is non-negotiable. It prevents sticking, ensures easy removal, and simplifies cleanup, especially with sticky ingredients like maple syrup.
Flavorful Substitutions and Creative Additions
Once you’ve mastered this base recipe for vanilla coconut granola, you’ll discover a world of possibilities for customization. The beauty of homemade granola lies in its adaptability. While keeping the oil and sweetener amounts roughly consistent to maintain the right texture, feel free to experiment with these delicious variations:
- Nuts: Swap out the almonds for any nut you adore. Walnuts add an earthy richness, pistachios offer a vibrant color and distinct flavor, and pecans provide a buttery texture. You can also mix and match nuts with various seeds like pumpkin seeds (pepitas) or sunflower seeds for a more diverse nutritional profile and crunch.
- Sweetener: Maple syrup creates a classic flavor, but you can easily use other liquid sweeteners. Honey will give a slightly different, more robust flavor. Agave nectar is a great vegan alternative that offers a milder sweetness. Date syrup can also be used for a rich, caramel-like note, adding natural depth.
- Oil: For a richer, more robust taste, try using extra-virgin olive oil; its subtle fruity notes can surprisingly complement the granola. As mentioned, melting coconut oil will intensify the coconut flavor profile, making it a fantastic choice for this specific recipe. Avocado oil is another neutral option with healthy fats.
- Flavorings: Don’t limit yourself to vanilla and coconut! Play around with other extracts like almond extract for a nutty aroma, or a touch of orange or lemon zest for a bright, citrusy lift. A dash of ginger or cardamom can also add an exotic warmth.
- Dried Fruit: This is where it gets exciting! After you bake the granola and it has cooled completely, mix in your favorite dried fruit. Raisins, cranberries, chopped apricots, dried cherries, or even freeze-dried fruit pieces are wonderful additions. Adding them *after* baking is crucial; otherwise, the fruit will become hard, dry out, and potentially burn in the oven.
- Chocolate & Other Sweet Treats: For a more indulgent granola, stir in chocolate chips, cacao nibs, or small candy pieces (like M&Ms) once the granola is fully cooled. The residual warmth of the granola after baking might melt them, so wait until it’s completely cold.
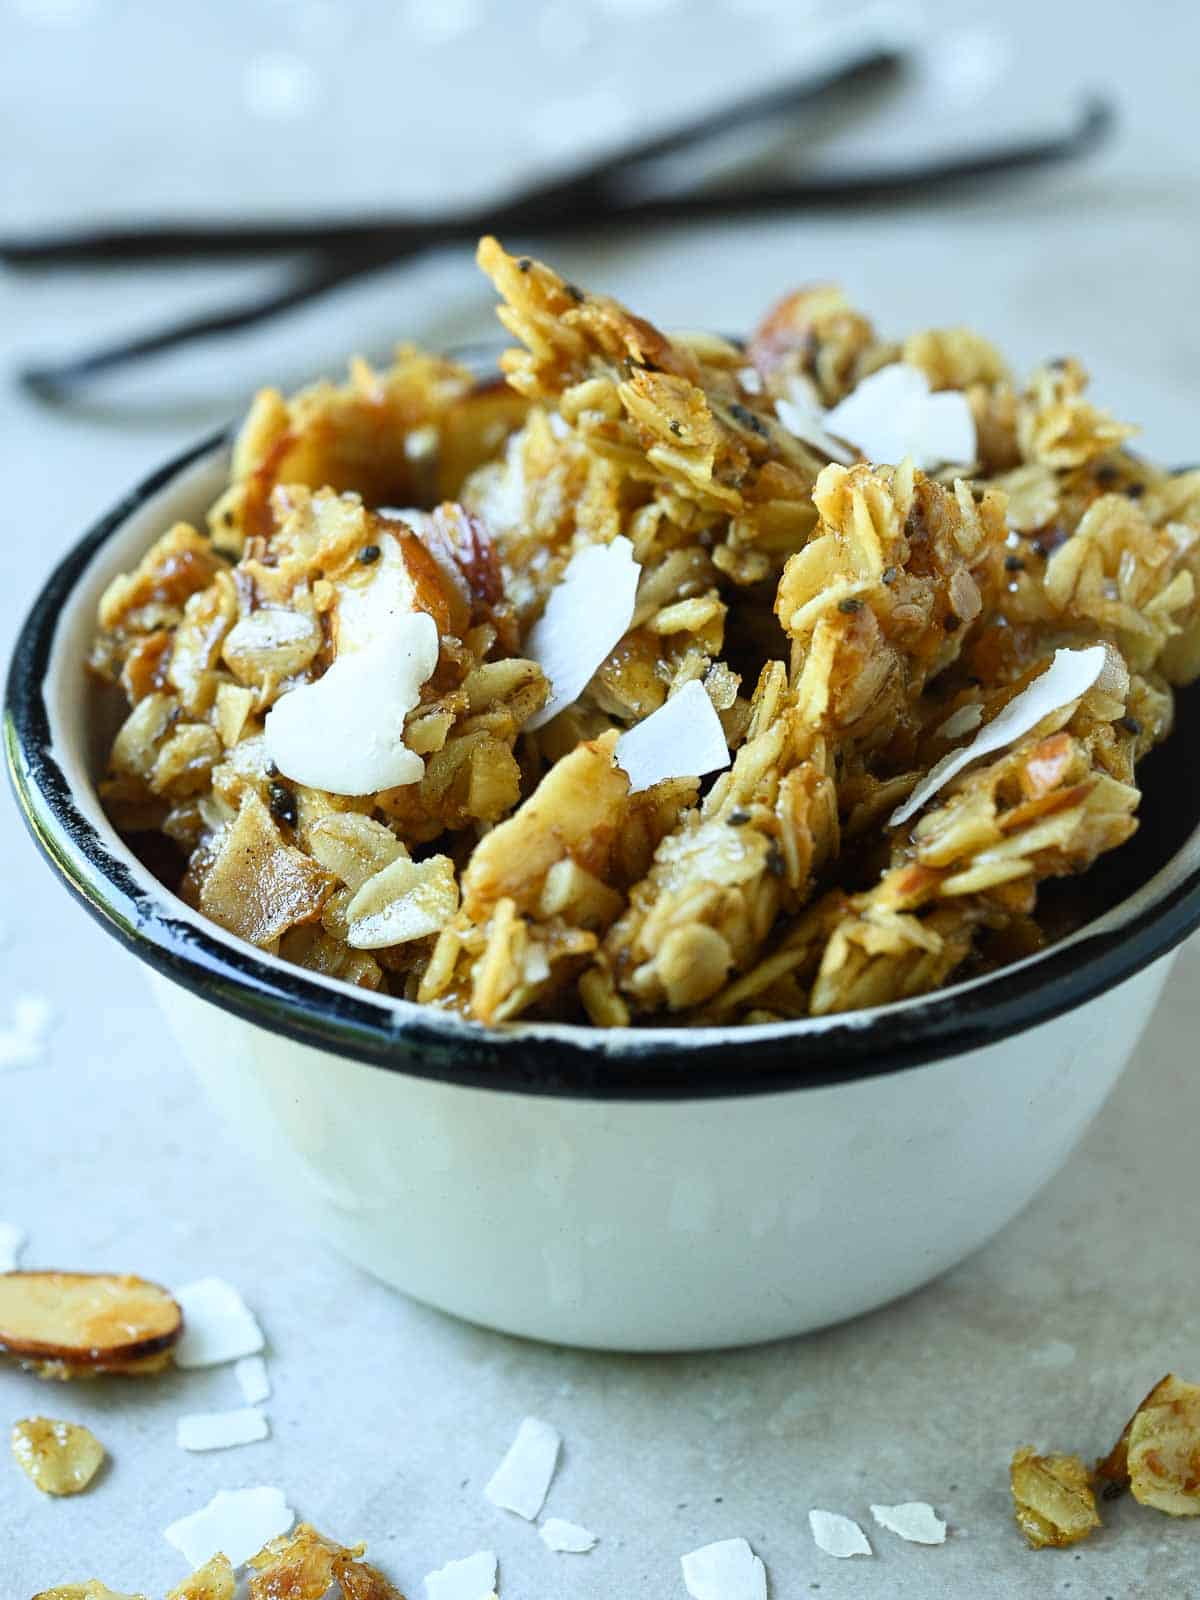
Versatile Vanilla Coconut Granola Uses
The possibilities are truly endless when it comes to enjoying your homemade granola. Its delightful crunch and irresistible flavor make it a perfect addition to a variety of meals and snacks. Here are a few suggestions to inspire you:
- Yogurt Topping: Sprinkle generously over your favorite yogurt for added texture and flavor. It pairs exceptionally well with this creamy vanilla yogurt brûlée, transforming a simple snack into a gourmet treat.
- Ice Cream Enhancement: Elevate your dessert by topping your favorite ice cream with a handful of granola. The crunch provides a delightful contrast to the smooth, cold ice cream.
- Oatmeal Upgrade: If you’re having oatmeal, this granola makes the best crunchy topping, adding an extra layer of texture and taste that plain oats often need.
- On-the-Go Snack: Granola is inherently portable! Pack it in a small container or bag for a delicious, energizing, and satisfying snack to take to work, school, or on hikes.
- Smoothie Bowl Boost: Add a hearty sprinkle to your morning smoothie bowl for extra crunch, fiber, and flavor. It’s a great way to make your smoothie feel more substantial.
- Homemade Trail Mix: Combine your vanilla coconut granola with other nuts, seeds, pretzels, or even chocolate chunks to create a customized and healthy trail mix.
- Edible Gift: This is one of my favorite uses! Package the homemade granola in a cute bag or a lovely mason jar, tie it with a ribbon, and make edible hostess, holiday, or thank-you gifts for loved ones. It’s a thoughtful and delicious present that shows you care.
Storage Solutions for Freshness
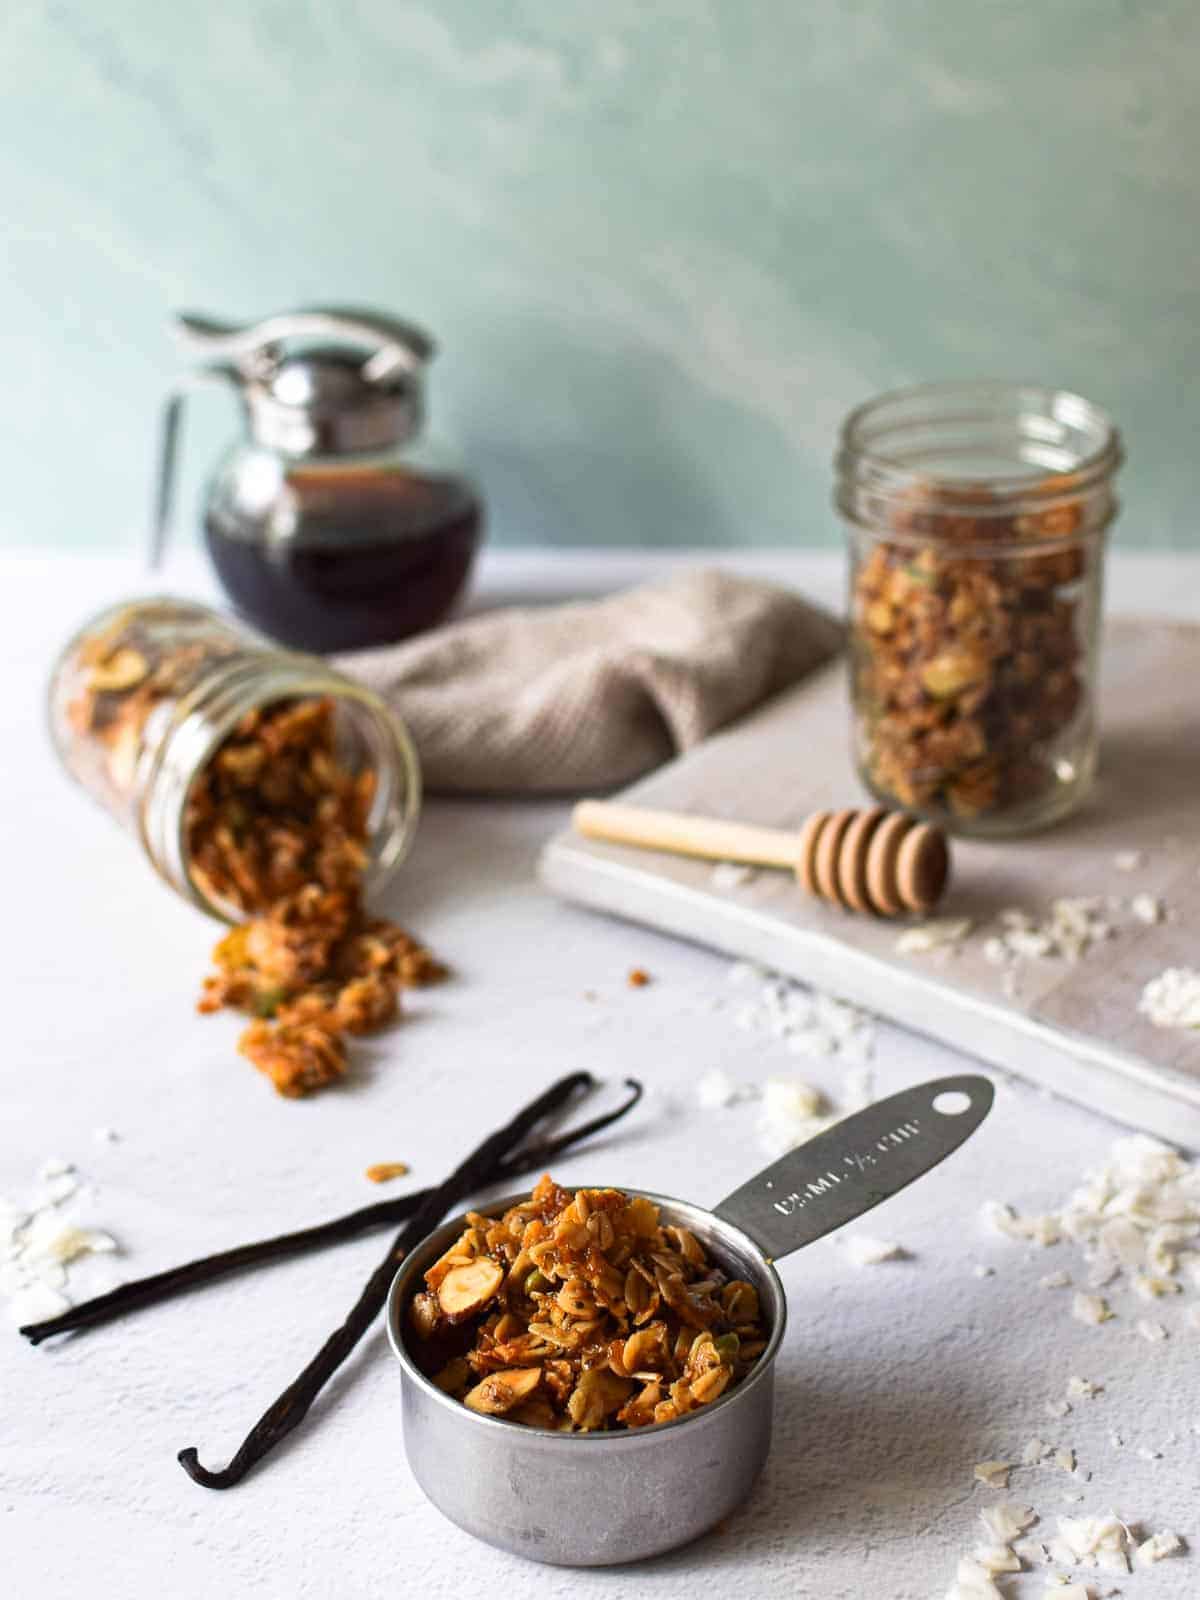
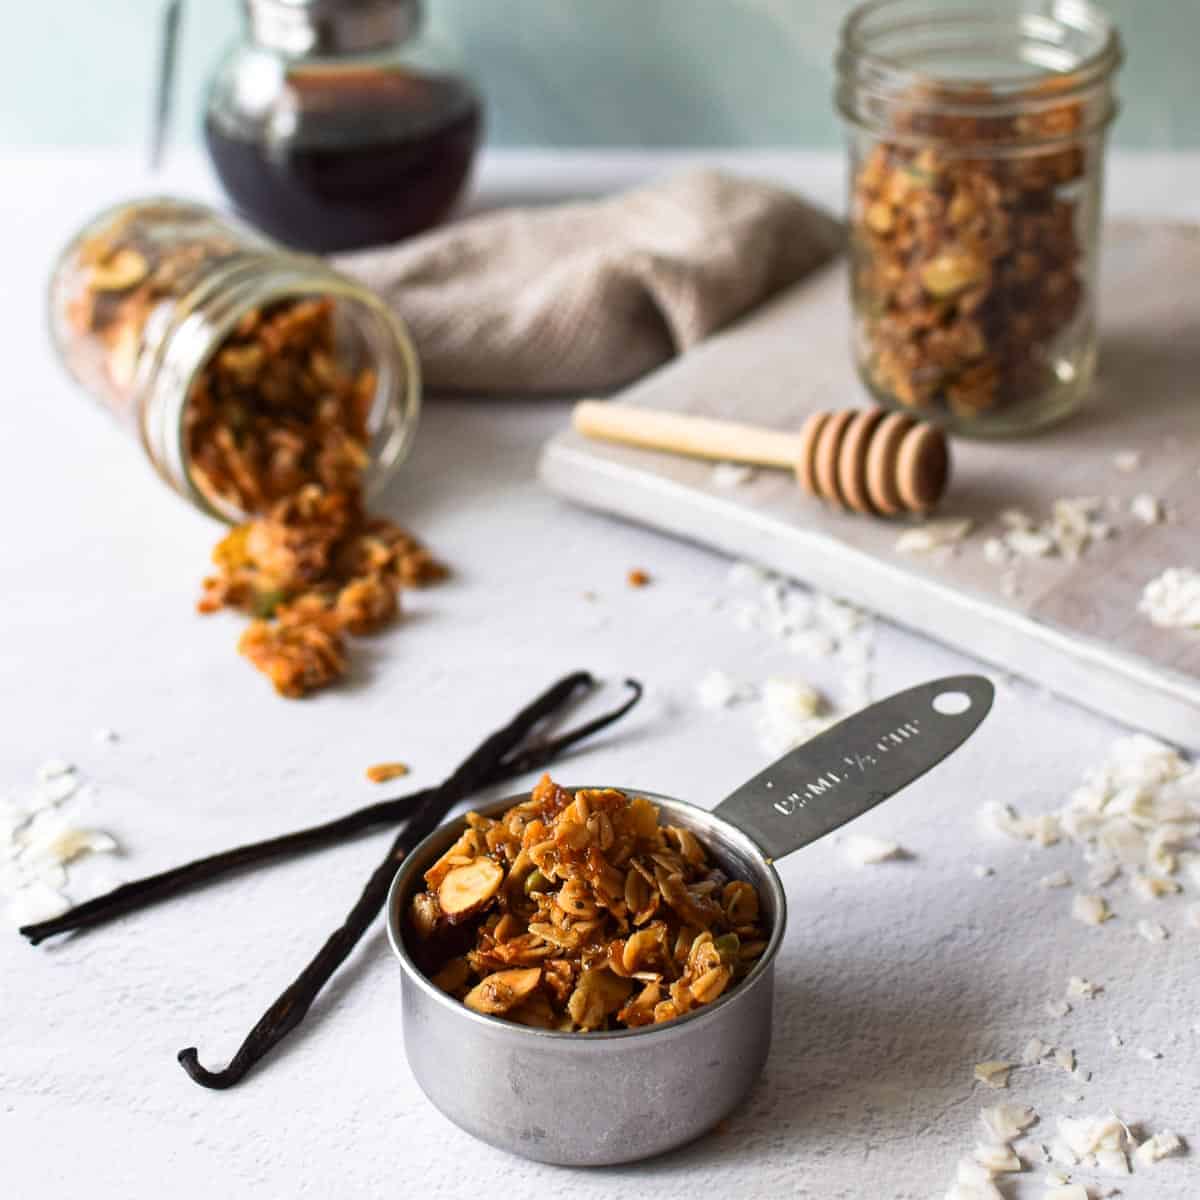
To keep your delicious vanilla coconut granola fresh and crunchy for as long as possible, proper storage is essential. Store it in an airtight container at room temperature for up to 2 weeks. Glass mason jars are perfect for this, as they create a tight seal and allow you to see your delicious creation.
When storing homemade granola, always be sure it is fully cooled. This isn’t just a suggestion; it’s a crucial step. If the granola is still warm, even slightly, it can produce condensation and moisture inside the container. This moisture will not only make your granola mushy and lose its crispness but can also lead to premature spoilage, mold growth, and a significant reduction in shelf life. Patience during the cooling process truly pays off!
Frequently Asked Questions About Granola
It’s a common misconception that granola should be hard straight out of the oven. Granola actually hardens and becomes crispy as it cools completely. Be sure to bake the granola until it achieves a beautiful golden-brown color, as directed in the recipe. It will still appear soft and flexible when hot, and that’s perfectly normal! The key is to leave it undisturbed at room temperature until it is entirely cool and dry. This undisturbed cooling process is crucial for forming those satisfying crunchy clusters.
No, it is highly recommended to avoid using any oats labeled as quick or instant for this granola recipe. These types of oats are pre-cooked and rolled thinner, which means they will absorb liquid too quickly and become mushy during the baking process, completely altering the desired crunchy consistency of your final product. This recipe has also not been tested with steel-cut oats, which require longer cooking times and a different liquid ratio. For the best success and the perfect texture, always stick to old-fashioned rolled oats.
To encourage larger clusters, there are a few tricks. First, ensure your wet ingredients (maple syrup, oil) thoroughly coat all the dry ingredients. Second, when spreading the mixture onto the baking sheet, press it down firmly with a spatula into a relatively even layer. Most importantly, after the initial baking, avoid stirring the granola too much. Only stir halfway through to prevent burning, but try to keep it as consolidated as possible. Once out of the oven, do not touch or disturb the granola at all while it cools completely. This undisturbed cooling period is vital for the sugars to harden and bind the oats into large, satisfying clusters. Once fully cooled, break it apart gently.
This recipe can easily be made gluten-free by simply using certified gluten-free old-fashioned rolled oats. While oats are naturally gluten-free, they are often processed in facilities that also handle wheat, barley, and rye, leading to cross-contamination. If gluten intolerance or allergy is a concern, always look for oats specifically labeled “certified gluten-free” to ensure they meet strict standards and are safe for consumption.
Perfect Granola Pairings
- Apple Pie Oatmeal Brûlée
- Blackberry Lemon Curd Parfait
- PB2 Overnight Oats
- Brûlée Banana Split with Yogurt
Did you make this recipe? I would love to hear about it! Please leave a ⭐⭐⭐⭐⭐ rating with a comment right below the recipe card. If you snap a photo of your creation, don’t forget to tag me on Instagram @brunchandbatter.
📖 Recipe: Vanilla Coconut Granola
Vanilla Coconut Granola
Prevent your screen from going dark
📌Pin Recipe
10 minutes
40 minutes
45 minutes
1 hour
35 minutes
Breakfast, Snack
American
6
cups
421
kcal
Equipment
-
large sheet pan
-
Parchment paper or silicone baking mat
-
Large mixing bowl
-
Spatula or wooden spoon
Ingredients
- 3 cups old-fashioned rolled oats
- 1 cup almonds
- 1 tablespoon chia seeds
- 1 cup unsweetened coconut flakes
- 1 teaspoon cinnamon
- ¾ teaspoon Kosher or fine sea salt
- ⅔ cup maple syrup (or honey)
- ½ cup neutral oil (vegetable, canola, grapeseed)
- 1 tablespoon vanilla extract
- 1 teaspoon coconut extract
Instructions
-
Preheat your oven to 300°F (150°C). Line a large baking sheet (approximately 18 x 26 inches) with parchment paper or a silicone baking mat to prevent sticking.
-
In a spacious medium bowl, combine all the dry ingredients: old-fashioned rolled oats, almonds, chia seeds, unsweetened coconut flakes, ground cinnamon, and Kosher or fine sea salt. Stir well with a spatula to ensure an even blend.3 cups old-fashioned rolled oats,
1 cup almonds,
1 tablespoon chia seeds,
1 cup unsweetened coconut flakes,
1 teaspoon cinnamon,
¾ teaspoon Kosher or fine sea salt -
Now, add the wet components: maple syrup (or honey), neutral oil (such as vegetable, canola, or grapeseed), pure vanilla extract, and coconut extract. Using your spatula or wooden spoon, thoroughly stir all the ingredients until everything is uniformly coated.⅔ cup maple syrup (or honey),
½ cup neutral oil (vegetable, canola, grapeseed),
1 tablespoon vanilla extract,
1 teaspoon coconut extract -
Pour the entire granola mixture onto the prepared baking pan. Spread it out as flat and even as possible across the surface. Bake at 300°F (150°C) for a total of 35-40 minutes. Halfway through the baking time (around 20 minutes), give it a gentle stir with your spatula to ensure even browning. Continue baking until the granola is a rich golden brown. Remember, the granola will still feel somewhat soft when it’s hot – it will firm up and become perfectly crispy as it dries and cools.
-
Once removed from the oven, allow the granola to cool completely in the pan on a wire rack. It is crucial not to disturb it during this phase, as this is when it develops its crisp texture and forms clusters. When fully cooled and hardened, break it into your desired small clusters.
-
Store your homemade vanilla coconut granola in an airtight container at room temperature for approximately 2 weeks. Enjoy it as a healthy breakfast, a satisfying snack, or a delightful topping!
Notes
- Resist the urge to overbake because you don’t see that the granola hardened after the cooking time. The granola will still be soft at first and will harden as it dries.
- Ensure that the granola cools completely in the pan before storing it in an airtight container. If it is still warm, it will get mushy in storage.
- When breaking up the granola, keep some clusters together- those are the best for easy snacking.
Nutrition*
Calories: 421kcal
Carbohydrates: 35.2g
Protein: 4.5g
Fat: 8.6g
Saturated Fat: 2.3g
Sodium: 65mg
Potassium: 201mg
Fiber: 3.7g
Sugar: 24.9g
Calcium: 76mg
Iron: 2mg
*Nutrition information is provided as a courtesy and is an estimate only. Nutrition information can vary depending on many factors, such as products used, measurements and substitutions, therefore it is recommended that you obtain nutritional calculations based on your own finished recipe.
Have you tried this recipe?
Leave a comment below and share a photo on Instagram. Tag @brunchandbatter or hashtag it with #brunchandbatter
