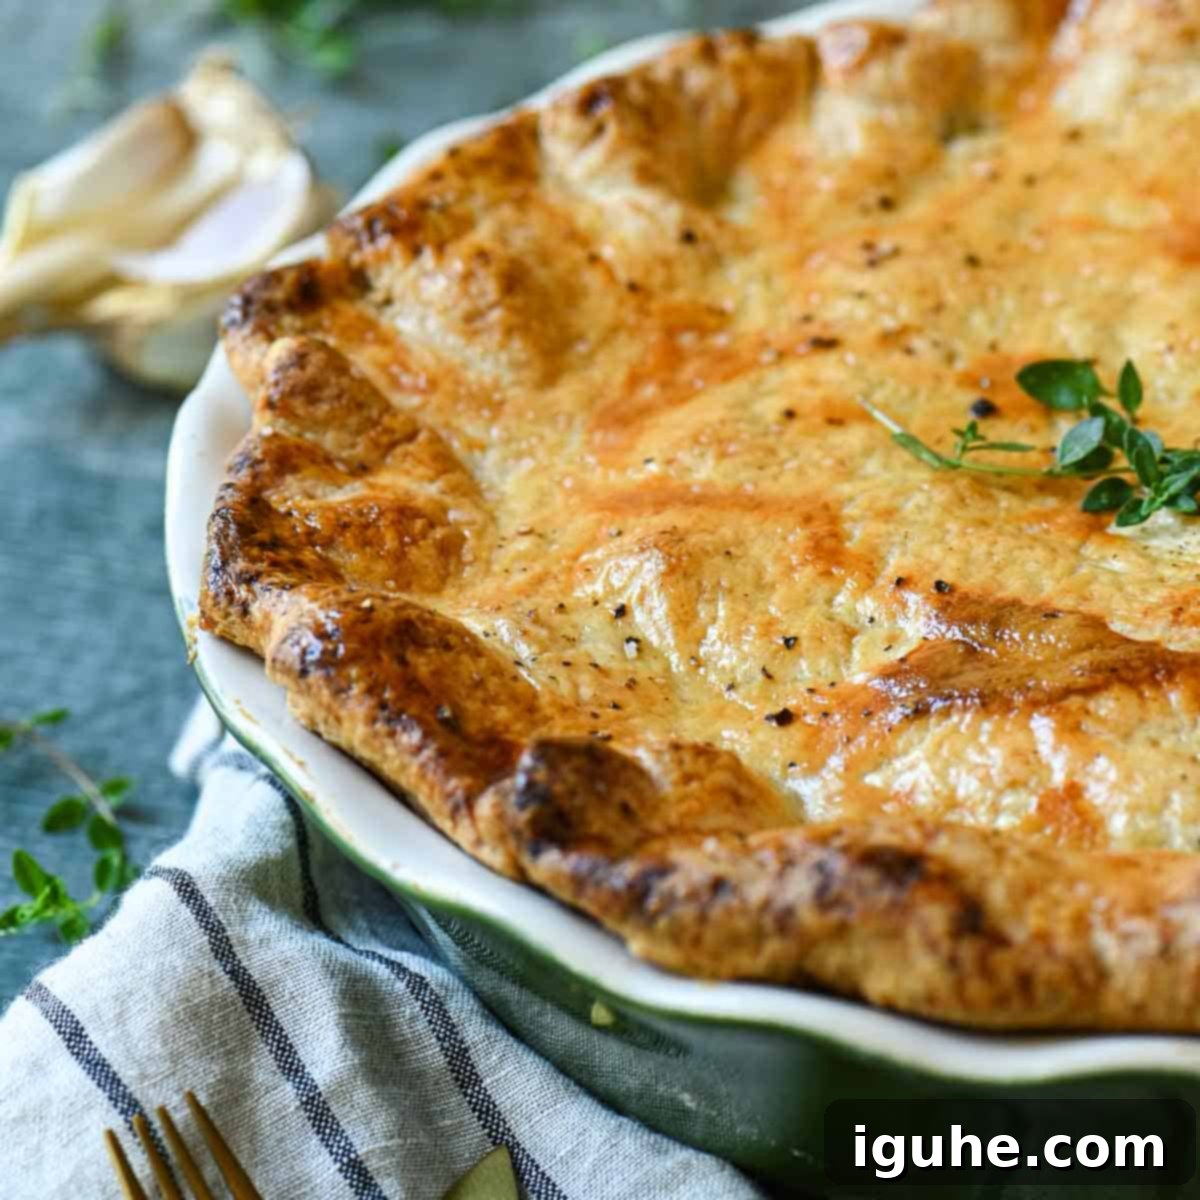
Easy Rotisserie Chicken Pot Pie: Flaky Homemade Crust & Quick Rotisserie Chicken
Craving a dish that wraps you in a warm hug, brings back nostalgic memories, and delivers pure comfort with every bite? This Rotisserie Chicken Pot Pie is exactly what you need. It masterfully combines all the beloved classic flavors and textures of traditional chicken pot pie, but streamlines the process thanks to the convenience of store-bought rotisserie chicken. The true star, however, remains the rich, buttery, and utterly flaky homemade pie crust that encases the creamy filling, bringing the entire dish to a level of deliciousness that simple shortcuts can’t match. This recipe offers the best of both worlds: gourmet taste with manageable effort, making it perfect for a weeknight dinner or a cozy weekend meal.
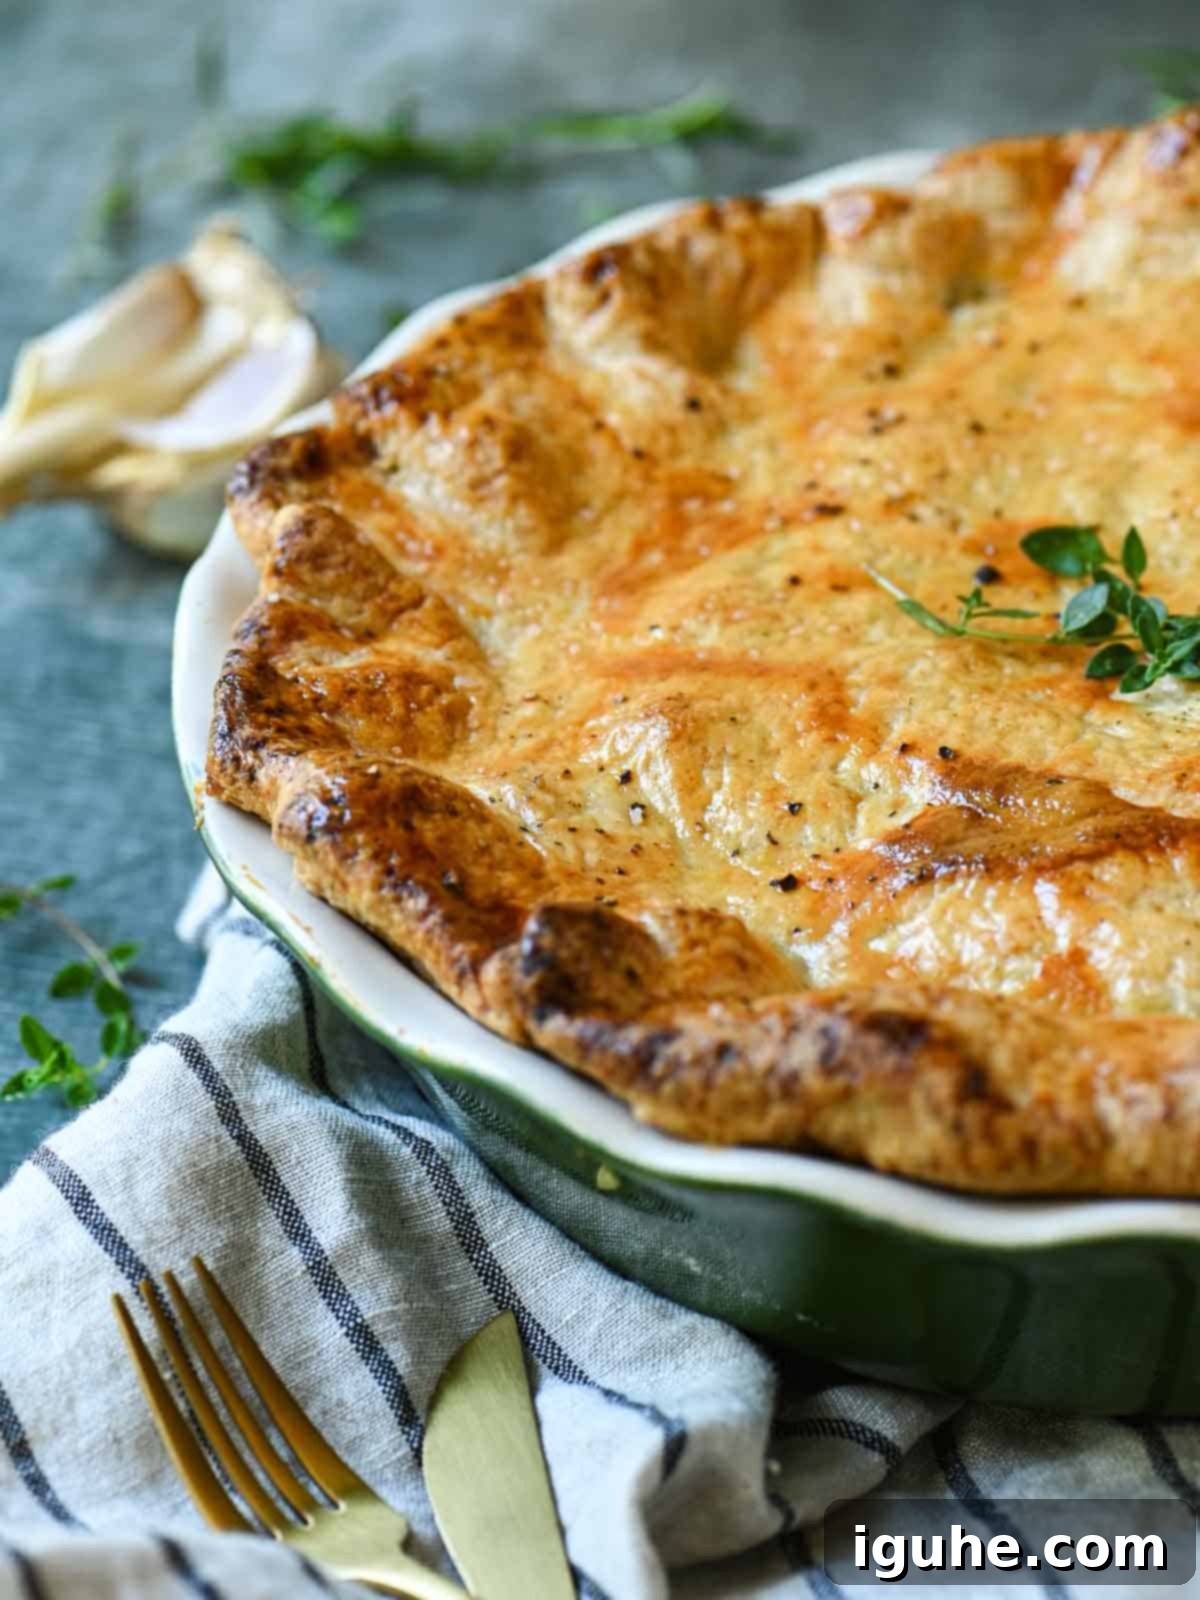
The Best of Both Worlds: Why Homemade Crust and Rotisserie Chicken Are a Winning Combo
When it comes to crafting the perfect chicken pot pie, there’s a delicate balance between tradition and practicality. While there are plenty of shortcuts available, especially with pre-made components, I wholeheartedly believe that certain elements are worth the extra effort for an unparalleled taste experience. For me, that crucial element is the pie crust.
Many recipes might suggest using a store-bought pie crust to save time, and it certainly gets the job done in a pinch. However, to truly elevate your pot pie from good to extraordinary, nothing compares to a homemade crust. The dedication to making your own crust pays dividends in its remarkable buttery flavor and that irresistible, melt-in-your-mouth flakiness that defines a truly exceptional pie. It’s the foundation your rich, savory filling deserves, providing a textural contrast and depth of flavor that a pre-made alternative simply cannot replicate. This is where the love and effort in your cooking truly shine through.
Yet, I am also a firm believer in smart shortcuts, especially when they don’t compromise quality but significantly reduce prep time. This is precisely why rotisserie chicken is my go-to choice for this recipe. It’s an ingenious solution that provides juicy, flavorful, and perfectly cooked chicken without any of the fuss. Already seasoned and tender, it bypasses the need for raw chicken preparation, making weeknight cooking so much easier and faster. My local grocery store can barely keep them stocked, which tells me I’m not the only one who relies on this convenient, flavorful shortcut to get delicious meals on the table.
By combining these two philosophies, we achieve culinary perfection: a creamy, perfectly seasoned chicken and vegetable filling, prepared with fresh ingredients, nestled within a golden, flaky, homemade crust that melts in your mouth. It’s more than just a meal; it’s comfort food designed to nourish the soul, delivering big on flavor without demanding your entire evening in the kitchen.
Unlocking Flavor: Essential Ingredients & Savvy Substitutions
This Rotisserie Chicken Pot Pie embraces all the classic components you know and love, featuring fresh, vibrant vegetables, savory onions, aromatic garlic, and a luxurious cream-based sauce. But what truly distinguishes this filling, in my opinion, is the harmonious balance between fresh herbs and carefully selected dried seasonings. Each ingredient plays a vital role in creating a complex and deeply satisfying flavor profile. Let’s dive into the key players and explore some smart substitutions.
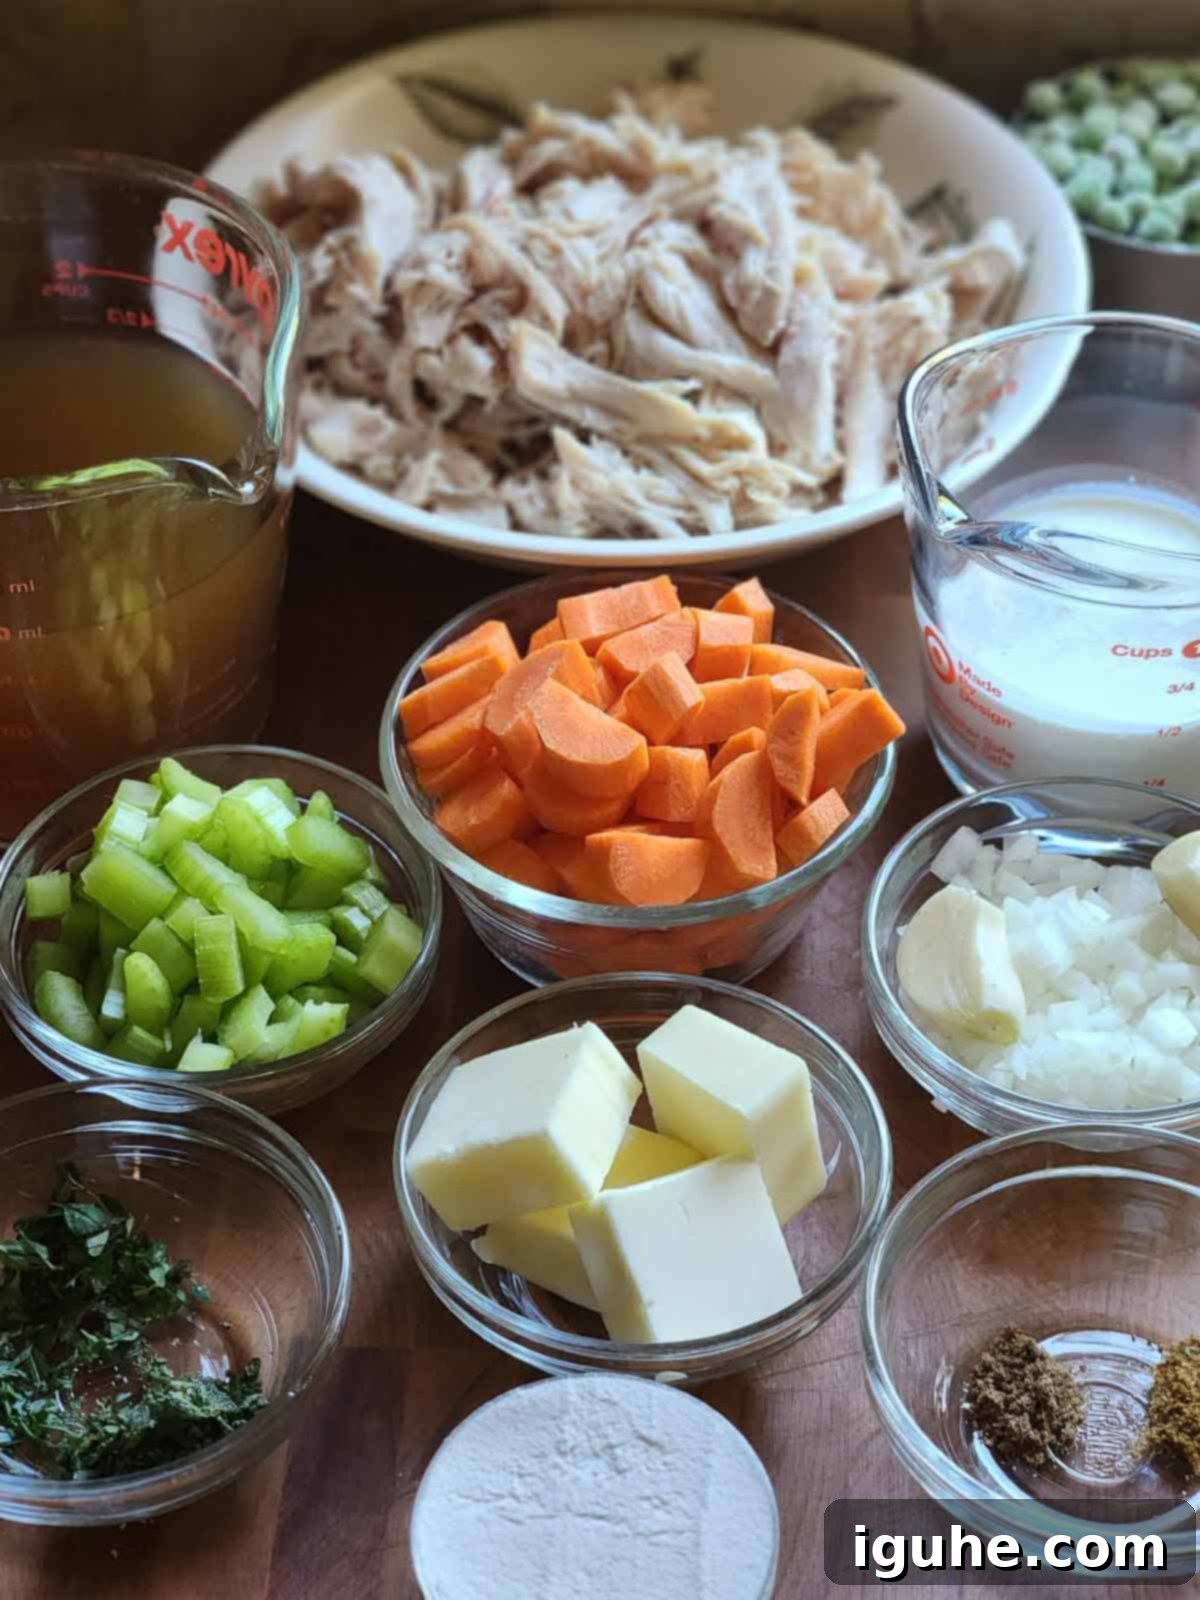
- Rotisserie Chicken: The cornerstone of this easy pot pie! A store-bought rotisserie chicken significantly reduces cooking time while adding incredible depth of flavor. I recommend using all the white meat, which typically yields about 3 cups shredded, leaving the darker meat for another use. For the easiest shredding experience, tackle this task while the chicken is still warm.
- Classic Vegetables: The traditional trio of carrots, celery, and peas forms the heart of our vegetable medley. Carrots add sweetness and color, celery provides a subtle earthy crunch, and peas burst with fresh flavor. For variety, feel free to incorporate other favorites such as sliced mushrooms for an umami boost, sweet corn for extra kernels of joy, or even diced potatoes for a heartier filling. Just ensure all vegetables are diced to a similar size for even cooking.
- Aromatic Base (Onions and Garlic): These two aromatics are fundamental for building a rich flavor foundation. Yellow onion, when sautéed, mellows into a sweet, savory base, while minced garlic introduces a pungent, zesty kick that brightens the entire filling. Don’t skimp on these for maximum flavor.
- Fresh Herbs Trio: This is where the magic happens! My preferred blend includes fresh thyme, sage, and tarragon. Thyme offers an earthy, slightly minty note; sage contributes a warm, slightly peppery, almost woody depth; and tarragon provides a delicate, sophisticated anise-like essence that truly makes the filling pop. If fresh herbs are unavailable or you prefer different profiles, fresh parsley offers a vibrant, clean finish, while rosemary can provide a more robust, piney aroma.
- Thickening Agents (Flour, Chicken Stock, and Heavy Cream): These ingredients are essential for creating the luscious, creamy gravy that beautifully coats the chicken and vegetables. Unsalted butter forms the base of a simple roux when combined with all-purpose flour, which then thickens the liquid. High-quality chicken stock provides a savory liquid, and heavy cream enriches the sauce, giving it an unparalleled silky texture and decadent mouthfeel.
- Secret Spice Blend (Dried Spices): Get ready for the unexpected stars! A dash of Old Bay seasoning is my secret weapon. Its complex blend of savory herbs and spices (including paprika, celery salt, and red pepper) magically pulls all the flavors of the pot pie together, adding a subtle, unique warmth. To further enhance the aromatic depth, a touch of ground coriander adds a sweet-savory note with a hint of citrus, making the filling truly unforgettable.
- Butter Crust Ingredients: For a truly divine double crust, you’ll need all-purpose flour for structure, a small amount of granulated sugar to aid in browning and balance the savory notes, Kosher or fine sea salt to enhance flavor, and crucially, very cold unsalted butter cut into small cubes. The cold butter is paramount for achieving those distinct layers and a wonderfully flaky texture. Ice water is added sparingly to bind the dough without overworking the gluten.
- Egg Wash: Before your pie hits the oven, a simple egg wash (one beaten egg mixed with a tablespoon of water or heavy cream) is brushed over the top crust. This step is key for achieving that beautiful, shiny, golden-brown crust and a crisp finish that’s visually appealing and deliciously crunchy.
Crafting Your Masterpiece: Step-by-Step Instructions
For a head start on your baking, consider making your pie crust in advance. I often prepare multiple batches of pie crusts and freeze them, ensuring a homemade pie is always a convenient option!
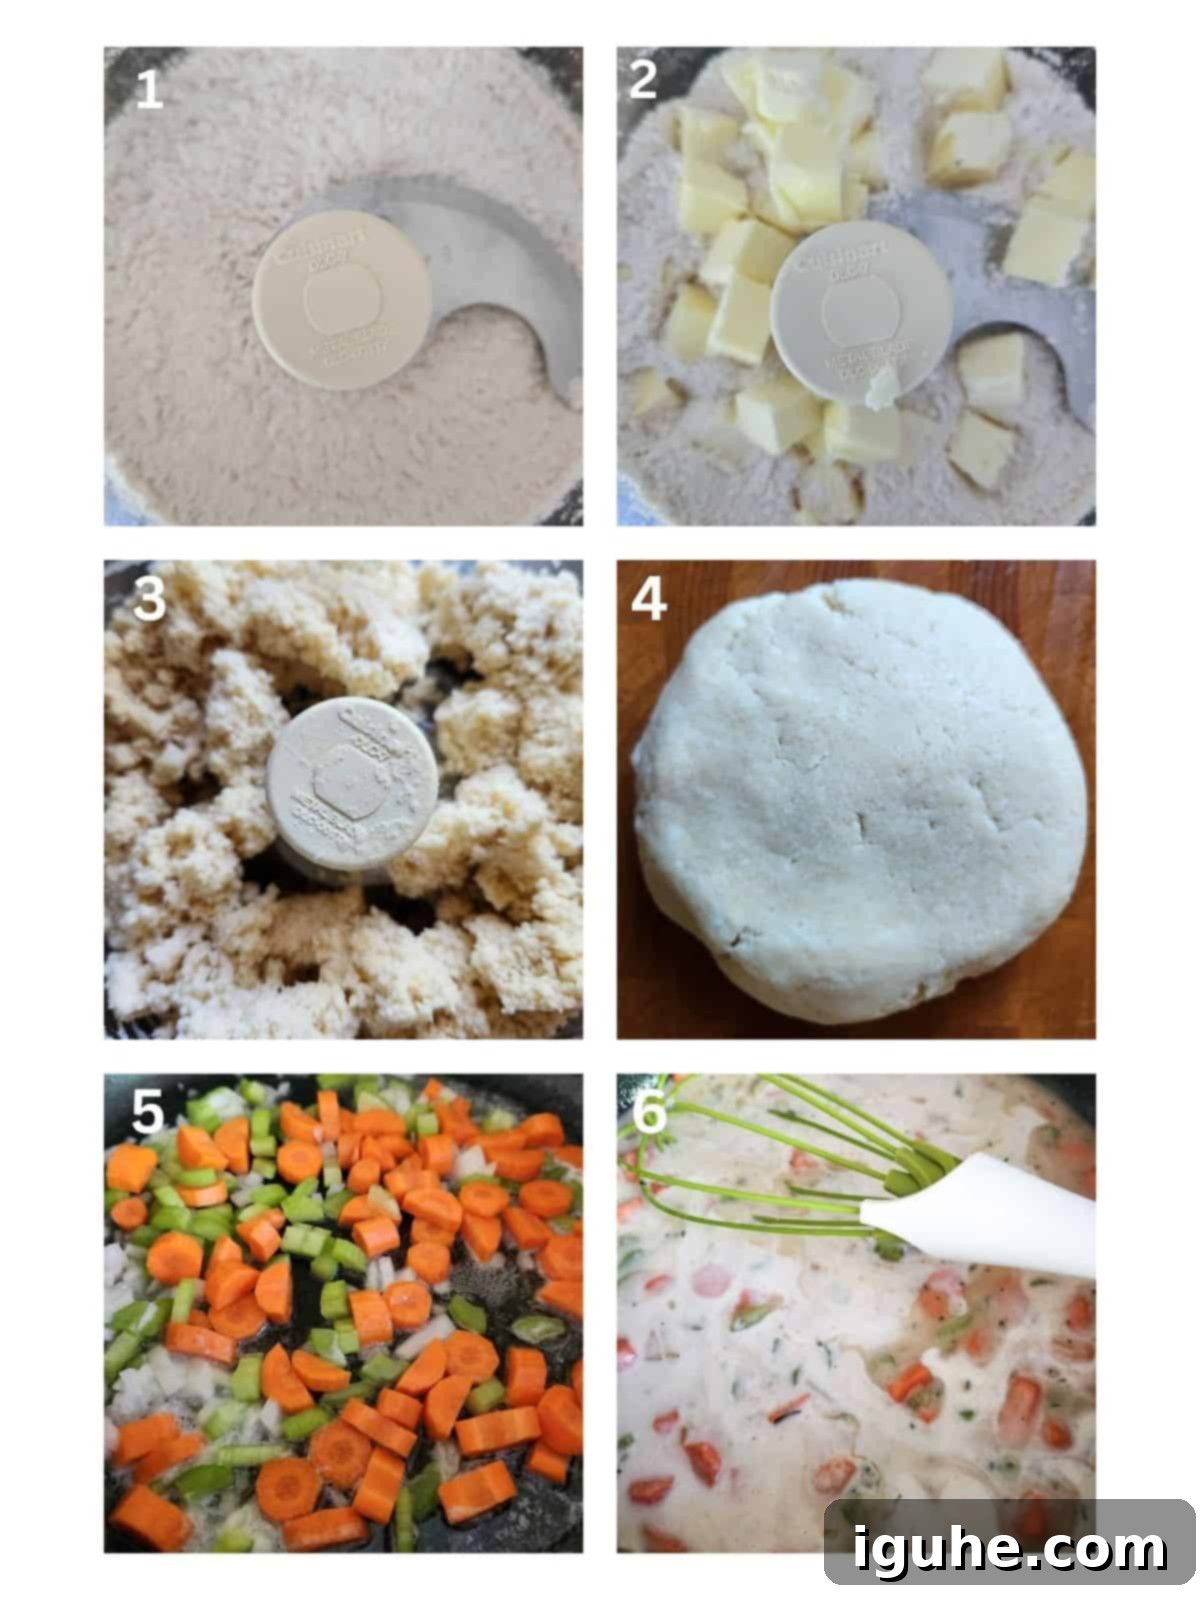
Step 1: Create the Dough Base. In the bowl of a food processor, combine the all-purpose flour, granulated sugar, and salt. Pulse a few times until these dry ingredients are thoroughly mixed. This ensures an even distribution of flavor throughout the crust.
Step 2: Incorporate Cold Butter. Add the very cold, unsalted butter cubes to the dry ingredients. Pulse the mixture in short bursts until it resembles coarse crumbs, with noticeable pea-sized pieces of butter remaining. These small butter chunks are crucial for creating a flaky crust.
Step 3: Bind with Ice Water. Begin adding ice water, starting with 6 tablespoons, a couple of tablespoons at a time. Pulse the food processor after each addition. Continue adding water, one tablespoon at a time, until the dough just starts to come together and has a crumbly, sand-like texture. The dough should hold its shape when pressed between your fingers (you might need up to 10 tablespoons depending on humidity). Be careful not to overmix.
Step 4: Chill the Dough. Turn the dough out onto a lightly floured surface. Gently gather it into a ball, then divide it into two equal portions. Shape each portion into a flat, round disc. Wrap each disc tightly in plastic wrap and refrigerate for a minimum of 15 minutes. This chilling period is essential for relaxing the gluten, making the dough easier to roll, and firming up the butter.
Step 5: Sauté the Aromatics. In a large skillet or Dutch oven, melt the ¼ cup of unsalted butter over medium heat. Add the chopped yellow onion, diced celery, and diced carrots. Cook these vegetables, stirring occasionally, until they have softened but are not browned, typically taking about 5-7 minutes. Then, add the minced garlic and cook for an additional minute until fragrant.
Step 6: Build the Creamy Base. Stir in the fresh thyme, sage, tarragon, Old Bay seasoning, ground coriander (if using), Kosher salt, and freshly ground black pepper. Cook for about 1 minute, allowing the spices to become fragrant. Next, sprinkle the ⅓ cup of all-purpose flour over the vegetables and stir until everything is evenly coated. Cook for 1-2 minutes to cook out the raw flour taste. Gradually whisk in the chicken stock, followed by the heavy cream. Bring the mixture to a gentle simmer.
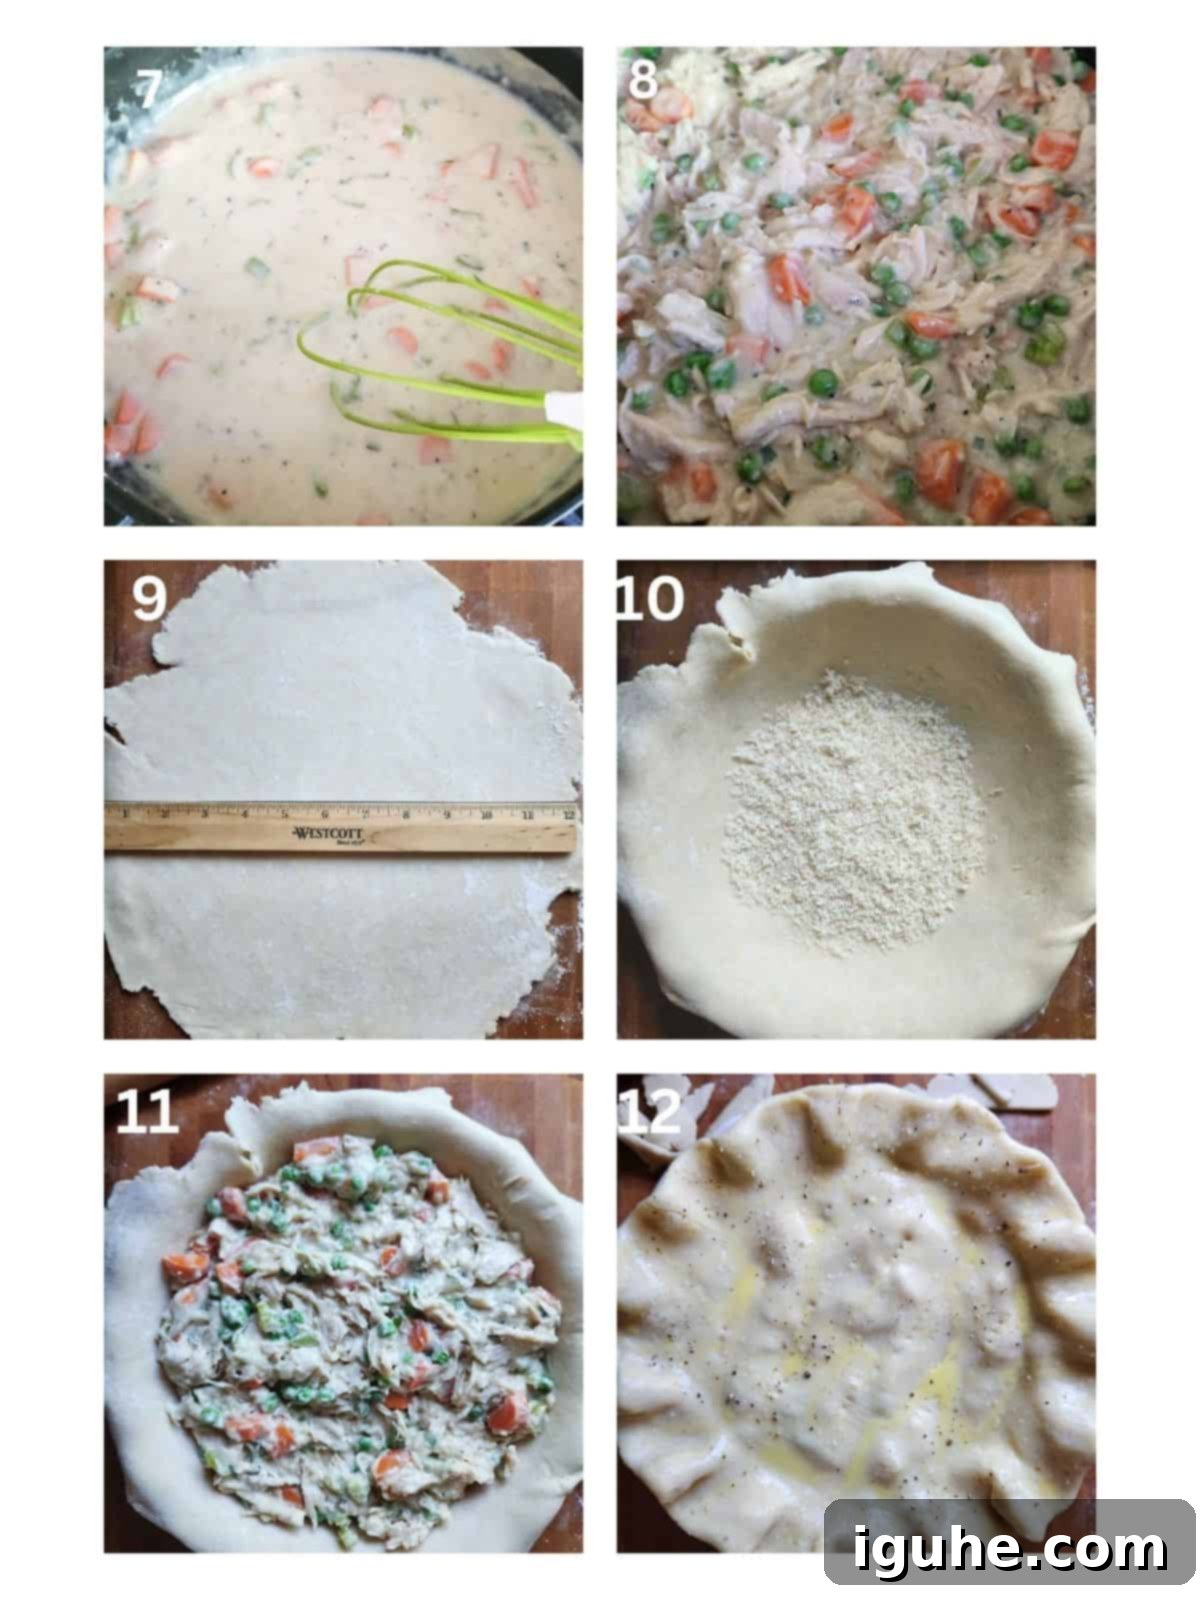
Step 7: Thicken the Filling. Continue cooking the filling mixture, stirring occasionally, until it has significantly thickened into a rich, creamy sauce. This process usually takes about 7-10 minutes. Taste the filling and adjust the seasonings (salt, pepper, herbs) as needed to achieve your desired flavor.
Step 8: Add Chicken and Peas. Remove the skillet from the heat. Stir in the 3 cups of shredded rotisserie chicken and the 1 cup of frozen peas. Toss gently to combine all ingredients thoroughly. Set the filling aside to cool slightly while you prepare the pie crusts. This cooling step helps prevent a soggy bottom crust.
Step 9: Roll Out the Dough. Remove the chilled dough discs from the refrigerator and place them on a lightly floured surface. Using a rolling pin, roll each disc out into a circle, approximately 12-13 inches in diameter. Work quickly to keep the dough cold and pliable.
Step 10: Assemble the Bottom Crust. Carefully transfer one of the rolled dough circles into a 10-inch pie plate, gently pressing it into the bottom and up the sides so that the edges hang slightly over. If desired, sprinkle 1-2 tablespoons of grated Parmesan cheese evenly over the bottom crust. This optional step helps to create a barrier and can prevent the crust from becoming soggy.
Step 11: Fill the Pie. Pour the cooled chicken and vegetable filling evenly into the prepared bottom crust, spreading it to the edges.
Step 12: Add the Top Crust and Finish. Carefully place the second rolled dough circle over the filling. Trim any excess dough from both the top and bottom crusts, leaving about a ½-inch overhang. Tuck the edges of the top crust under the bottom crust and then crimp them together firmly to seal, either using your fingers or the tines of a fork for a decorative finish. Cut a few small slits in the center of the top crust to allow steam to escape during baking. Finally, brush the entire top surface with the prepared egg wash and sprinkle lightly with a pinch of extra salt and freshly ground black pepper for a beautiful golden sheen and enhanced flavor.
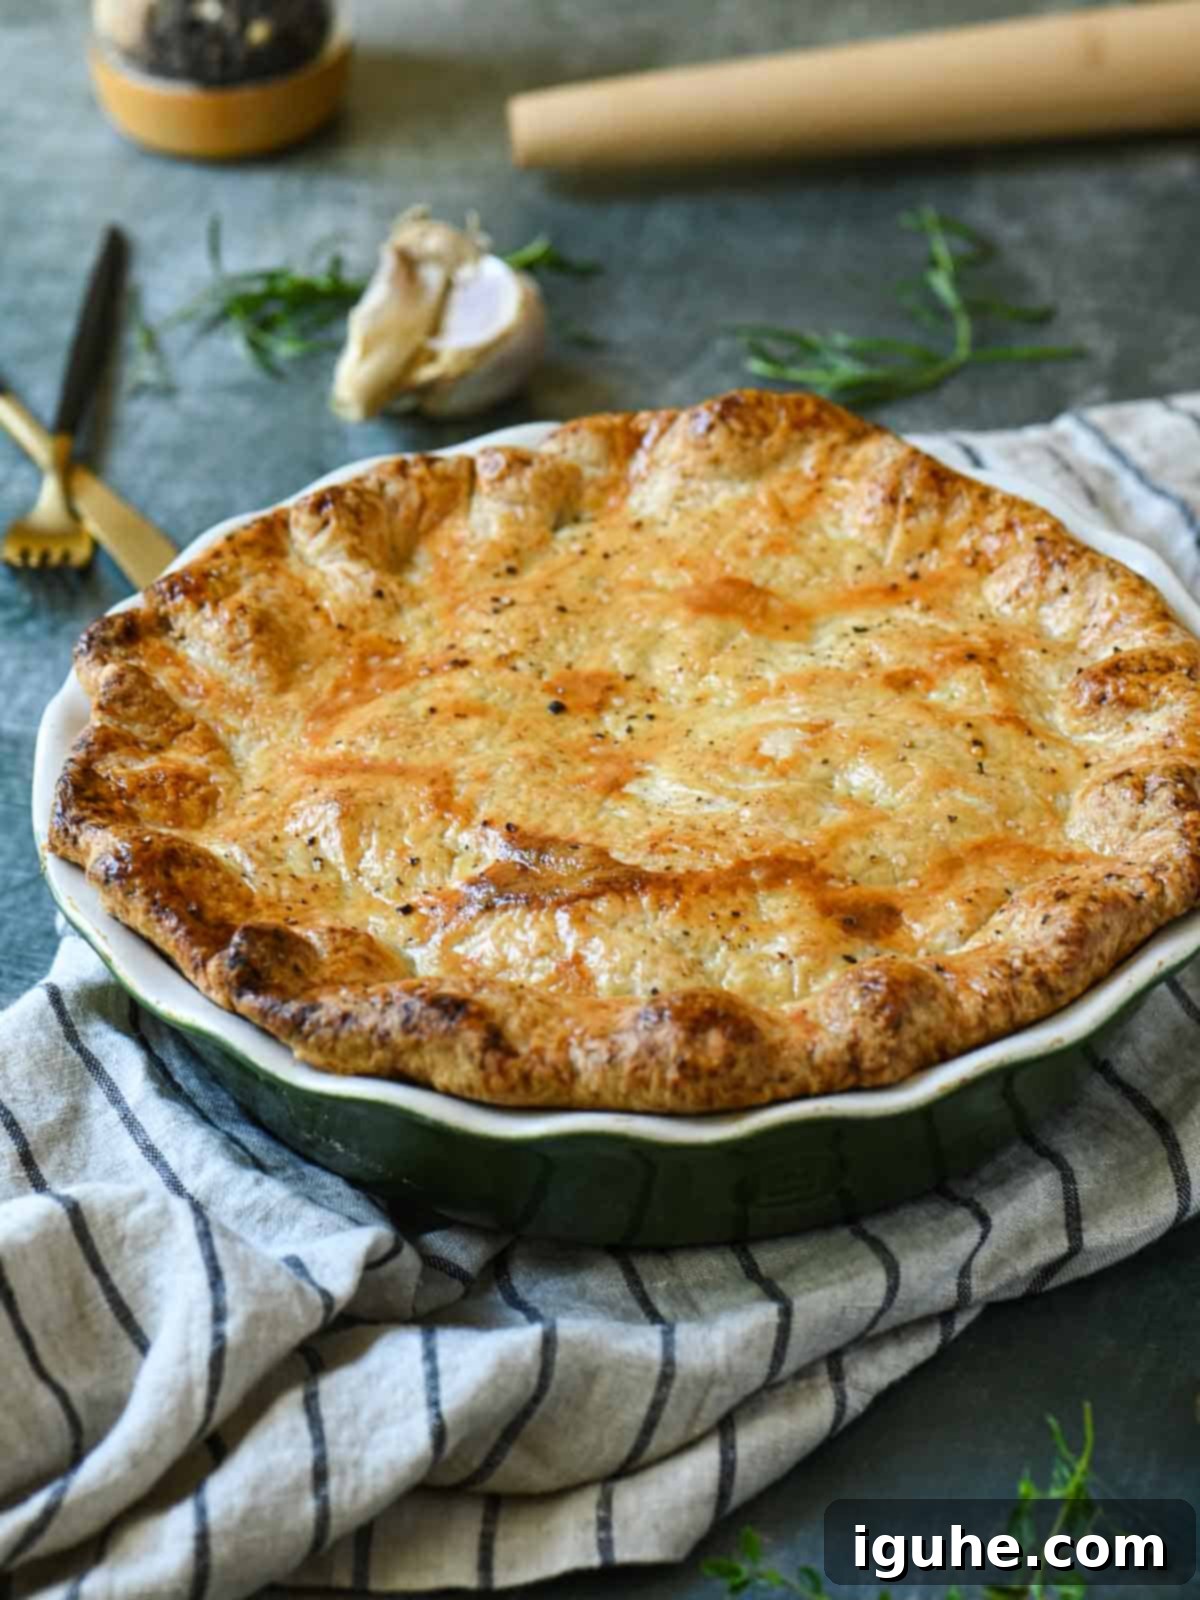
Bake the pie in a preheated oven at 400°F (200°C) for 45-55 minutes, or until the crust is a rich, golden brown and the filling is visibly bubbling hot through the vents. Once baked, allow the pot pie to cool and rest for at least 15 minutes before slicing and serving. This crucial resting period allows the creamy filling to set, ensuring cleaner, more defined slices.
👩🍳 Expert Tips for Your Best Chicken Pot Pie
- Choose the Right Pie Dish: For optimal results, always opt for a metal or stoneware pie dish. These materials are superior heat conductors compared to glass, ensuring that your bottom crust bakes evenly and achieves that coveted crisp, golden finish. Glass dishes tend to yield a softer, sometimes soggier, bottom crust.
- Bake on the Bottom Rack: To promote even cooking and guarantee a beautifully crisp bottom crust, position your chicken pot pie on the lowest rack in your oven. This placement maximizes direct heat exposure to the base of the pie, preventing it from becoming undercooked or doughy.
- Prevent a Soggy Bottom with Parmesan: This is a game-changing secret for a perfectly crisp base! Before pouring in your delicious filling, sprinkle a thin, even layer of grated Parmesan cheese over the bottom pie crust. As the pie bakes, the Parmesan creates a protective barrier, absorbing any excess moisture from the filling and helping the crust to crisp up beautifully.
- Keep Your Butter Cold: The key to a truly flaky, tender pie crust is very cold butter. Cold butter creates pockets of steam during baking, which separate the layers of dough, resulting in a light and airy texture. If your dough becomes too warm while handling, don’t hesitate to pop it back into the refrigerator for 10-15 minutes.
- Don’t Overwork the Dough: Handle your pie dough as little as possible. Overworking the dough develops gluten too much, which can lead to a tough, rather than tender, crust. Mix just until combined and roll gently.
- Cool the Filling: Ensure your chicken and vegetable filling has cooled sufficiently before spooning it into the pie crust. Hot filling can prematurely melt the butter in the bottom crust, leading to a soggy texture.
Creative Variations for Your Pot Pie Adventure
Chicken pot pie is an incredibly versatile dish, offering endless opportunities for culinary creativity. Feel empowered to experiment with different meats, embrace vegetarian options, introduce a spicy kick, or swap out the traditional crust for something that better suits your taste or dietary needs.
- Hearty Turkey Pot Pie: This variation is the quintessential way to utilize leftover holiday turkey! Simply swap out the shredded rotisserie chicken for an equal amount of cooked, shredded turkey. The rich flavors of the gravy beautifully complement the turkey, creating a comforting and resourceful new meal that’s perfect for post-Thanksgiving or Christmas.
- Wholesome Vegetable Pot Pie: For a delicious meat-free alternative, replace the chicken with an abundance of your favorite vegetables. The beauty here is in your choice! Consider adding hearty cremini mushrooms for an earthy depth, sweet corn kernels, tender diced potatoes, colorful bell peppers, or even roasted butternut squash for a sweet and savory twist. Just ensure you maintain similar ratios to the original recipe for a balanced filling.
- Spicy Tex-Mex Chicken Pot Pie: If you’re a fan of a little heat and bold flavors, transform your pot pie into a Tex-Mex sensation! Introduce black beans, a generous amount of shredded cheddar cheese, finely diced jalapeños, and a blend of chili powder and cumin into the filling. For an authentic touch, consider topping it with a cornbread crust instead of traditional pastry.
- Alternative Crust Options: While I adore a homemade flaky crust, sometimes time or preference calls for something different. Store-bought pie crusts offer a convenient shortcut. Puff pastry is another excellent choice; simply roll it out and drape it over the filling for an incredibly light, airy, and golden topping. For a more rustic, home-style appeal, arrange frozen biscuits on top of the filling, allowing them to bake into wonderfully soft, doughy crowns, creating a cobbler-style pot pie.
- Individual Pot Pies: For charming single servings, ideal for portion control or a more elegant presentation, bake your pot pie filling in individual ramekins or small oven-safe bowls. Roll out the crust, cut it to fit, and top each ramekin. Reduce the baking time accordingly (typically 25-35 minutes), ensuring the crust is golden and the filling is bubbling.
Serving Your Delicious Pot Pie
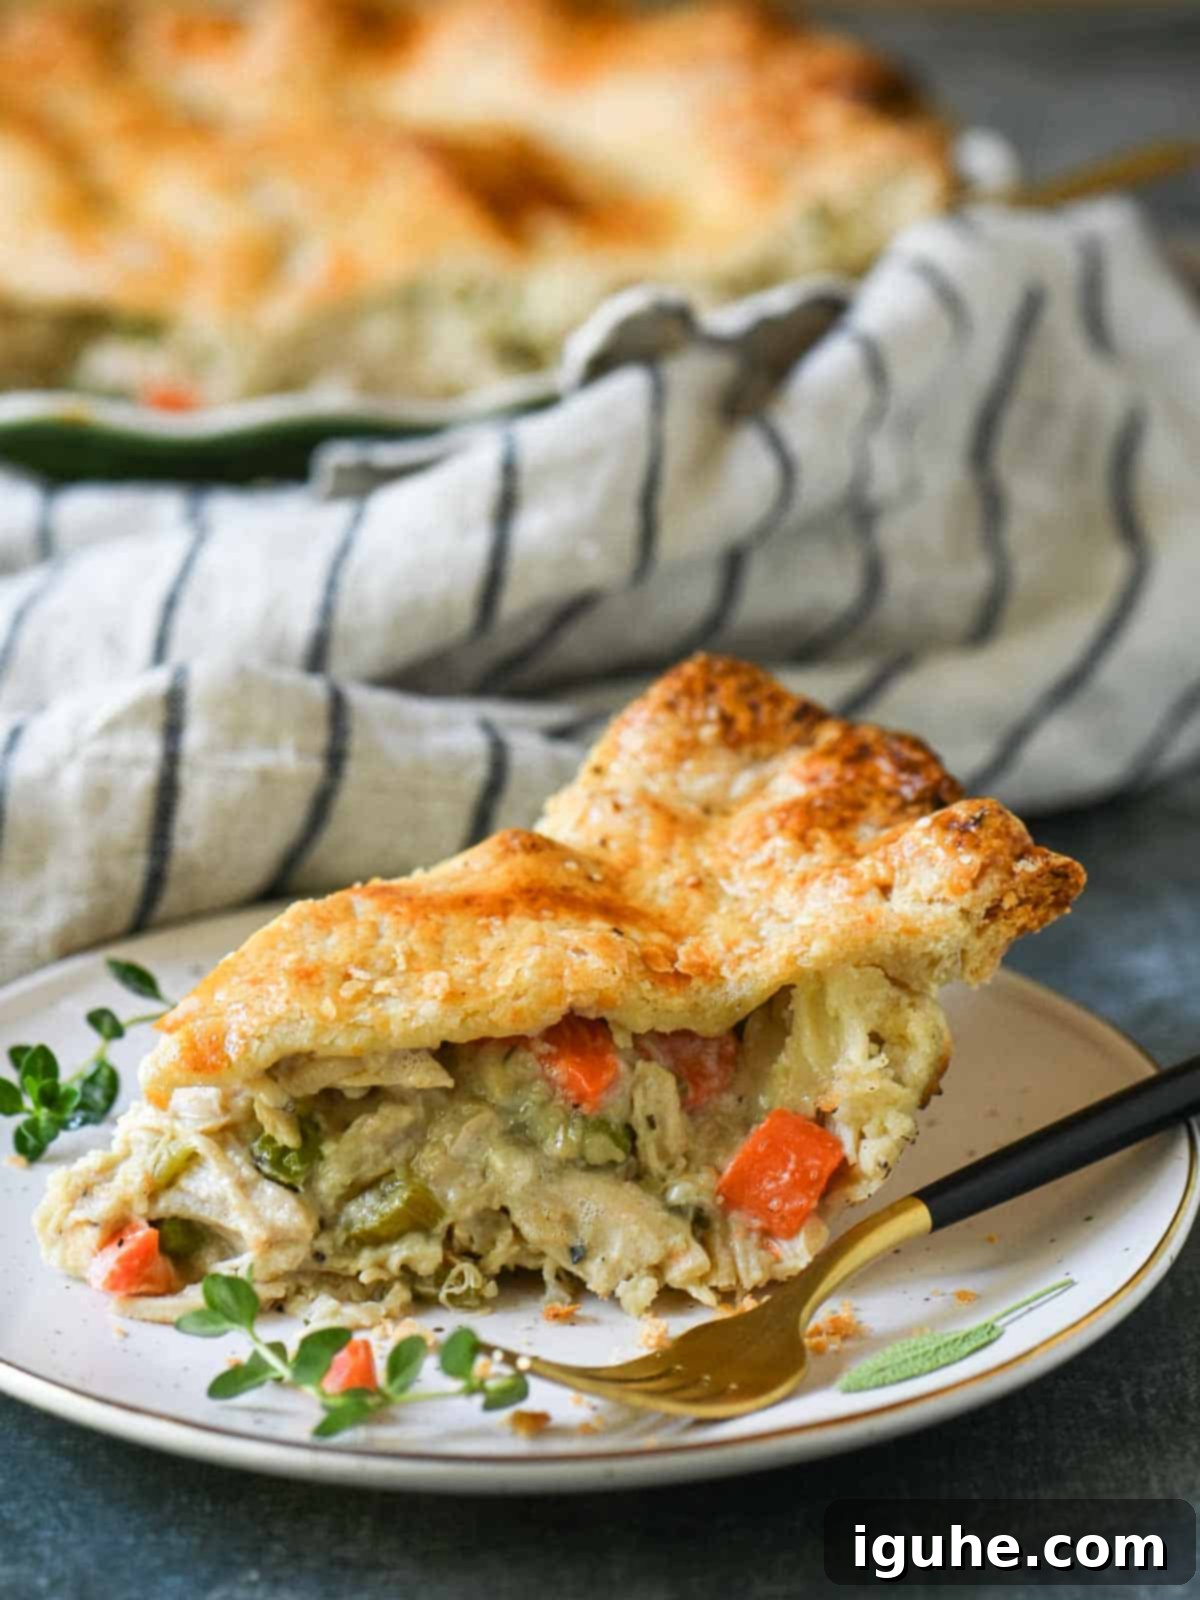
Once your glorious Rotisserie Chicken Pot Pie emerges from the oven, resist the immediate temptation to slice into it! Allowing the pie to rest for at least 15 minutes is a crucial step. This vital resting period enables the creamy filling to set properly, preventing it from spilling out and ensuring that each slice holds its shape beautifully. Serve generous portions in shallow bowls to elegantly capture every drop of that irresistible, creamy goodness.
Given how hearty and satisfying chicken pot pie is on its own, I find that pairing it with lighter, contrasting side dishes works best. A crisp, simple green salad with a bright vinaigrette offers a refreshing counterpoint, cutting through the richness of the pie. Alternatively, a side of freshly steamed green beans, asparagus, or broccoli provides a nutritious and vibrant complement, balancing the meal perfectly.
Jenn’s Signature Serve
Chicken (or Turkey) Pot Pie + Flaky Sea Salt + Gravy on top
Storage and Reheating Tips for Leftovers
Proper storage is essential for enjoying your delicious pot pie leftovers. Once the pie has cooled completely to room temperature (this is important to prevent condensation), wrap it tightly in aluminum foil or plastic wrap. You can then transfer it to the refrigerator, where it will maintain its quality for 3-4 days.
For reheating, the best method to preserve that desirable crispy crust is to use the oven. Place individual slices or the entire pie in a 350°F (175°C) oven. Heat until warmed through, which typically takes about 20-30 minutes for slices and 40-50 minutes for a whole pie. If the crust begins to brown too quickly, you can loosely cover it with foil. While individual slices can be quickly reheated in the microwave, be aware that the crust will likely soften, losing some of its crispness. Rest assured, even with a softer crust, it will still be incredibly delicious and comforting!
Looking to plan even further ahead? This pot pie freezes beautifully! You can freeze an unbaked pot pie: assemble it as directed (but don’t brush with egg wash), then wrap it very tightly in several layers of plastic wrap and aluminum foil to prevent freezer burn. It can be frozen for up to 3 months. When you’re ready to bake, thaw the pie overnight in the refrigerator, then proceed with the egg wash and baking instructions, adding an extra 15-20 minutes to the bake time. Alternatively, you can freeze individual baked slices. Wrap them well and reheat from frozen in the oven until warmed through for a convenient meal anytime.
Frequently Asked Questions About Chicken Pot Pie
Your chicken pot pie is typically done baking when the top crust is a beautiful golden brown, and you can visibly see the filling bubbling up through the vents. This usually indicates that the internal temperature has reached a safe level and the filling is thoroughly heated. The baking process generally takes about 45-55 minutes at 400°F (200°C). It’s a good idea to start checking for doneness around the 40-minute mark. If the edges of your crust are browning too quickly, you can gently cover them with strips of aluminum foil to prevent burning while the rest of the pie finishes baking.
Absolutely! Many people prefer a top-crust-only pot pie for a slightly lighter meal or to completely avoid any concerns about a soggy bottom crust. To prepare it this way, simply halve the pie crust recipe and make only one crust to place over the filling. You can bake the filling in an oven-safe casserole dish, then top it with the single crust for the last portion of the baking time, until the crust is golden brown and flaky.
Yes, you can certainly prepare this delicious pot pie in advance to make mealtime even easier. You have a few flexible options:
- Dough Only: Prepare the pie crust dough and store it tightly wrapped in plastic in the refrigerator for up to 2-3 days, or freeze it for up to 3 months.
- Filling Only: Make the chicken and vegetable filling a day or two ahead and store it in an airtight container in the refrigerator. Cool completely before storing.
- Fully Assembled (Unbaked): Assemble the entire unbaked pie, cover it tightly with plastic wrap and then foil, and refrigerate for up to 24 hours. When ready to bake, add about 10-15 minutes to the total baking time to ensure it cooks through from cold.
For the most flavorful filling, I highly recommend using a good quality, low-sodium chicken stock or broth. Opting for low-sodium allows you to have precise control over the overall saltiness of your pot pie, letting you adjust to your personal taste. If you only have regular chicken stock on hand, simply reduce the amount of added salt in the recipe and taste as you go, adjusting if necessary.
More Comforting Recipes to Explore
If you’ve savored the warmth and comfort of this classic Rotisserie Chicken Pot Pie, you’ll undoubtedly enjoy these other comforting recipes. Each dish offers a delightful blend of familiar flavors, sometimes with a fresh twist, ensuring a cozy and satisfying meal. Perfect for any occasion where you crave warmth and deliciousness, these recipes are designed to bring joy to your kitchen and table.
- Bacon and Lentil Soup
- Baked Brioche French Toast
- Sweet Potato Bacon Hash
- Mexican Eggs Benedict with Chipotle Hollandaise
Did you make this recipe? I would love to hear about it! Please leave a ⭐⭐⭐⭐⭐ rating with a comment right below the recipe card. If you snap a photo of your creation, don’t forget to tag me on Instagram @brunchandbatter.
📖Recipe

Rotisserie Chicken Pot Pie
Equipment
- food processor for the dough
- large skillet or Dutch oven
- rolling pin
- pastry brush
- 1 10-inch pie dish, about 2 inches deep ceramic stoneware or metal preferred
Ingredients
Homemade Pie Crust
- 2½ cups all-purpose flour
- 2 tablespoon white granulated sugar
- ½ teaspoon Kosher or fine sea salt
- ½ cup unsalted butter, very cold, cut into cubes
- 6-10 tablespoon ice water
For the Filling
- ¼ cup unsalted butter if using salted butter, decrease the salt in the filling
- ½ cup yellow onion, chopped
- ½ cup celery, diced small (about 1-2 stalks)
- 1 cup carrots, diced small (about 2 medium carrots)
- 2 cloves garlic, minced
- 3 teaspoon fresh thyme leaves, chopped
- 2 teaspoon fresh sage, finely chopped
- 1 teaspoon fresh tarragon leaves, chopped
- ½ teaspoon Old Bay seasoning
- ¼ teaspoon ground coriander optional
- 1 teaspoon Kosher salt, plus more to taste
- ½ teaspoon freshly ground black pepper, plus more to taste
- ⅓ cup all-purpose flour
- 1¾ cup chicken stock or broth
- ½ cup heavy cream
- 3 cups shredded rotisserie chicken (the white meat from 1 rotisserie chicken)
- 1 cup frozen peas
- 1-2 tablespoon grated Parmesan cheese (to sprinkle on the bottom crust before adding the filling) optional
For the Egg Wash
- 1 egg, beaten with one tablespoon water or heavy cream
Instructions
Homemade Pie Crust
- In a food processor, pulse together the flour, sugar, and salt until combined.2½ cups all-purpose flour, 2 tablespoon white granulated sugar, ½ teaspoon Kosher or fine sea salt
- Add the cold, cubed butter, and pulse until the mixture resembles coarse crumbs, with pea-sized bits of butter.½ cup unsalted butter, very cold, cut into cubes
- Starting with 6 tablespoons of ice water, add a couple of tablespoons at a time to the mixture, and pulse after each addition. Continue adding water, 1 tablespoon at a time, until the dough comes together and has a crumbly, sand-like texture (I usually need 10 tablespoons). The dough should hold together when pressed between your fingers.6-10 tablespoon ice water
- Turn the dough out onto a lightly floured surface. Gather it into a ball, and divide the dough into two equal portions. Shape each one into a round disc. Wrap tightly in plastic wrap and refrigerate for at least 15 minutes while you make the filling.
For the Filling
- In a large skillet or Dutch oven, melt the butter over medium heat. Add the onion, celery, and carrots. Cook the vegetables, stirring occasionally, until softened, about 5-7 minutes. Add the garlic and cook for another minute.¼ cup unsalted butter, ½ cup yellow onion, chopped, ½ cup celery, diced small (about 1-2 stalks), 1 cup carrots, diced small (about 2 medium carrots), 2 cloves garlic, minced
- Stir in the herbs, Old Bay, coriander, salt, and pepper. Sprinkle the flour over the vegetables, and stir until evenly coated. Continue to cook for 1-2 minutes.3 teaspoon fresh thyme leaves, chopped, 2 teaspoon fresh sage, finely chopped, 1 teaspoon fresh tarragon leaves, chopped, ½ teaspoon Old Bay seasoning, ¼ teaspoon ground coriander, 1 teaspoon Kosher salt, plus more to taste, ½ teaspoon freshly ground black pepper, plus more to taste, ⅓ cup all-purpose flour
- Slowly whisk in the chicken stock, followed by the heavy cream. Bring to a simmer, and cook until the mixture thickens and becomes a creamy sauce, about 7-10 minutes. Taste and adjust for seasoning.1¾ cup chicken stock or broth, ½ cup heavy cream
- Stir in the shredded chicken and peas. Remove from the heat and set aside while you prepare the crust.3 cups shredded rotisserie chicken (the white meat from 1 rotisserie chicken), 1 cup frozen peas
Assemble and Bake
- Preheat the oven to 400℉, while you roll out the dough and assemble the pie.
- Remove the dough from the fridge. Roll each disc into a 12-13-inch circle. Place one round in a 10-inch pie dish, pressing it gently into the corners. Sprinkle the Parmesan cheese over the crust, if using.1-2 tablespoon grated Parmesan cheese (to sprinkle on the bottom crust before adding the filling)
- Pour the prepared filling into the crust. Place the second dough round over the top. Trim any excess, then tuck the edges of the top crust under the bottom crust. Crimp to seal using your fingers or the tines of a fork.
- Cut a few slits in the top to vent steam. Brush with the egg wash and sprinkle lightly with salt and pepper.1 egg, beaten with one tablespoon water or heavy cream
- Bake at 400℉ for 45-55 minutes until the crust is golden brown, and the filling is bubbling. Allow the pie to cool for at least 15 minutes before serving.
Notes
- Use a metal or stoneware pie dish. Glass is a poor conductor of heat, so steer clear of it (if you can).
- Bake the pie on the bottom rack of the oven so the heat circulates.
- Sprinkle a layer of Parmesan cheese over the bottom crust before adding the filling. This creates a barrier that helps prevent the crust from getting soggy as it bakes.
Nutrition*
*Nutrition information is provided as a courtesy and is an estimate only. Nutrition information can vary depending on many factors, such as products used, measurements and substitutions, therefore it is recommended that you obtain nutritional calculations based on your own finished recipe.
