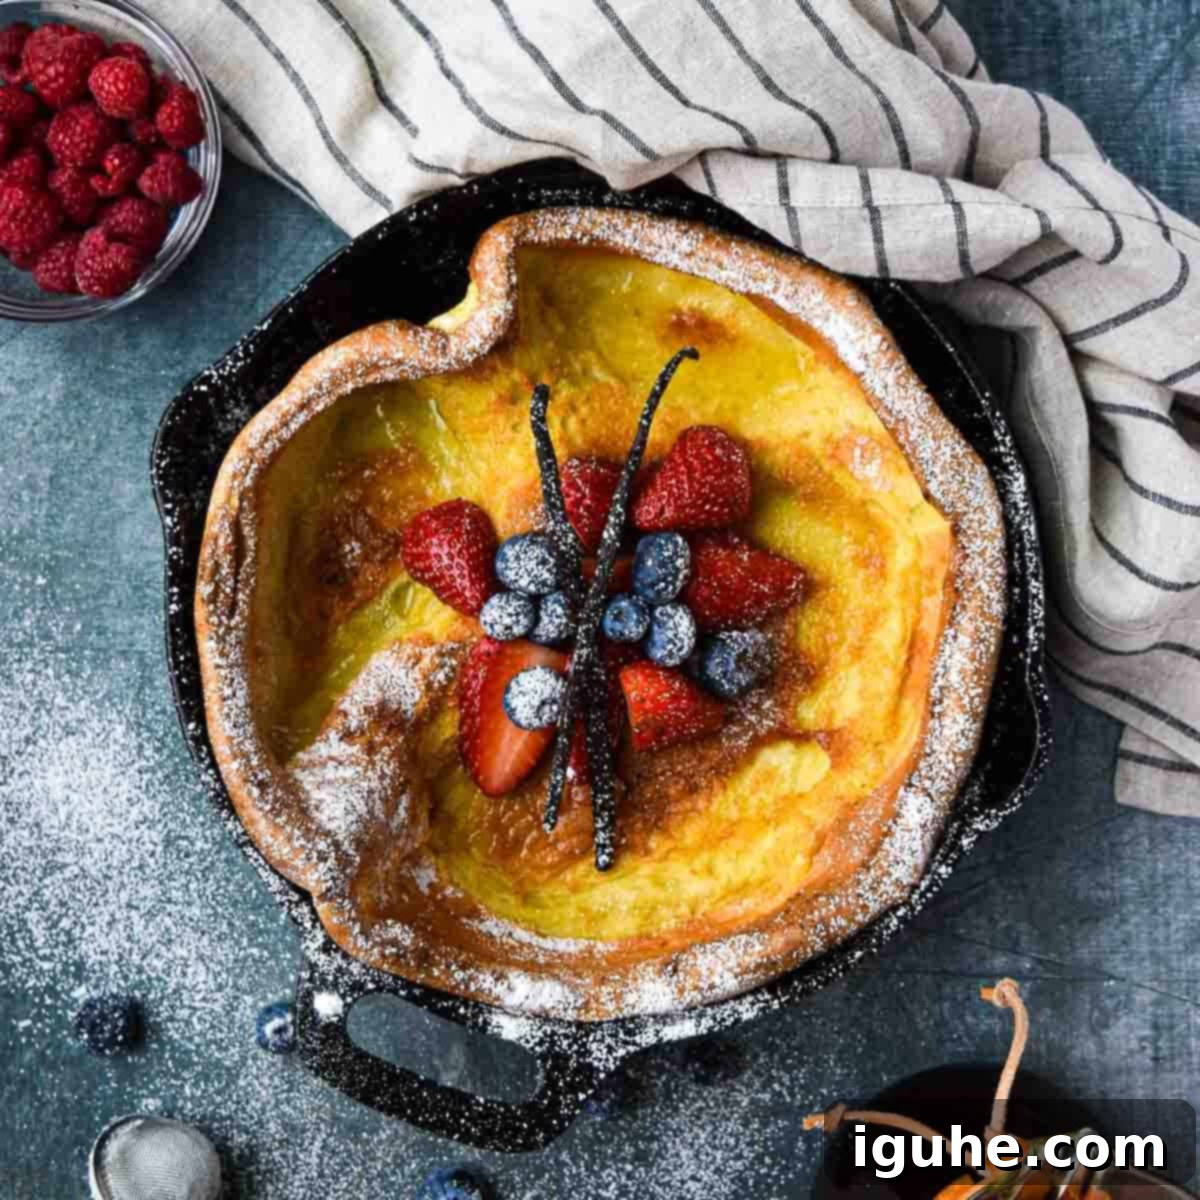
Sweet Vanilla Dutch Baby Pancake: Your Easy Breakfast Showstopper
If you’re searching for a breakfast that’s as effortless to prepare as it is stunning to serve, then look no further than this incredible Sweet Vanilla Dutch Baby Pancake. Imagine a generously buttered, dramatically puffy pancake rising high from your skillet, ready to be pulled straight from the oven and adorned with your favorite toppings. Infused with the warm, comforting notes of pure vanilla and a subtle hint of cinnamon, this sweet puff pancake is surprisingly simple to create in your own kitchen.
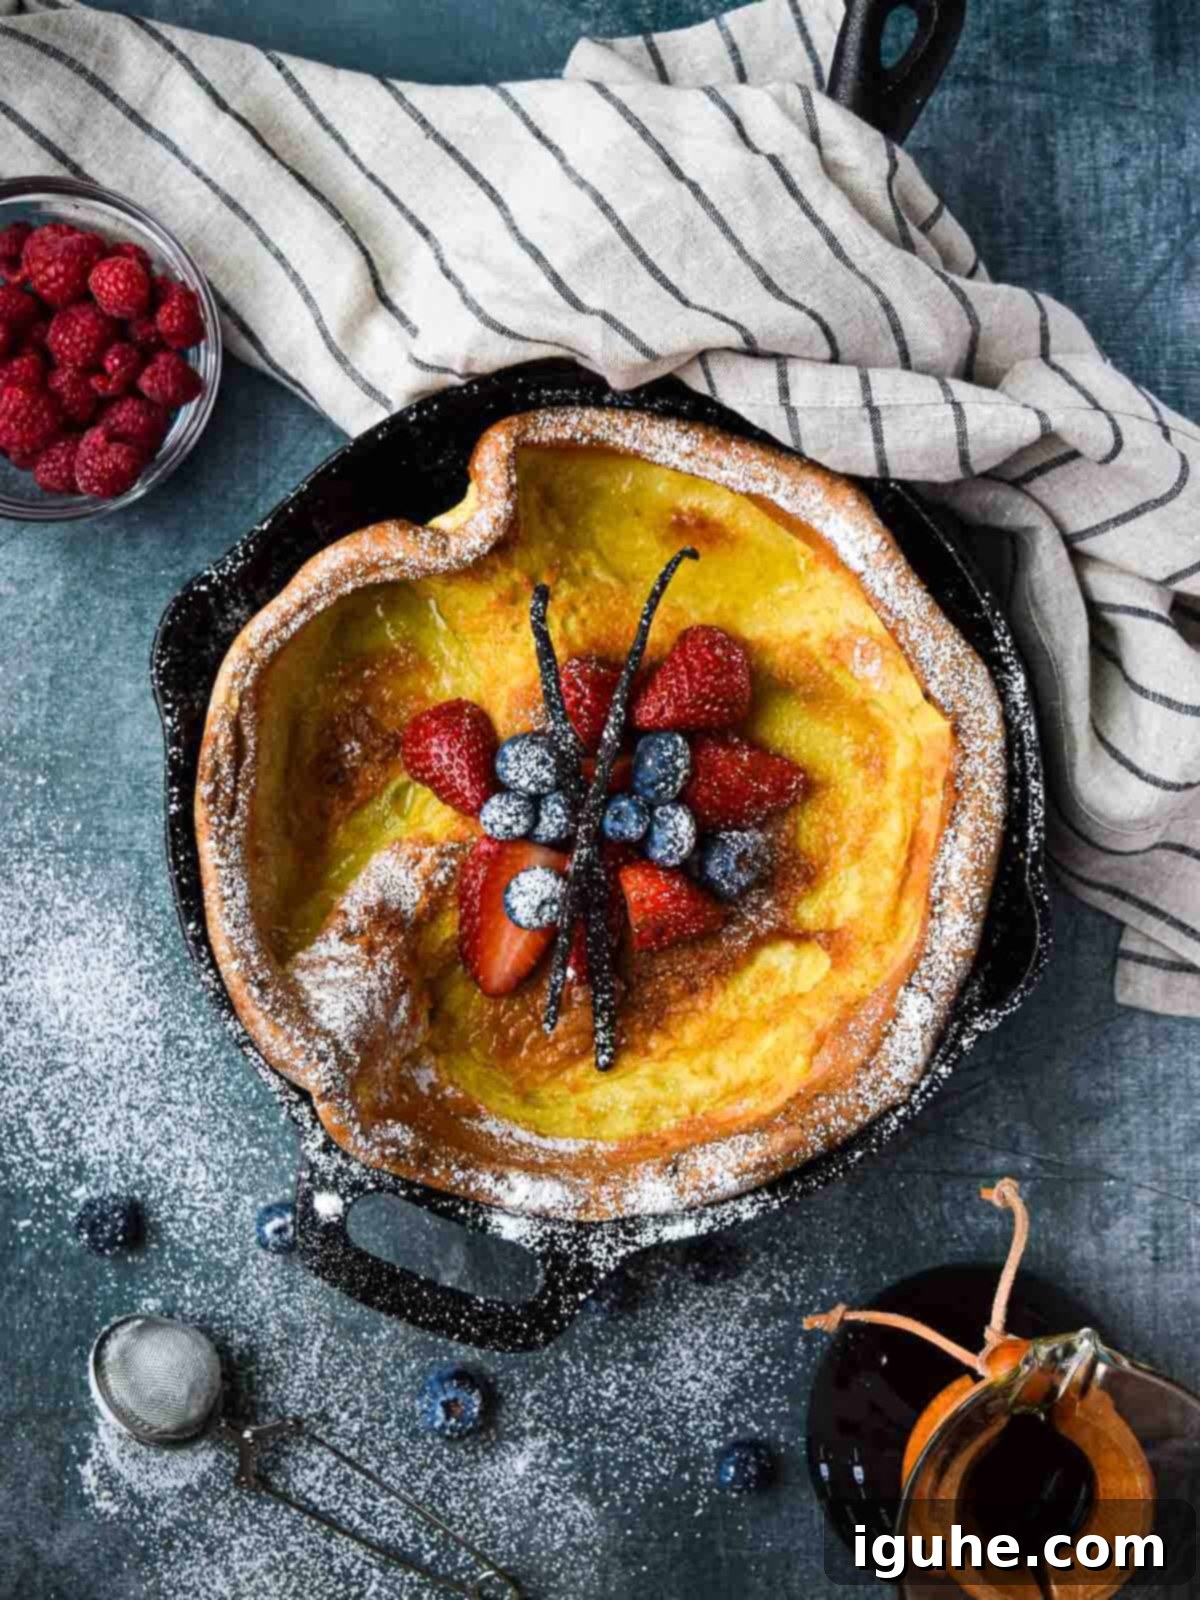
For those who prefer to enjoy breakfast with loved ones rather than being tied to the stove flipping individual pancakes, the Dutch baby pancake is an absolute revelation. This one-skillet breakfast is not only incredibly delicious and versatile but also boasts an impressive visual appeal that’s sure to wow anyone gathered around your table. It’s the perfect solution for a festive brunch or a leisurely weekend morning, offering maximum impact with minimal fuss.
What Exactly is a Dutch Baby Pancake?
A Dutch baby, also known by a variety of charming names like Bismarck, Hootenanny, Dutch Puff, or German pancake, stands distinctly apart from its fluffy American pancake cousins. It’s often described as a delightful culinary hybrid, as if a delicate crepe engaged in a whimsical dance with a savory popover, resulting in the puffed, airy magnificence of a Yorkshire pudding. The key characteristic of a Dutch baby lies in its dramatic, almost theatrical rise.
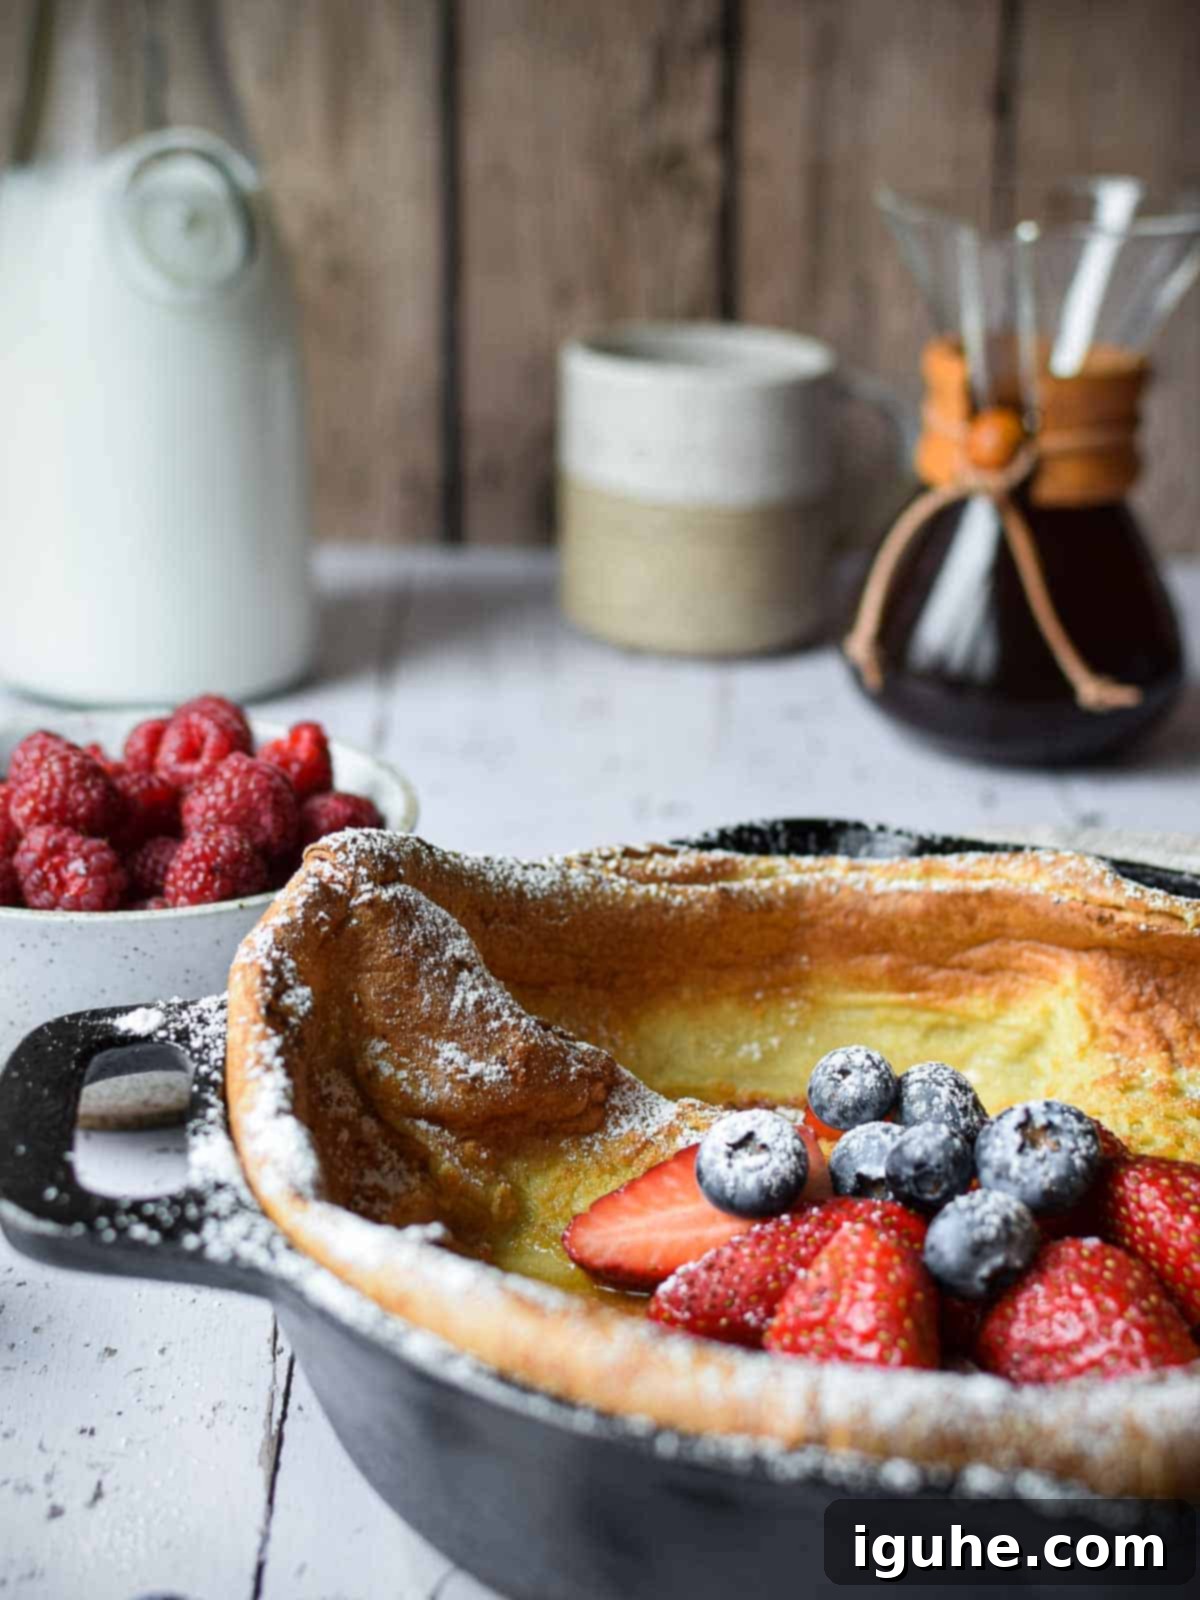
Unlike traditional pancakes that rely on chemical leavening agents such as baking powder or soda, Dutch babies achieve their impressive height and unique texture solely from trapped steam. This steam is generated when the thin, liquidy batter hits a preheated, hot pan. The intense heat causes the moisture in the batter to rapidly expand, creating those signature sky-high, billowy edges. As the pancake cools slightly after being removed from the oven, it gracefully deflates, a completely normal and expected part of its charm.
The resulting texture is truly unique: a light, wonderfully crisp, and airy crust forming the outer walls, which gracefully cradles a tender, almost custard-like center. While its flavor is slightly richer and eggier than a typical pancake or crepe, it offers a beautifully neutral canvas, making it perfectly adaptable to a wide array of sweet or even savory toppings, just like a traditional pancake. This unique combination of texture and flavor makes the Dutch baby a truly memorable breakfast experience.
A Bit of History on the “Dutch” Baby
Despite its name, the “Dutch” baby pancake isn’t Dutch at all! It’s actually a variation of a German pancake, or Pfannkuchen. The popularization of the dish in the United States is often attributed to Manca’s Cafe in Seattle, Washington, where it was introduced in the first half of the 20th century. Legend has it that one of the owner’s daughters mispronounced “Deutsch” (German) as “Dutch,” and the charming name stuck. So, when you’re enjoying this delightful breakfast, you’re actually savoring a piece of German-American culinary history!
Ingredient Notes for Your Perfect Dutch Baby
One of the many joys of making a Dutch baby is that you likely already have all the necessary ingredients right in your pantry and refrigerator. This recipe calls for simple, wholesome components that come together to create something truly extraordinary. Here’s a closer look at what you’ll need and why each ingredient plays a crucial role:
- Eggs: Large eggs are essential for structure and richness. For the best results and a more consistent batter, try to use room temperature eggs. This helps them incorporate more smoothly with the other ingredients, leading to a better rise.
- Flour: Standard all-purpose flour works perfectly for this recipe. There’s no need for special flours, keeping this recipe accessible and simple. Ensure it’s not packed too tightly when measuring for accuracy; a light scoop and level is ideal.
- Milk: I typically use 2% milk, but honestly, any type of milk you have on hand will work beautifully. Whole milk will yield a richer, slightly more indulgent pancake, while skim milk will result in a lighter texture. The fat content contributes to the overall richness.
- Sugar: Powdered sugar (also known as confectioner’s sugar) is my preferred choice here because its fine texture allows it to dissolve effortlessly into the batter, ensuring a smooth, lump-free consistency and even sweetness throughout. Granulated sugar can also be used, but may require a bit more whisking to fully dissolve.
- Vanilla: This is a “Sweet Vanilla Dutch Baby” after all, so the quality of your vanilla truly shines! Opt for a good quality pure vanilla extract or, even better, vanilla bean paste for those beautiful specks and intense flavor. Please, no imitation vanilla here—the difference in taste and aroma is significantly noticeable!
- Cinnamon: A small touch of ground cinnamon adds a warm, aromatic depth that complements the vanilla beautifully without overpowering it. You could also experiment with a pinch of nutmeg or cardamom for a different, subtle spice profile.
- Salt: A small amount of Kosher or fine sea salt is crucial to balance the sweetness and enhance all the other flavors, preventing the pancake from tasting flat. Don’t skip this humble but mighty ingredient!
- Butter: Unsalted butter is recommended as it gives you complete control over the salt content in your dish. It’s used to create that perfectly crispy, golden-brown edge and rich flavor, and also prevents the batter from sticking to the hot pan.
See the recipe card below for exact quantities and detailed instructions.
Mastering the Art of the Dutch Baby Pancake
If you’ve ever flipped a traditional pancake, then you already possess the basic skills to master a Dutch baby. In fact, many find it even easier, as there’s no flipping involved! The secret to its incredible puff lies in a few simple steps, primarily ensuring your pan is screaming hot. Let’s walk through the process to create this magnificent sweet vanilla puff pancake, step by easy step.
Preparation is Key: Preheat and Batter Up!
- First, preheat your oven to a robust 425°F (220°C). As the oven begins to heat, strategically place your empty cast iron skillet (or chosen oven-proof pan) inside. This crucial step ensures the pan reaches the optimal temperature, which is fundamental for achieving that impressive, high rise.
- While your oven and pan are coming up to temperature, it’s time to prepare your simple yet magical batter.
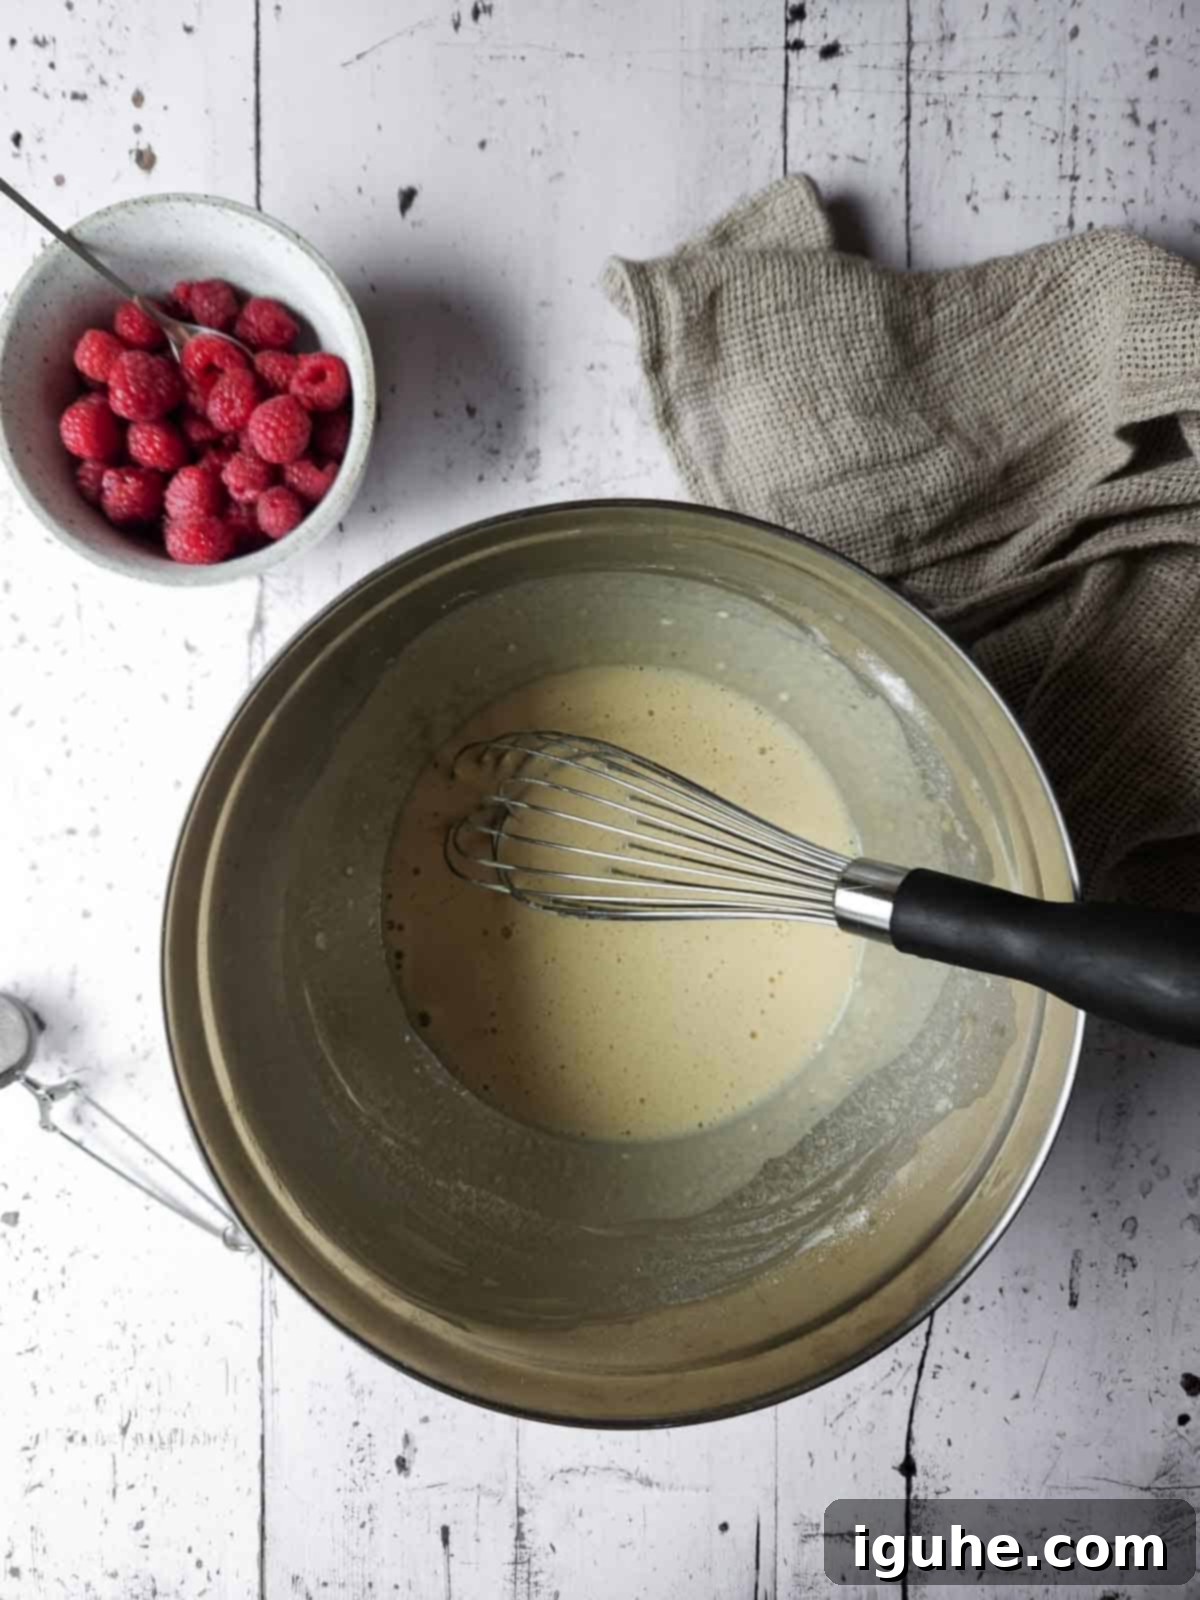
In a large mixing bowl, combine all the wet and dry ingredients (eggs, flour, milk, salt, powdered sugar, vanilla, and cinnamon – reserving the butter). Whisk vigorously until the batter is completely smooth and free of lumps. For an even easier approach, you can combine all ingredients in a blender and pulse until smooth, making sure to scrape down the sides to ensure everything is incorporated. Allowing the batter to rest for 10-15 minutes while the oven preheats can help yield a slightly more tender pancake, as it gives the flour time to fully hydrate.
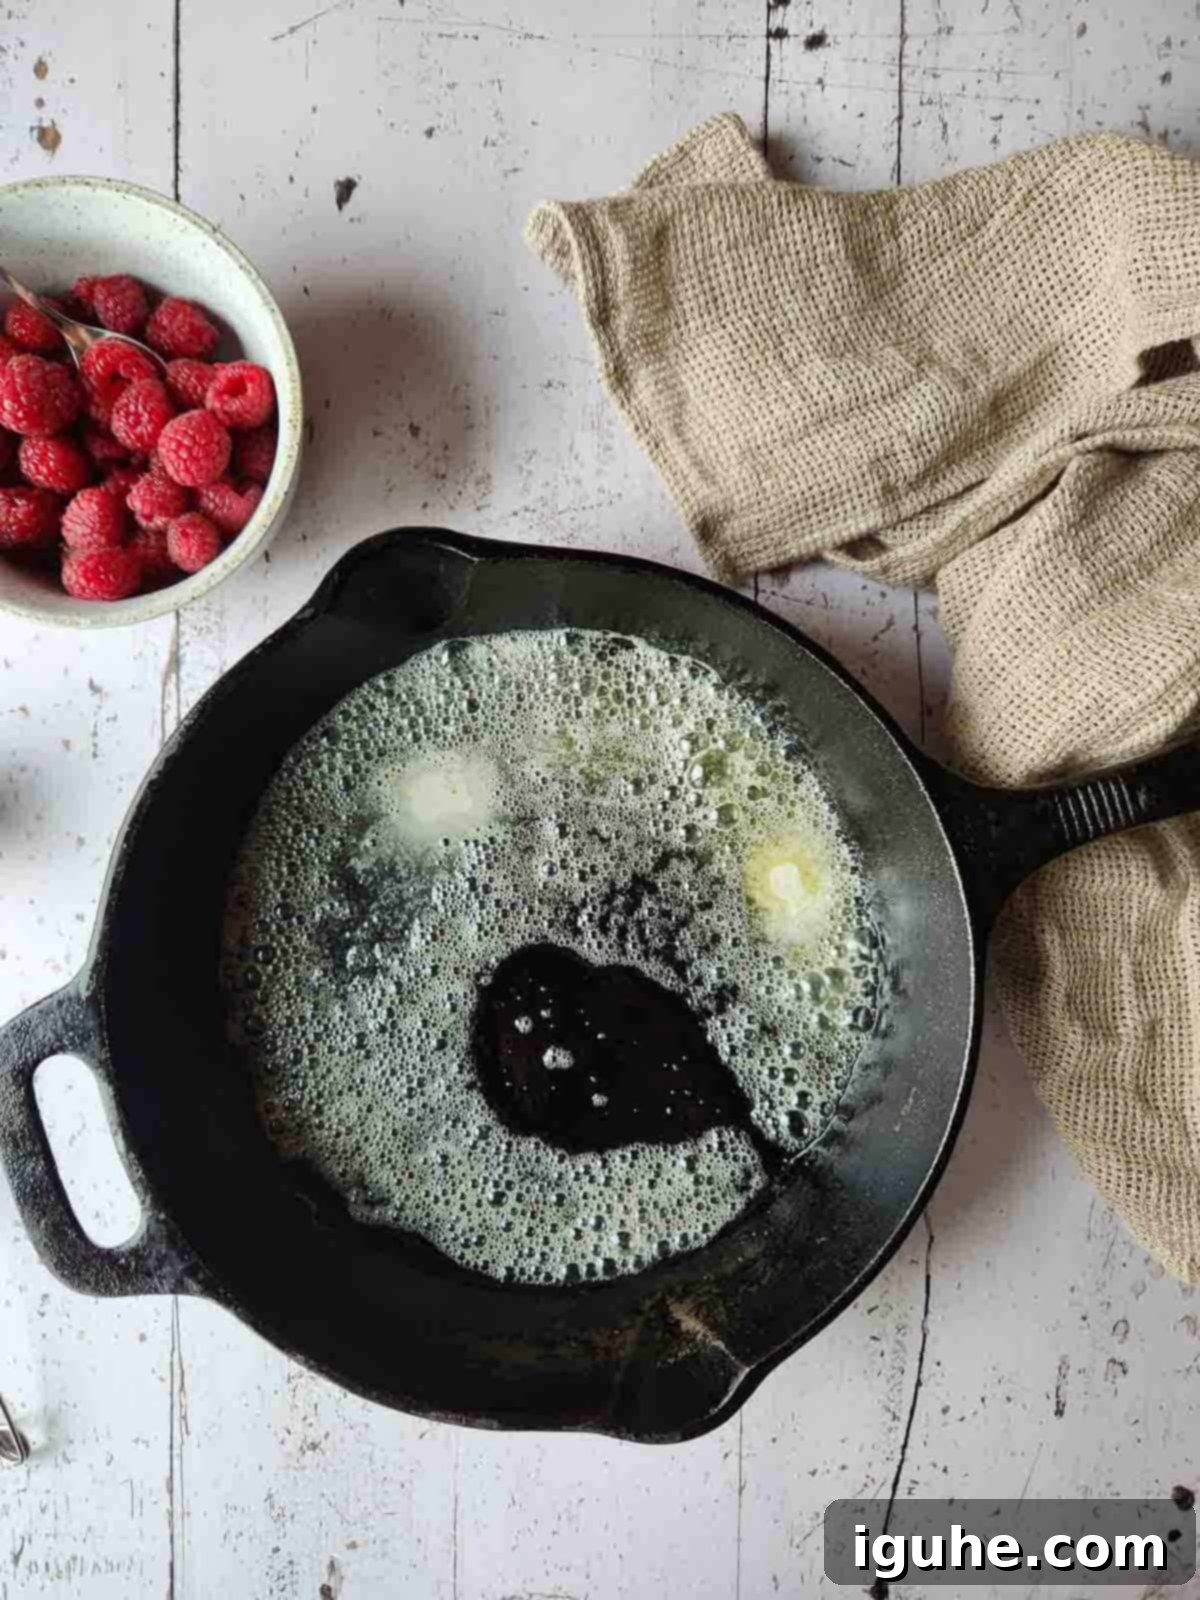
Once your oven is fully preheated and the skillet is piping hot, carefully remove the pan from the oven (always using sturdy oven mitts!). Add the unsalted butter directly into the hot pan. Watch it melt almost instantly and begin to bubble vigorously. This intensely hot, bubbling butter is essential for creating the perfect crispy edges and preventing the pancake from sticking, forming a buttery foundation.
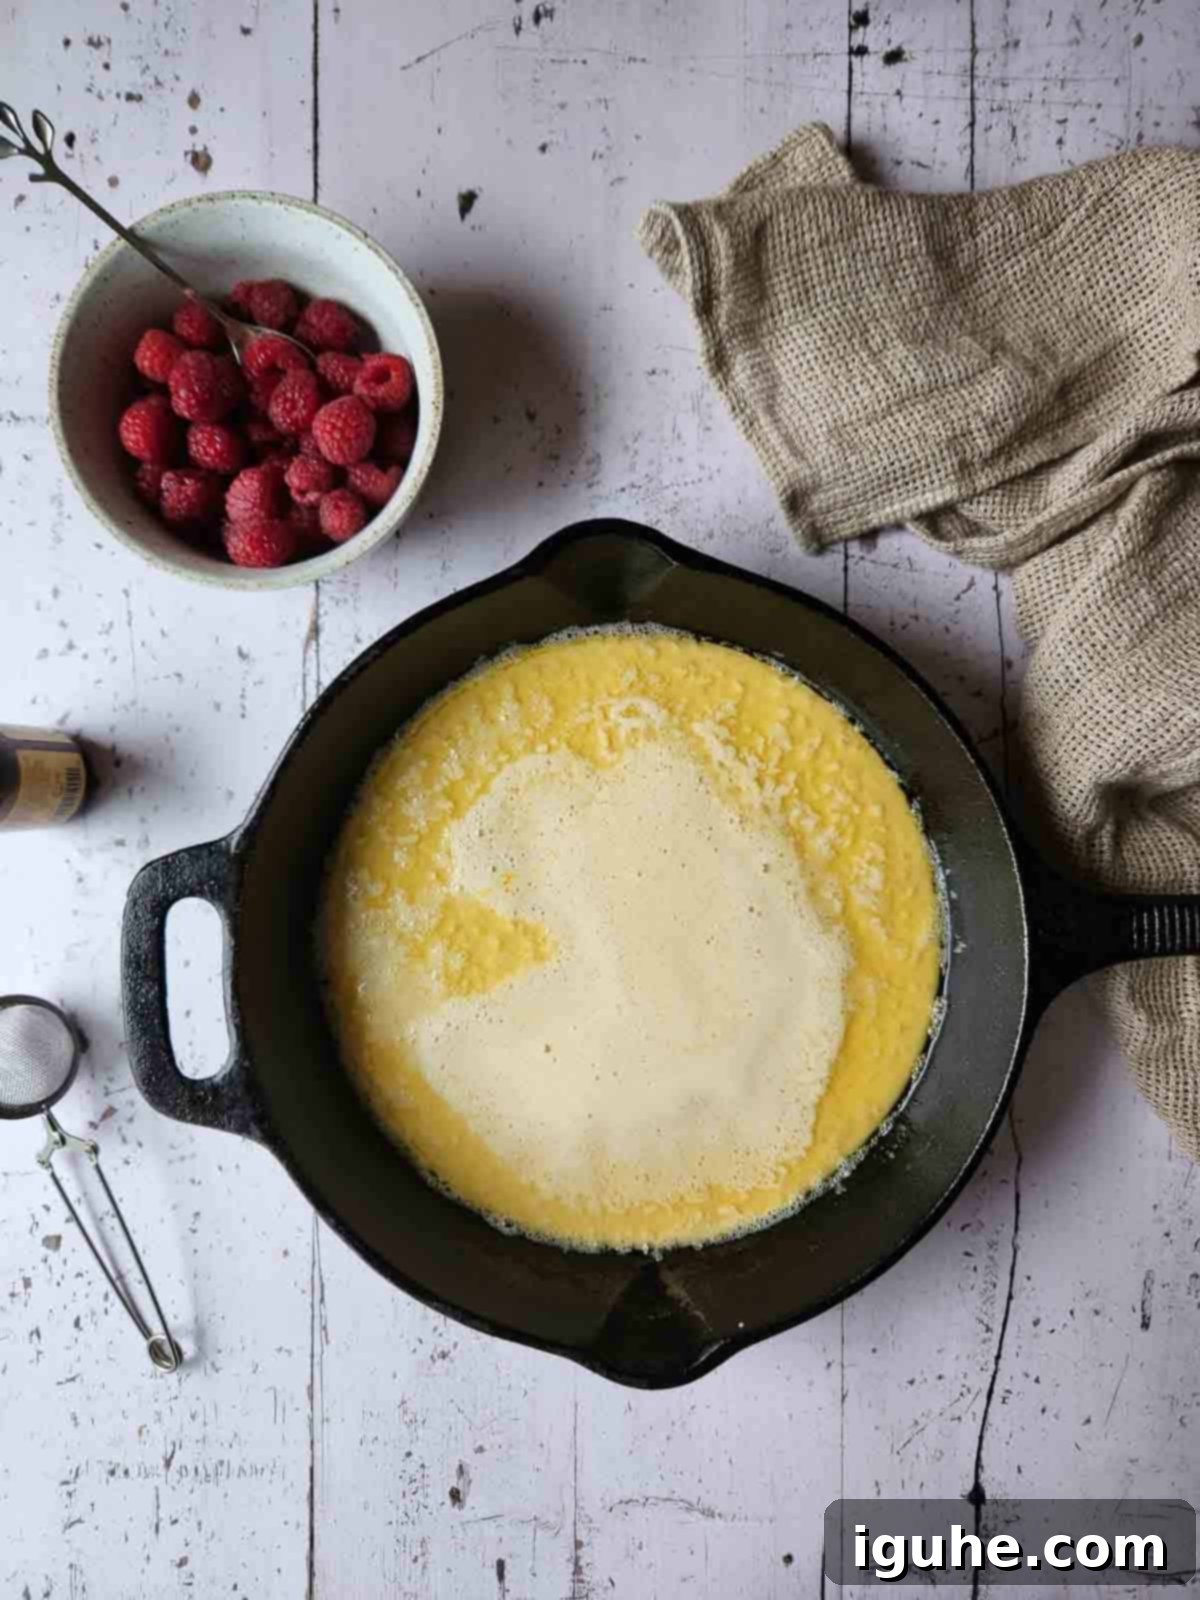
Immediately after the butter melts and bubbles, pour the prepared batter directly over the melted butter in the hot skillet. Do not stir or mix it in. Just pour it evenly and quickly, allowing the cold batter to hit the intensely hot butter and pan. This sudden temperature contrast is what kickstarts the puffing process by creating an immediate burst of steam.
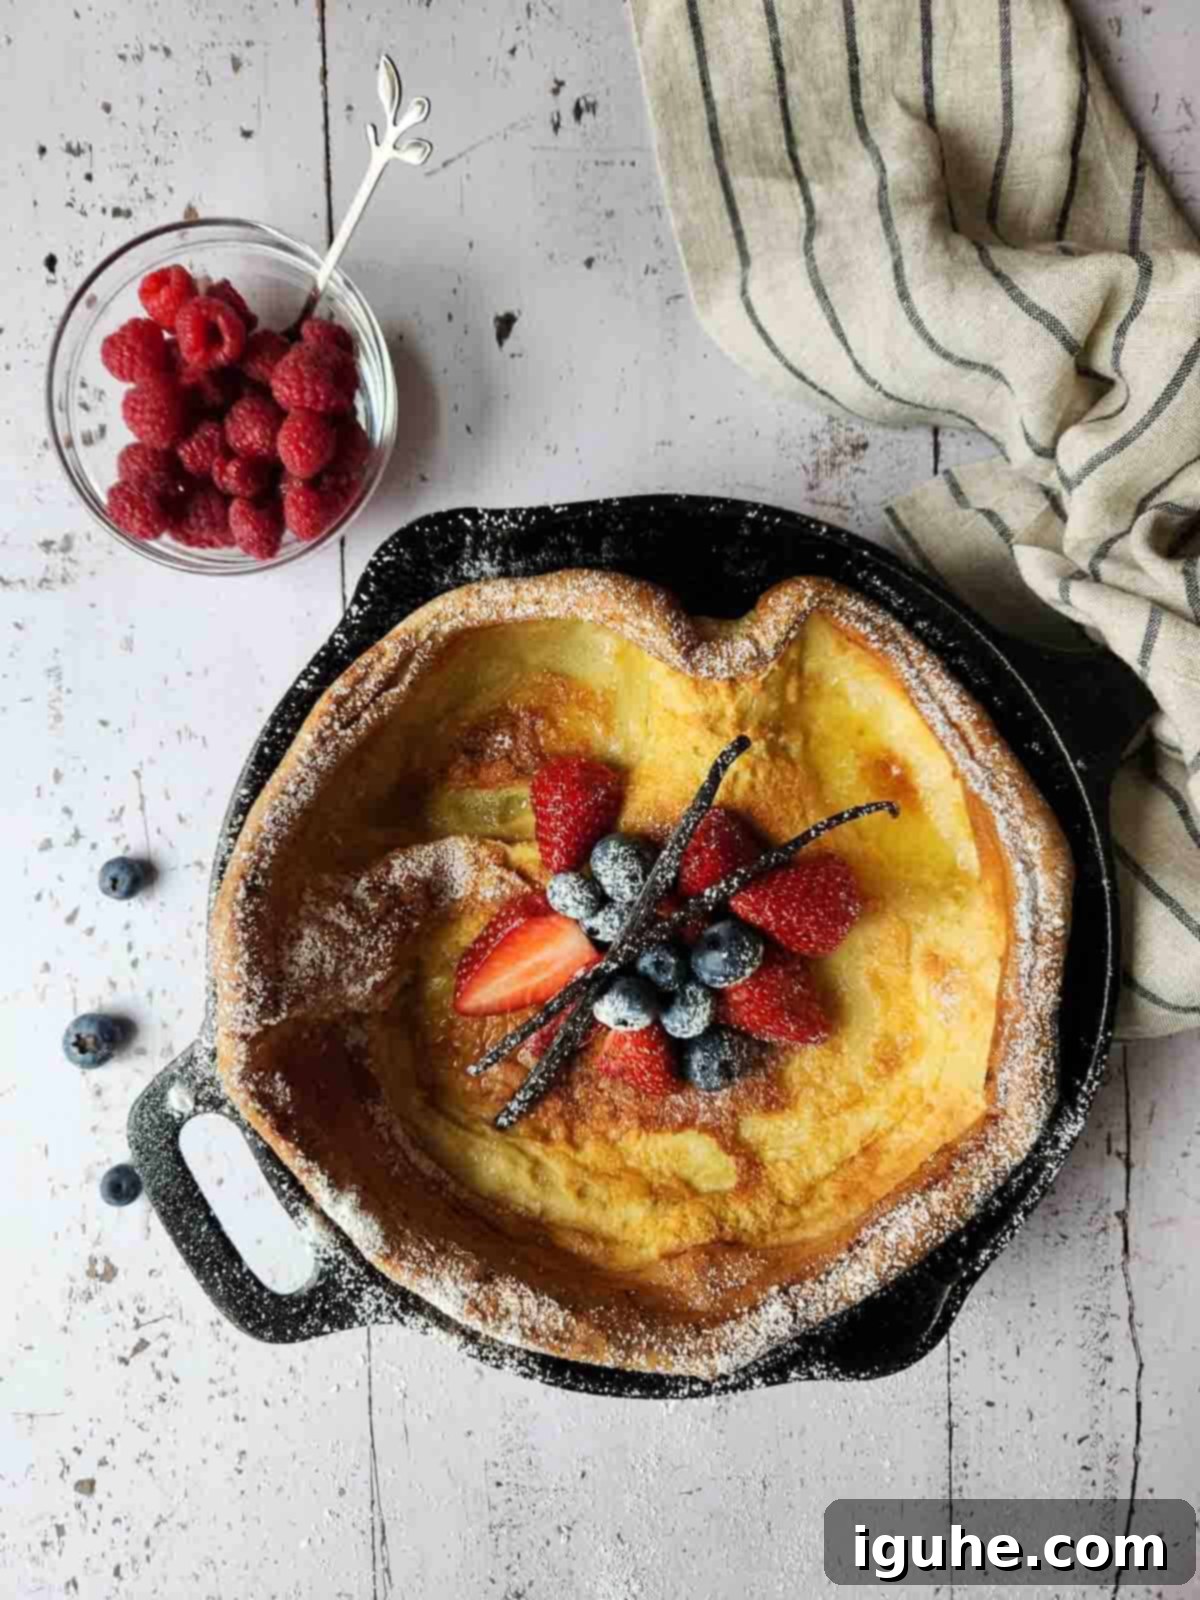
Carefully transfer the skillet back into the preheated oven. Bake for approximately 18-20 minutes. During this time, resist the temptation to open the oven door! Watch through the oven window as your Dutch baby dramatically puffs up around the edges, becoming gloriously golden brown. Once baked, remove it from the oven, top with your desired fruits or a dusting of powdered sugar, and serve immediately to enjoy its magnificent texture and warmth before it naturally deflates.
Hot Pan Alert: Always remember that your pan will be extremely hot. Exercise extreme caution and use proper oven mitts when handling your pan to melt the butter and pour the batter, as well as when removing it from the oven. Safety first!
How to Serve and Customize Your Sweet Vanilla Dutch Baby
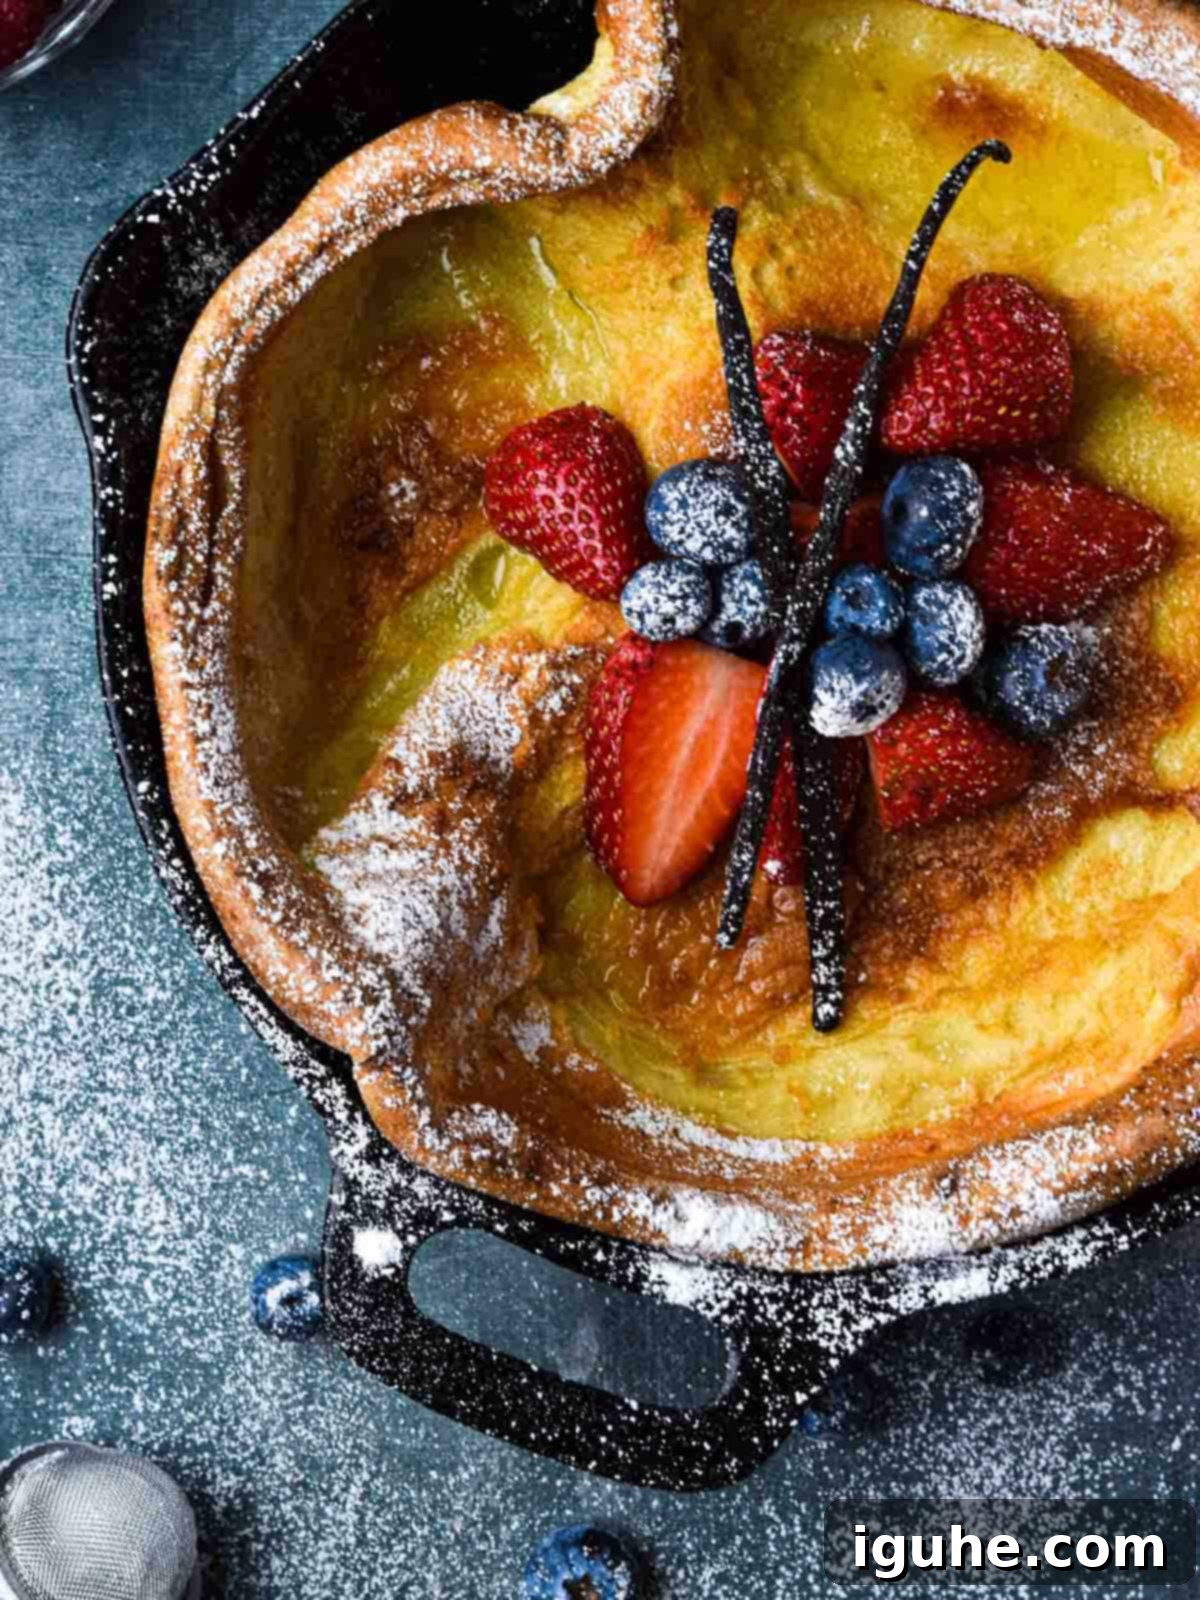
The beauty of the Dutch baby lies not only in its impressive rise but also in the generous, bowl-shaped depression that forms in its center as it deflates. This natural “nook” is absolutely perfect for holding a bounty of toppings, turning your simple puff pancake into a customizable masterpiece. While this recipe is for a sweet vanilla version, the possibilities for creative adornment are endless! Here are some delightful ideas to serve with your sweet Dutch baby:
- Fresh Fruit Medley: Enhance the vibrant flavors and visual appeal by adding an assortment of fresh berries such as plump blueberries, juicy sliced strawberries, or tart raspberries directly into the center. Other delicious options include sliced bananas, caramelized apples, or stone fruits like peaches and plums when in season. A colorful medley always looks stunning.
- Simple Powdered Sugar: Sometimes, less is more. A generous, elegant dusting of confectioner’s sugar provides a classic sweetness and beautiful finish, allowing the inherent vanilla and cinnamon flavors to shine. It’s the simplest yet most effective topping.
- Sweet Spreads & Jams: Elevate your Dutch baby with a dollop of your favorite fruit jam or preserves. Raspberry, apricot, strawberry, or even a tangy citrus marmalade would be fantastic. For a richer twist, consider Nutella or a homemade fruit compote for added depth of flavor and texture.
- Crunchy Nuts: For a delightful contrast in texture, sprinkle some toasted nuts over your pancake. Sliced almonds, chopped pecans, or walnuts add a lovely crunch and earthy flavor that pairs wonderfully with sweet toppings. Consider candying them for an extra special treat.
- Golden Maple Syrup (or Honey!): It’s a pancake after all, so don’t be shy with the classic accompaniment! A generous drizzle of pure maple syrup is always a crowd-pleaser. Alternatively, a swirl of warm honey can add a different kind of sweetness and floral notes.
- Whipped Cream or Ice Cream: For an extra indulgent treat, a dollop of freshly whipped cream or a scoop of vanilla bean ice cream can transform your Dutch baby into a decadent dessert-like experience, perfect for a special occasion.
- Citrus Zest: A little lemon or orange zest grated over the top before serving can brighten all the flavors and add a refreshing aroma, cutting through the sweetness with a zing.
Looking for something to serve on the side that offers a delightful sweet and savory contrast? Try this mouth-watering rosemary and fig candied bacon.
Essential Equipment for Your Dutch Baby Success
The right cookware is pivotal for a perfectly puffed Dutch baby pancake. While the recipe is simple, the equipment plays a significant role in achieving that signature sky-high rise and golden-brown crust. You will need an oven-proof pan with tall sides that can withstand high temperatures. Here’s what to consider:
- Cast Iron Skillet: My absolute top recommendation and go-to choice is a trusty 10-inch cast iron skillet. Cast iron is unparalleled in its ability to retain and distribute heat evenly, which is crucial for the dramatic puff of a Dutch baby. The high heat of the cast iron instantly sets the batter and encourages maximum steam creation. Plus, a well-seasoned cast iron skillet offers excellent natural non-stick properties over time.
- Other Oven-Safe Pans: If you don’t own a cast iron skillet, don’t despair! You can use any 9 or 10-inch pan that is certified oven-safe and has sufficiently tall sides (at least 2 inches). This could include a heavy-bottomed stainless steel pan, an enamel-coated cast iron pan, or even a glass pie dish, though results may vary slightly in crust crispness and overall puff compared to traditional cast iron. Always ensure your chosen pan can handle the 425°F (220°C) oven temperature without issue.
- Size Matters: A 10-inch pan is ideal for the quantities in this recipe, yielding a substantial Dutch baby perfect for 3-4 servings. If you use a smaller pan, the pancake will be thicker and might need a few extra minutes to cook through. A larger pan will result in a thinner pancake that cooks faster, so adjust your baking time accordingly.
- Mixing Bowl & Whisk (or Blender): A good-sized mixing bowl and a sturdy whisk are all you need to combine your batter smoothly. For ultimate convenience and a super silky batter, a blender can also be used, making quick work of preparation.
Storage and Make-Ahead Tips
Let’s address the elephant in the room: this glorious puff pancake, unfortunately, does not store well. I’ve attempted various methods, and the next day, it typically transforms into a somewhat rubbery, dense consistency, losing its signature light and airy texture. The good news? It’s so irresistibly delicious fresh out of the oven that you’re highly unlikely to have any leftovers anyway! Most people find it’s best enjoyed immediately.
However, if you’re looking to get a head start on your breakfast prep, there’s a fantastic make-ahead option: the batter itself. You can prepare the Dutch baby batter up to 24 hours in advance. Simply whisk all the ingredients together until smooth, cover the bowl tightly with plastic wrap to prevent a skin from forming, and store it in the refrigerator. When you’re ready to bake, just give the batter a final quick whisk to re-incorporate any settled ingredients, and proceed with the recipe as usual. This allows for a quick and easy assembly on busy mornings, so you can enjoy a fresh, impressive Dutch baby with minimal fuss and maximum flavor.
💡Top Tip for a Perfect Puff
The single most critical factor for a beautifully puffed Dutch baby is ensuring your pan is intensely hot and your butter is completely melted and bubbling just before you pour in the batter. This shock of cold batter meeting extreme heat is what generates the steam needed for that dramatic, sky-high rise. Don’t rush this step!
Frequently Asked Questions (FAQ) About Dutch Babies
Absolutely! While a cast iron skillet is highly recommended for its superior heat retention, you can certainly make a Dutch baby in any 9 or 10-inch pan that is oven safe. This includes heavy-bottomed stainless steel pans, ceramic baking dishes, or even glass pie plates. The most important factor is to ensure the pan has high sides (at least 2 inches) to allow the pancake ample room to puff up dramatically. Also, make sure to preheat any non-cast iron pan sufficiently in the oven before adding the butter and batter to mimic the heat retention of cast iron.
The most common reason for a Dutch baby failing to achieve its signature puff is that the pan and butter were not hot enough when the batter was added. To avoid this, always place your empty pan in the oven at the very beginning of the preheating cycle, allowing it to get intensely hot. Once the oven is fully preheated, add the butter and ensure it’s fully melted and bubbling before pouring the batter. Another critical factor is resisting the urge to open the oven door during baking. Each time the door is opened, heat escapes, causing the precious steam (which is responsible for the rise) to dissipate, preventing your Dutch pancake from puffing up. Also, ensure your ingredients, especially the milk and eggs, aren’t too cold, as room temperature ingredients tend to react better to the heat and create more steam.
Yes, you can! Many successful gluten-free Dutch baby recipes use a 1:1 gluten-free all-purpose flour blend. Ensure the blend you choose contains xanthan gum, or add a small amount (about ¼ teaspoon) if it doesn’t, to help with the structure and elasticity that gluten typically provides. The rise might be slightly different or less dramatic, but you can still achieve a wonderful puff and delicious flavor.
Doubling the recipe is possible, but you’ll likely need to use a larger skillet (e.g., a 12-inch cast iron skillet) or divide the batter into two separate 10-inch pans and bake them simultaneously (if your oven allows for even heat distribution). Baking a significantly larger volume of batter in the same size pan might prevent it from rising as high, as the heat might not penetrate effectively enough to create uniform steam. Always adjust baking time as needed for larger or thicker pancakes.
Explore More Delicious Brunch & Breakfast Recipes
If you’ve enjoyed the simplicity and deliciousness of this Sweet Vanilla Dutch Baby Pancake, you’ll love these other fantastic recipes that are perfect for breakfast, brunch, or any time you crave something special. From savory delights to more sweet pancake variations, there’s something here to inspire your next culinary adventure and expand your breakfast repertoire.
- Swiss Chard Eggs Florentine with Tomato Hollandaise
- Cinnamon Sweet Cream Pancakes
- Savory Lemon Thyme Popovers
- Double Chai Spiced Pancakes
Did you make this recipe? I would love to hear about it! Please leave a ⭐⭐⭐⭐⭐ rating with a comment right below the recipe card. If you snap a photo of your creation, don’t forget to tag me on Instagram @brunchandbatter.
📖 Recipe Card
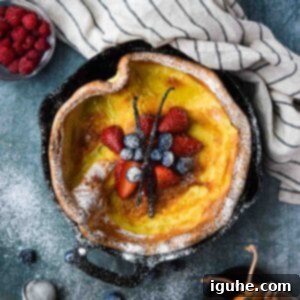
Sweet Vanilla Dutch Baby Pancake
Pin Recipe
Equipment
-
1 10-inch cast iron skillet (or other 10-inch non-stick, oven-safe skillet)
Ingredients
- 3 large eggs
- ½ cup all-purpose flour
- ½ cup milk
- ¼ teaspoon Kosher or fine sea salt
- 2 tablespoon powdered (confectioner’s) sugar
- 1 teaspoon pure vanilla extract
- ⅛ teaspoon ground cinnamon
- 3 tablespoon unsalted butter
Instructions
-
Preheat your oven to 425°F (220°C). As the oven begins to preheat, place your empty 10-inch cast iron skillet (or other oven-safe pan) into the oven to ensure it gets intensely hot. This is crucial for the perfect rise!
-
While the oven and pan are heating, prepare the batter. In a large bowl, whisk together the eggs, all-purpose flour, milk, Kosher or fine sea salt, powdered (confectioner’s) sugar, pure vanilla extract, and ground cinnamon until the mixture is completely smooth and lump-free. Alternatively, you can use a blender for a silky-smooth batter; just pulse until combined, scraping down the sides as needed. Allow the batter to rest for 10-15 minutes if time permits, this helps the flour hydrate for a more tender pancake.3 large eggs, ½ cup all-purpose flour, ½ cup milk, ¼ teaspoon Kosher or fine sea salt, 2 tablespoon powdered (confectioner’s) sugar, 1 teaspoon pure vanilla extract, ⅛ teaspoon ground cinnamon
-
Once the oven is fully preheated and the pan is very hot, carefully remove the pan from the oven. Add the unsalted butter to the skillet and let it melt completely and bubble vigorously. Immediately pour the prepared batter directly over the melted butter. Do NOT stir or mix. Place the skillet back into the oven and bake for 18-20 minutes, or until the Dutch baby is dramatically puffed up around the edges and beautifully golden brown on top. **It’s crucial not to open the oven door while it’s cooking, as this will cause the pancake to deflate prematurely.** Remove from the oven and serve immediately with your desired toppings.3 tablespoon unsalted butter
Notes
- Resist the Urge to Peek: It’s tempting, but avoid opening the oven door while your Dutch baby is cooking. The trapped heat and steam are essential for its dramatic rise. If you want to check on its progress, use your oven light to see through the glass.
- The Deflation is Normal: Don’t be alarmed when your magnificent puff pancake deflates shortly after being removed from the oven. This is a completely normal and expected characteristic of a Dutch baby, as the steam escapes. Embrace the beautifully formed “bowl” in the center – it’s perfect for holding all your delicious toppings!
- Serving Temperature: For the best texture and flavor, serve your Dutch baby immediately. It’s truly meant to be enjoyed warm, right after it comes out of the oven.
Nutrition*
*Nutrition information is provided as a courtesy and is an estimate only. Nutrition information can vary depending on many factors, such as products used, measurements and substitutions, therefore it is recommended that you obtain nutritional calculations based on your own finished recipe.
We hope this comprehensive guide has inspired you to try making your own Sweet Vanilla Dutch Baby Pancake! It’s a delightful, impressive, and surprisingly simple dish that promises to elevate any breakfast or brunch. Enjoy the process of watching it puff up in the oven and the joy of customizing it with your favorite toppings. Happy cooking!
