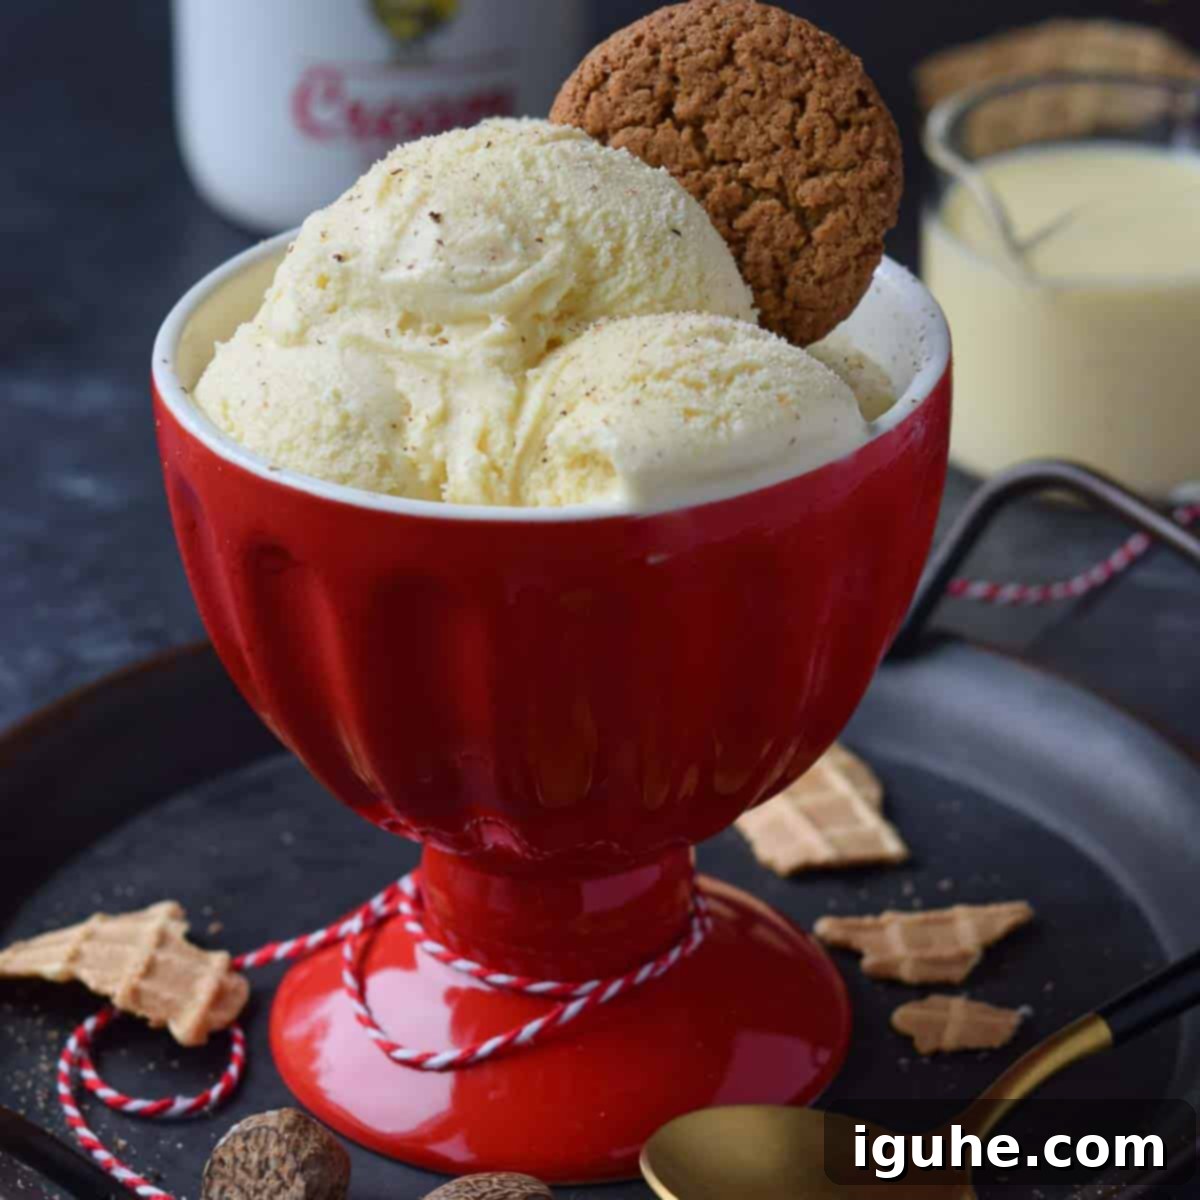
Creamy No-Cook Christmas Eggnog Ice Cream: Your Ultimate Holiday Dessert!
As the festive season approaches, the aisles of our supermarkets begin to glow with the golden hue of eggnog. For many, it’s the quintessential drink of Christmas, a symbol of warmth and celebration. But what if you could transform this beloved holiday beverage into an even more delightful treat? Enter this incredible Christmas Eggnog Ice Cream – a creamy, rich, and perfectly spiced dessert that captures the very essence of the holidays in every scoop.
Whether you’re a devout fan of eggnog or typically shy away from sipping it straight, prepare to be converted. This ice cream is designed to win over every palate. Its velvety texture and comforting notes of nutmeg and vanilla are utterly irresistible, making it the perfect festive indulgence. Forget complicated recipes; this easy, no-cook version harnesses the magic of store-bought eggnog, making your holiday dessert prep a complete breeze.

While I may not be the biggest fan of drinking eggnog straight from the carton, I absolutely adore incorporating its unique flavor into baked goods and desserts. It adds a festive richness that is simply unmatched, and this ice cream recipe perfectly showcases its versatility. If you’ve enjoyed my eggnog waffles, you know the magic I’m talking about!
One of the best features of this Christmas eggnog ice cream is its simplicity. Yes, it requires an ice cream maker to achieve that perfect creamy consistency, but trust me, it’s a worthwhile investment for year-round deliciousness. The process is genuinely hassle-free: no cooking involved, no tempering eggs, and no fussing with egg yolks. You simply combine the ingredients, chill, and churn. Plus, by utilizing good quality store-bought eggnog, all the complex flavor balancing is already done for you, leaving you to enjoy the easy creation of a truly gourmet dessert.
Essential Ingredients for Your Eggnog Ice Cream
Crafting this luscious eggnog ice cream requires just a handful of straightforward ingredients. Each plays a crucial role in delivering the creamy texture and signature festive flavor profile you’re looking for. Here’s a detailed look at what you’ll need:
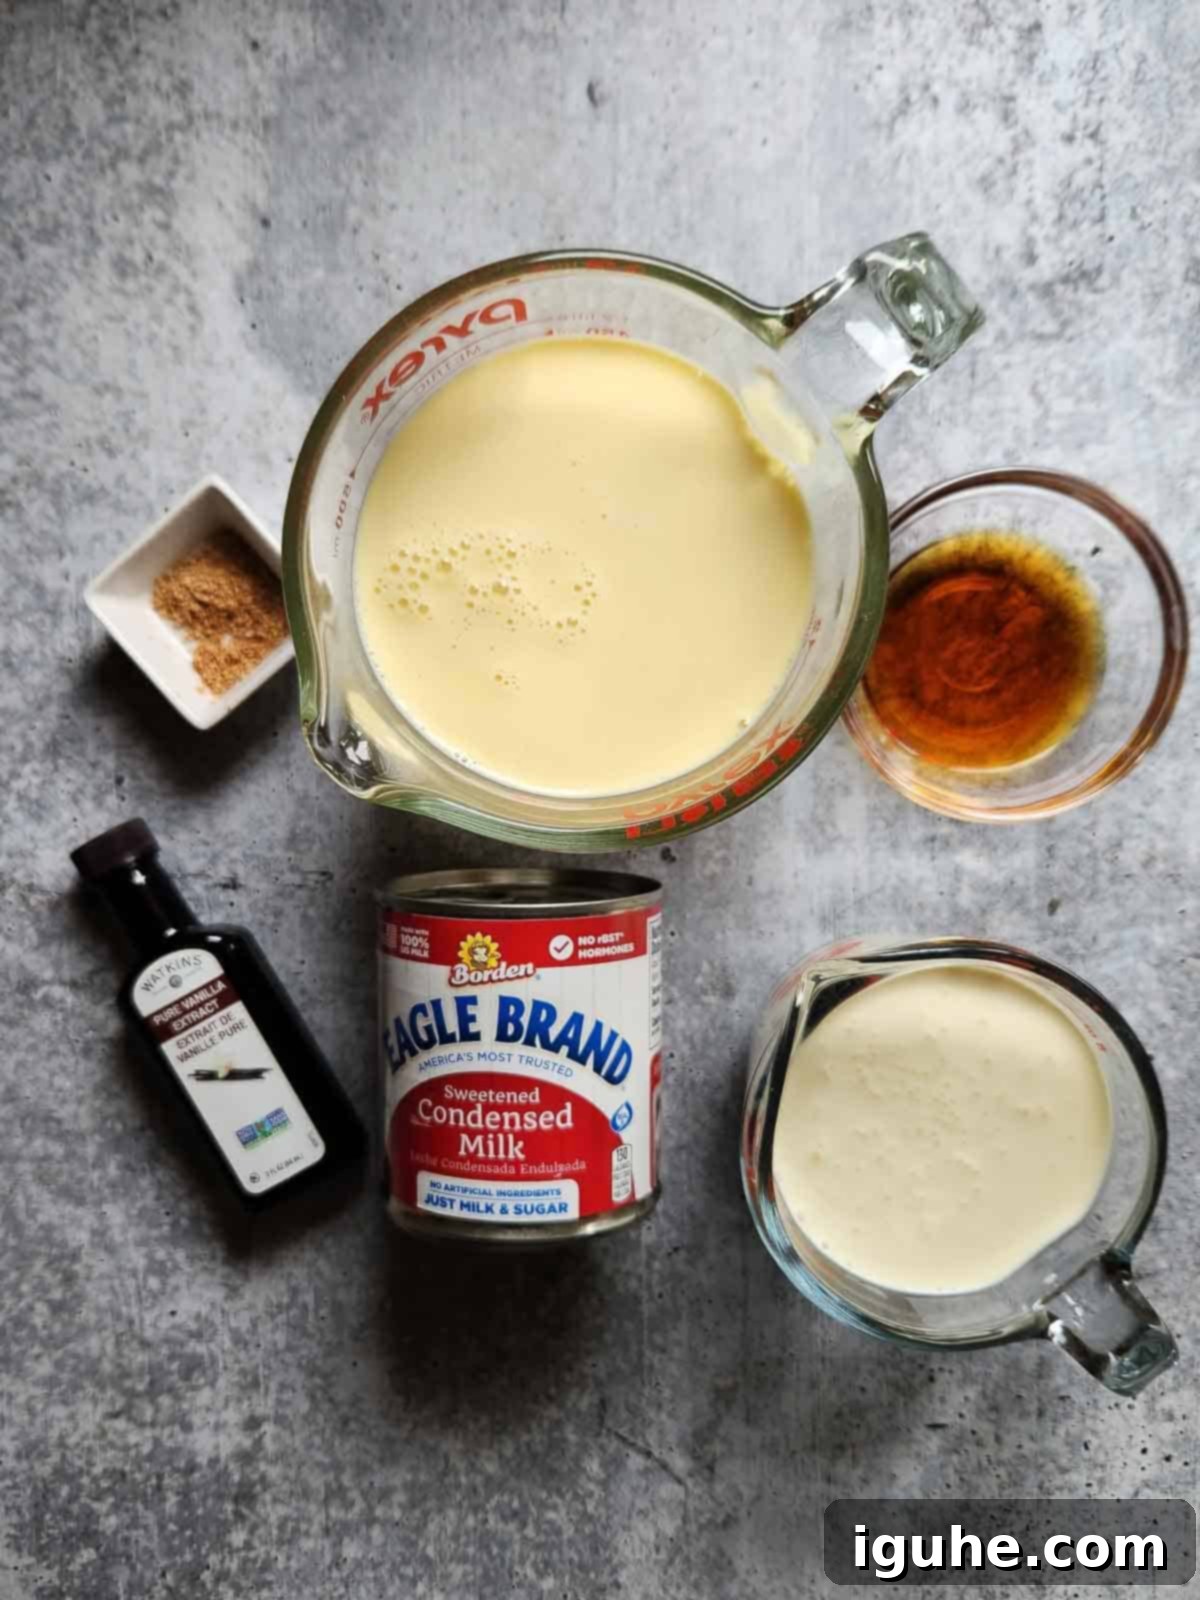
- Eggnog: The star of our show! It’s essential to check the labels of your chosen eggnog carefully. Many prepared eggnogs contain varying amounts of added sugars and sometimes even alcohol. For the best flavor and control over sweetness, opt for an all-natural variety with fewer additives from your local grocery store. If you happen to have a cherished homemade eggnog recipe, it will undoubtedly work beautifully here. However, for sheer convenience and a perfectly delicious result, store-bought eggnog is absolutely fine. Don’t let any leftover eggnog go to waste! It’s fantastic for making my delicious Eggnog Waffles or a comforting chai eggnog latte.
- Sweetened Condensed Milk: This ingredient is key to both the sweetness and the incredibly smooth, dense texture of the ice cream. It ensures a luxurious mouthfeel without the need for traditional custard bases.
- Heavy Cream: To achieve that ultimate rich and creamy consistency, heavy cream is indispensable. When combined with the condensed milk, it forms the perfect foundation for a truly decadent ice cream base.
- Nutmeg: For me, you can never have too much nutmeg when it comes to eggnog. This spice is crucial for enhancing that authentic, warming eggnog flavor. Freshly grated nutmeg offers the most vibrant aroma and taste, but high-quality ground nutmeg will also work wonderfully if that’s what you have on hand.
- Dark Rum: While entirely optional, a splash of dark rum (such as Gosling’s, or your favorite brand) significantly enhances the holiday spirit of this ice cream. Beyond flavor, alcohol also acts as a natural antifreeze, helping to keep the ice cream softer and scoopable directly from the freezer. If you prefer to keep this treat alcohol-free, simply omit it – the ice cream will still be delicious.
- Vanilla Extract: Just a hint of pure vanilla extract provides a subtle aromatic depth, tying all the warm, creamy flavors together harmoniously.
- Gingersnaps: An optional, but highly recommended, addition! The crisp, spicy bite of gingersnaps, either crushed and mixed in, or served whole on the side, provides a delightful textural contrast and complements the eggnog flavor beautifully.
Special Equipment: Your Ice Cream Maker
While this recipe is incredibly simple, the one piece of specialized equipment you’ll need is an ice cream maker. This kitchen gadget does all the hard work of churning, transforming your liquid mixture into luscious, smooth ice cream. I personally love and recommend this model by Cuisinart for its reliability and consistent results. Alternatively, if you own a KitchenAid stand mixer, their ice cream bowl attachment works perfectly for this recipe, offering a convenient way to make homemade ice cream without another bulky appliance.
Investing in an ice cream maker opens up a world of homemade frozen treats, making it a worthwhile addition to any dessert lover’s kitchen. The joy of customizing flavors and enjoying fresh, preservative-free ice cream is truly unparalleled.
Simple Steps to Your Creamy Christmas Eggnog Ice Cream
Get ready to be amazed by how incredibly easy it is to make this festive holiday ice cream. With no cooking or complex steps, it’s as simple as mix, pour, and churn! Follow these straightforward directions to create a truly delicious dessert.
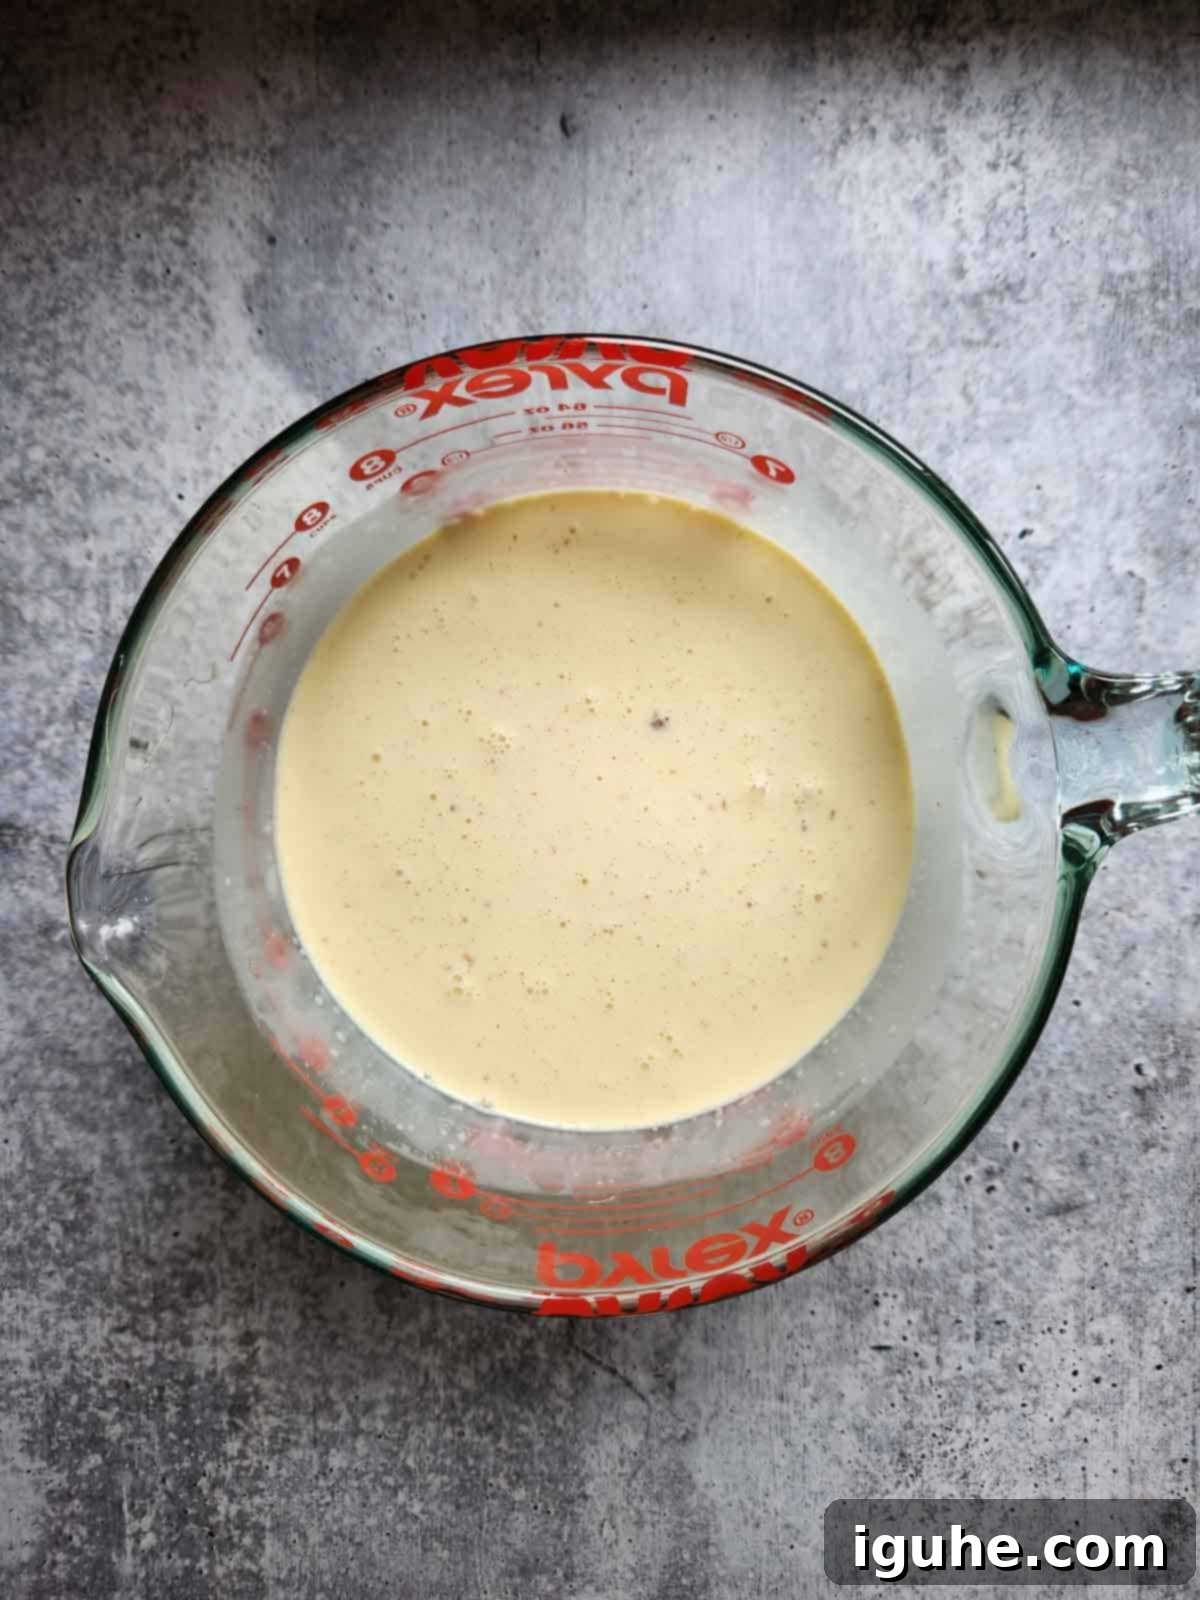
Step 1: Combine and Chill. In a large mixing bowl, thoroughly combine all your ice cream ingredients – eggnog, sweetened condensed milk, heavy cream, nutmeg, dark rum (if using), and vanilla extract. Whisk vigorously until the mixture is perfectly smooth and all ingredients are fully incorporated. Once mixed, cover the bowl and refrigerate the mixture for at least 2 hours. This crucial chilling step helps the ice cream churn more efficiently, resulting in a creamier texture.
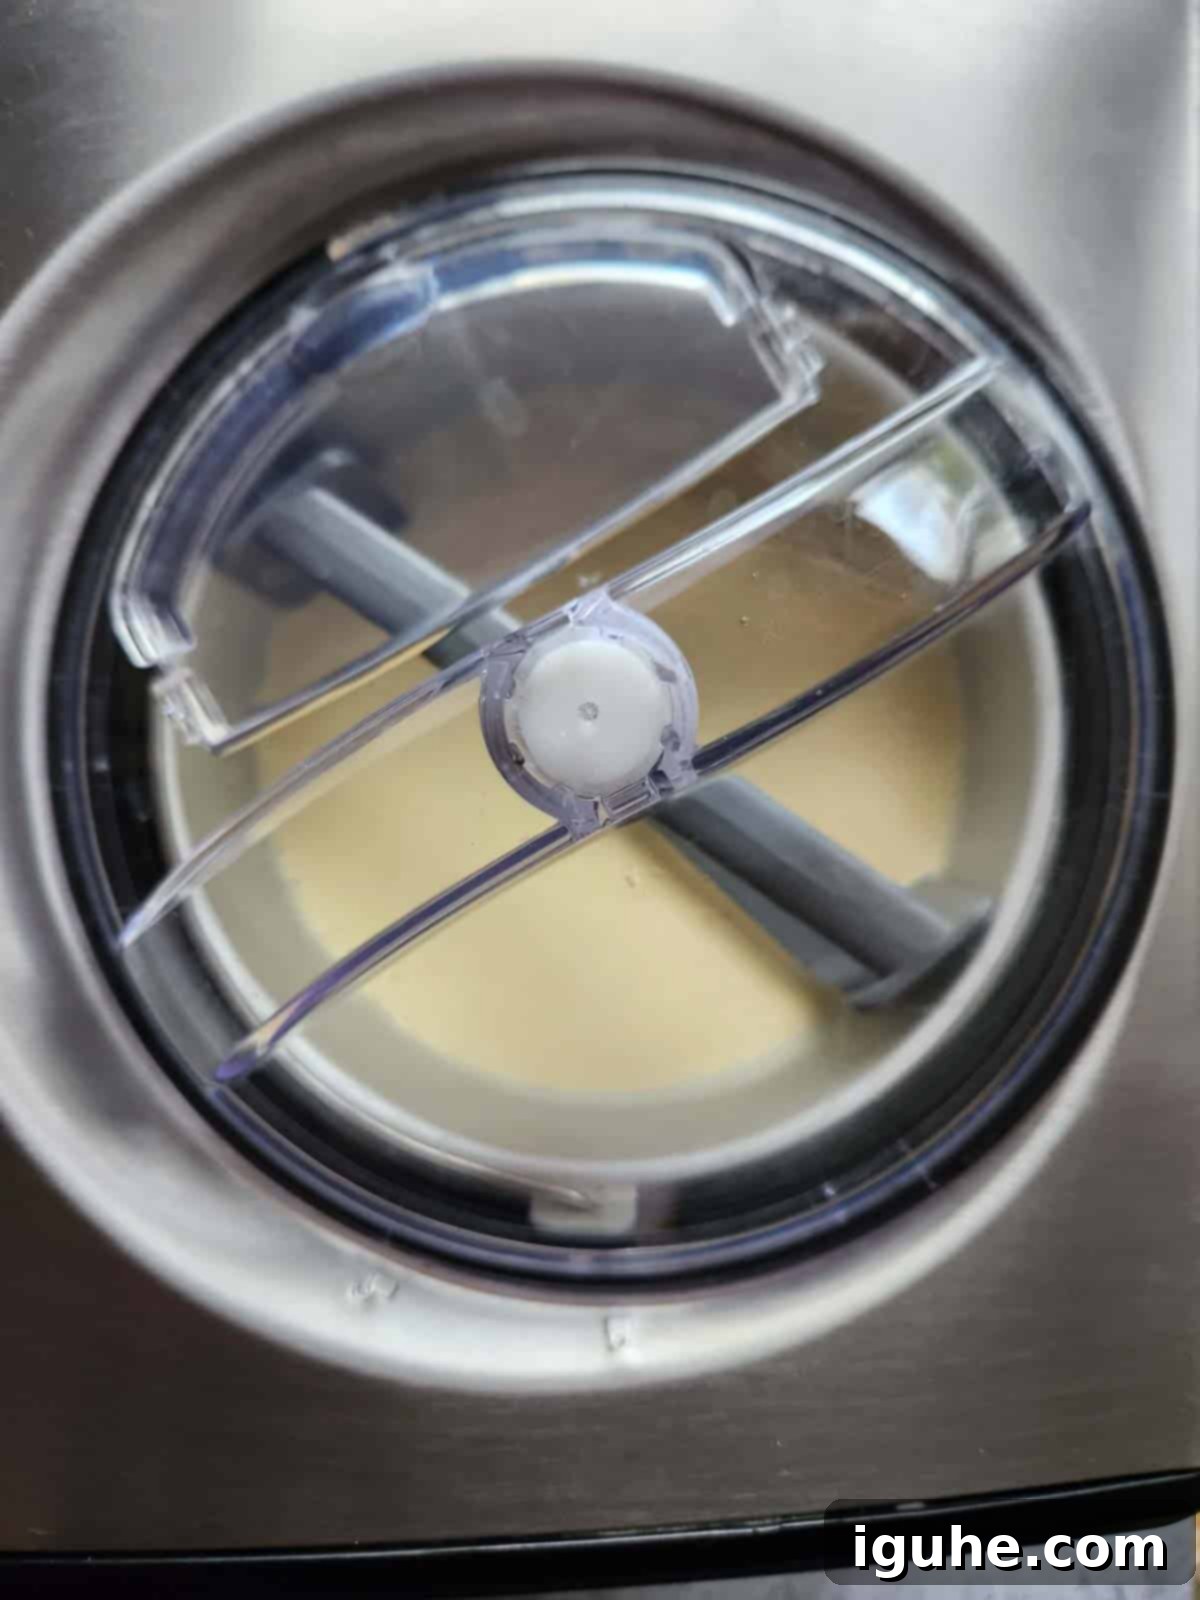
Step 2: Churn to Perfection. Once your ice cream mixture is thoroughly chilled, pour it into the frozen bowl of your ice cream maker. Churn according to your manufacturer’s specific recommendations. Most models will take between 50 to 60 minutes. As the machine works its magic, the mixture will gradually thicken and transform into a soft-serve consistency, becoming light and airy.
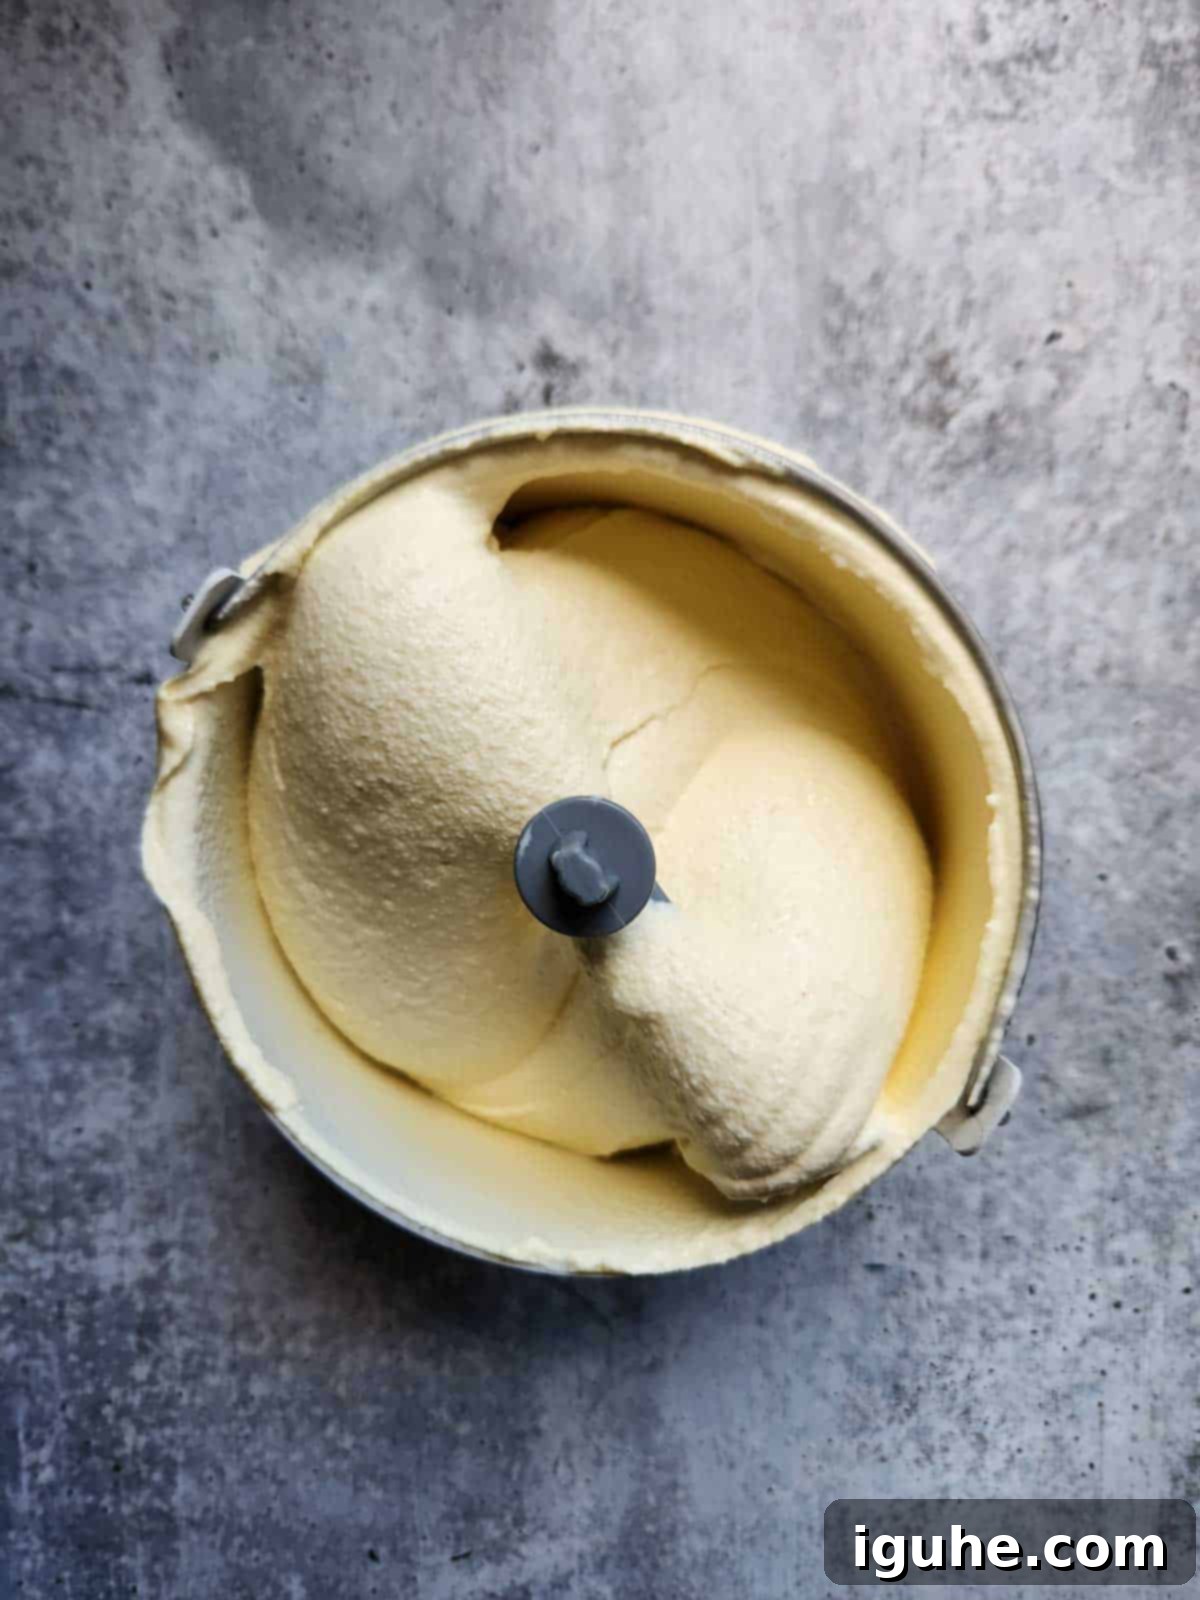
Step 3: Freeze to Firmness. Once churning is complete, your eggnog ice cream will have a delightful soft-serve texture, perfect for immediate enjoyment! For a firmer, more traditional scoopable ice cream, transfer it to a freezer-safe container. Press a piece of parchment paper or plastic wrap directly onto the surface of the ice cream to prevent ice crystals from forming, then seal tightly and freeze for at least 4-6 hours, or until firm. Now it’s ready to be scooped and savored!
👩🍳 Expert Tips for Perfect Eggnog Ice Cream
- Quality of Eggnog Matters: The base of your ice cream is the eggnog itself, so its quality will directly impact the final flavor. As mentioned, be mindful of labels – some eggnogs are very sweet or contain artificial flavors. Opt for a high-quality, all-natural brand, or if you prefer, use your own homemade eggnog for an unparalleled taste. If your eggnog is already very sweet, you might consider slightly reducing the condensed milk to balance the flavor.
- Read Your Ice Cream Maker’s Manual: Every ice cream maker is unique. For optimal results, always consult your specific model’s instructions. Pay close attention to recommended churning times and pre-freezing requirements for the bowl. For compressor models, ensure it’s properly cooled. If using a freeze-bowl attachment for a stand mixer, make sure the bowl is frozen solid – usually at least 12-24 hours prior to use – to ensure proper churning and texture.
- Pre-Chill Your Mixture Thoroughly: This is a golden rule for homemade ice cream. A well-chilled base (2 hours minimum, or even overnight) will churn faster and incorporate less air, leading to a smoother, creamier ice cream that’s less prone to iciness. Don’t skip this step!
- Prevent Ice Crystals: To keep your ice cream wonderfully smooth during storage, transfer it to an airtight freezer-safe container. For an extra layer of protection against freezer burn and ice crystal formation, press a piece of plastic wrap or parchment paper directly onto the surface of the ice cream before sealing the container.
- Consider Your Add-ins: While gingersnaps are a fantastic option, you can get creative! Stir in chocolate chips, chopped nuts, or even a swirl of caramel after churning for a minute or two. For best results, add mix-ins during the last 5-10 minutes of churning so they are evenly distributed but don’t break down too much.
Delightful Serving Suggestions
This eggnog ice cream is utterly delicious on its own, but the holiday season often calls for a little extra flair! Here are some festive serving suggestions to elevate your dessert:
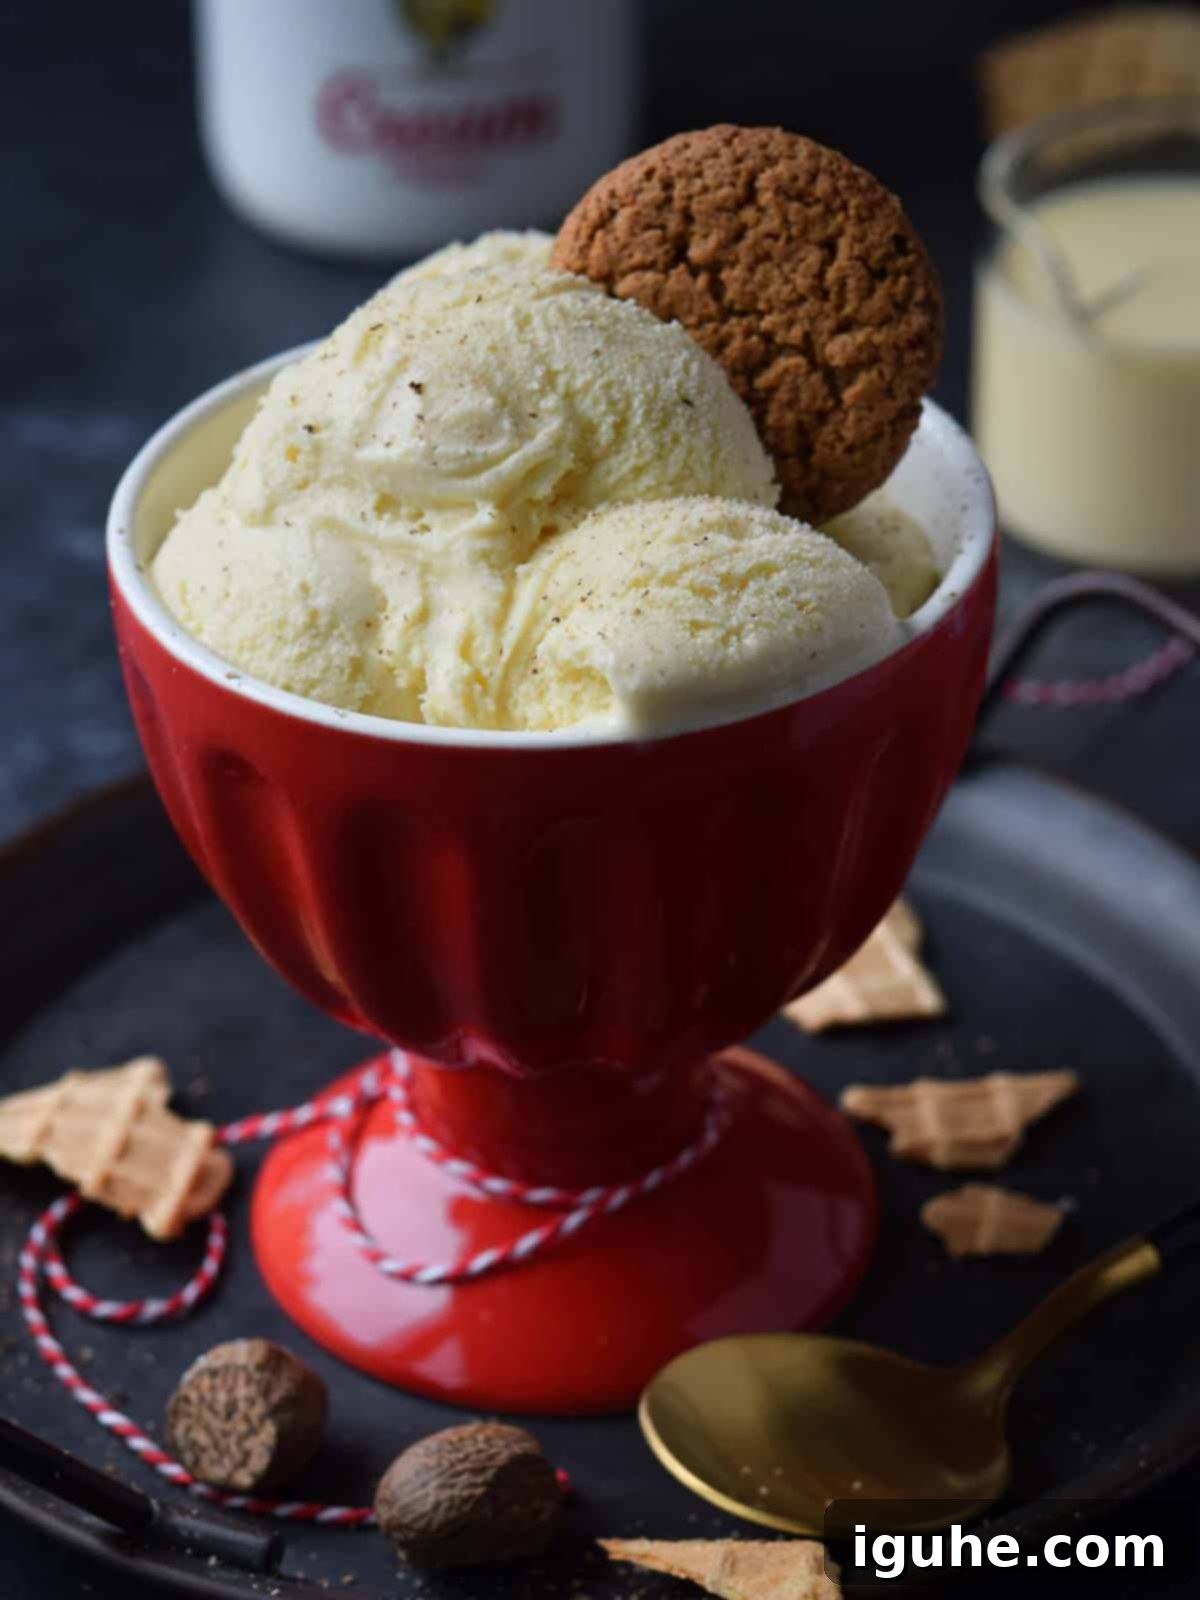
- Gingersnap Delight: Serve generous scoops with whole gingersnap cookies on the side, or crush them to sprinkle over the top for a lovely textural contrast and spicy kick. Gingerbread cookies also make an excellent substitute.
- Festive Dessert Ensemble: Create a show-stopping holiday dessert by pairing a scoop of this creamy ice cream with my cranberry gingerbread loaf. The warm spices and fruit notes will complement the eggnog beautifully.
- Aromatic Spice Toppings: Garnish your ice cream with elegant cinnamon sticks, a light dusting of ground cinnamon, or a fresh grating of nutmeg for an extra aromatic touch and visual appeal.
- Candied Ginger Sparkle: For a sophisticated and subtly spicy topping, sprinkle finely chopped candied or crystallized ginger over each serving.
- Ruby Red Garnish: Add a pop of vibrant color and a burst of tartness with fresh cranberries or glistening pomegranate seeds.
- Maple Drizzle: A delicate drizzle of high-quality maple syrup adds an extra layer of warmth and natural sweetness that pairs wonderfully with eggnog.
- Classic Whipped Cream: You can’t go wrong with a classic! A dollop of freshly whipped cream is always a welcome addition to any ice cream treat.
Storage Tips for Homemade Ice Cream
Proper storage is essential to keep your homemade eggnog ice cream tasting fresh and delicious for as long as possible. Once churned and frozen, your ice cream can be stored in an airtight container in the freezer for up to 3 months. While it will remain safe to eat beyond this period, the quality and texture are best within the first few weeks.
To prevent the formation of pesky ice crystals and freezer burn, always ensure your container is truly airtight. A great trick is to press a piece of plastic wrap or parchment paper directly onto the surface of the ice cream before sealing the lid. This creates an extra barrier against air exposure. If you find yourself making homemade ice cream frequently (and I highly encourage you to!), it might be worth investing in a dedicated ice cream storage container, such as this one. I personally love mine; they’re not only functional but also look beautiful when scooping and serving!
Frequently Asked Questions About Eggnog Ice Cream
Eggnog is a delightful seasonal drink that typically graces the dairy sections of most supermarkets from late October through December, making it a staple of the holiday season. During these months, you’ll easily spot it alongside milk and cream.
Eggnog offers a unique, rich, and creamy taste profile. Its texture is thick and velvety, reminiscent of a melted custard. The flavor is distinctively warm and comforting, largely due to key spices like nutmeg, cinnamon, and sometimes a hint of vanilla, often with a subtle eggy sweetness.
While an ice cream maker is highly recommended for the best creamy texture, you can try a no-churn method using a loaf pan. Pour the mixture into a freezer-safe loaf pan, cover it tightly, and freeze for about an hour. Then, remove it and vigorously stir or whisk every 30-45 minutes for the next 3-4 hours to break up ice crystals, until it reaches a firm consistency. This method requires more manual effort but can still yield a delicious result.
Yes, you can adapt this recipe for a dairy-free version! Look for dairy-free eggnog options (often made with almond or oat milk). Replace the heavy cream with full-fat canned coconut cream (chilled overnight, use only the thick cream portion) and ensure your sweetened condensed milk is also dairy-free (coconut-based versions are available). The texture might be slightly different but will still be wonderfully creamy and flavorful.
Looking for More Festive Holiday Recipes?
The holiday season is a wonderful time for culinary exploration! If you’ve enjoyed this eggnog ice cream, you might love some of my other festive and comforting recipes. These treats are perfect for brunches, dinners, or simply cozy evenings at home.
- Pecan Pie Baked Oatmeal
- Creamy Autumn Squash Soup
- Easy Italian Pignoli Cookies
- Double Chai Spiced Pancakes
Did you make this festive recipe? I would absolutely love to hear about your experience! Please leave a ⭐⭐⭐⭐⭐ rating and a comment right below the recipe card to share your thoughts. If you capture a photo of your delightful creation, don’t forget to tag me on Instagram @brunchandbatter. Happy holidays and happy churning!
📖 Recipe: Easy Christmas Eggnog Ice Cream
Christmas Eggnog Ice Cream
Prevent your screen from going dark
Pin Recipe
2 hours
50 minutes
2 hours
50 minutes
Dessert
American
1.5
quarts
174
kcal
Equipment
-
Ice cream maker
Ingredients
-
2
cups
eggnog
store-bought or fresh (for best results, look for less additives and no alcohol) -
1
10 oz.
can of sweetened condensed milk -
1
cup
heavy cream -
1
teaspoon
freshly grated nutmeg -
2
tablespoon
dark rum
such as Goslings, optional (helps keep ice cream creamy, omit for alcohol-free) -
½
teaspoon
pure vanilla extract -
8-10
gingersnaps, crushed or whole
optional, for serving or mix-in
Instructions
-
In a large bowl, whisk together the eggnog, sweetened condensed milk, heavy cream, freshly grated nutmeg, dark rum (if using), and vanilla extract until thoroughly combined and smooth. Cover the bowl and refrigerate the mixture for at least 2 hours, or preferably overnight, to ensure it’s well-chilled.2 cups eggnog, 1 10 oz. can of sweetened condensed milk, 1 cup heavy cream, 1 teaspoon freshly grated nutmeg, 2 tablespoon dark rum, ½ teaspoon vanilla extract
-
Once chilled, pour the eggnog mixture into the bowl of your ice cream maker. Churn according to your manufacturer’s specific directions. This usually takes around 50-60 minutes, or until the ice cream reaches a soft-serve consistency.
-
You can serve the ice cream immediately for a soft, creamy treat. For a firmer, scoopable ice cream, transfer it to an airtight freezer-safe container. Press plastic wrap directly onto the surface and freeze for at least 4-6 hours, or until firm. Serve topped with whole or crushed gingersnaps, if desired.8-10 gingersnaps, crushed or whole
Notes
Nutrition*
Serving:
0.5
cup
Calories:
174
kcal
Carbohydrates:
19
g
Protein:
3.7
g
Fat:
9
g
Saturated Fat:
5.5
g
Cholesterol:
47
mg
Sodium:
57
mg
Potassium:
166
mg
Sugar:
16.5
g
Calcium:
129
mg
*Nutrition information is provided as a courtesy and is an estimate only. Nutrition information can vary depending on many factors, such as products used, measurements and substitutions, therefore it is recommended that you obtain nutritional calculations based on your own finished recipe.
Have you tried this recipe?
Leave a comment below and share a photo on Instagram. Tag @brunchandbatter or hashtag it with #brunchandbatter
