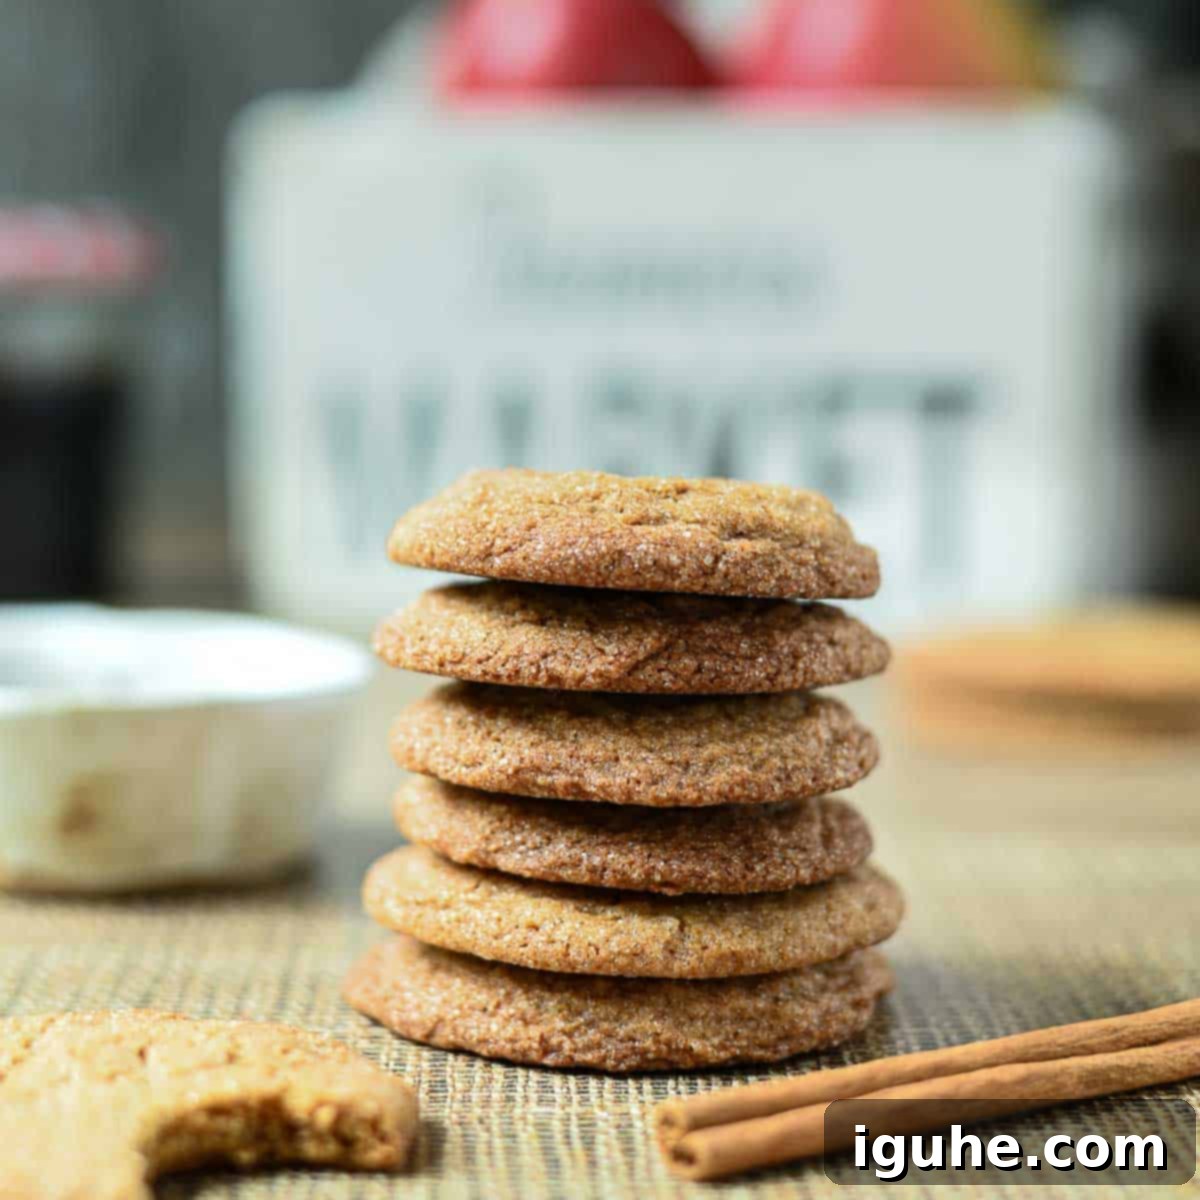
Irresistibly Chewy Apple Cider Cookies: Your Ultimate Fall & Winter Spice Treat
As the crisp autumn air arrives and the leaves begin to turn, there’s nothing quite like the comforting aroma of freshly baked goods filling your home. These soft and chewy Apple Cider Cookies, sometimes lovingly referred to as apple molasses cookies, are truly an irresistible and cozy treat. They are deeply infused with the vibrant, concentrated flavor of apples, making them the perfect centerpiece for your fall and winter baking endeavors.
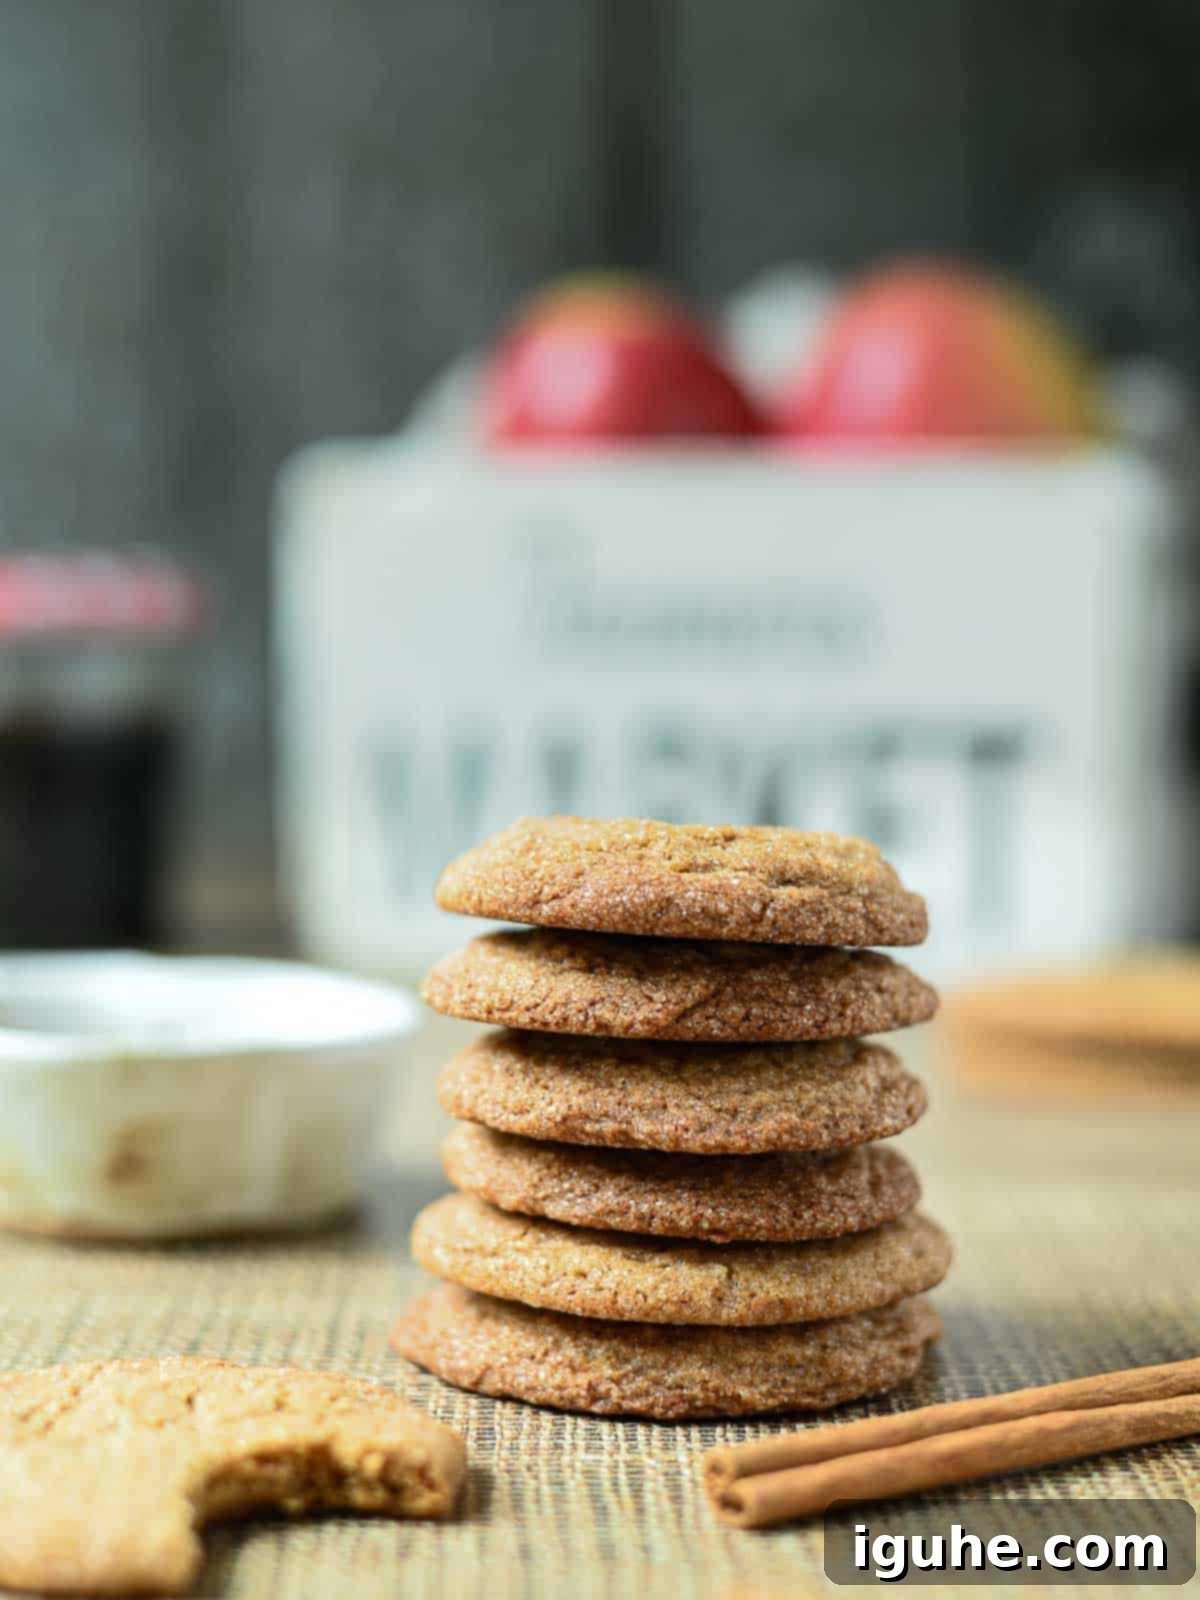
There’s an undeniable magic in “sweater weather,” and with it comes a craving for all things seasonal and spiced. While pumpkin-flavored treats certainly have their charm, I proudly stand on team apple when it comes to fall baking! From comforting homemade applesauce and hearty oatmeal to delightful muffins, apples are truly shining this season, and these cookies are no exception.
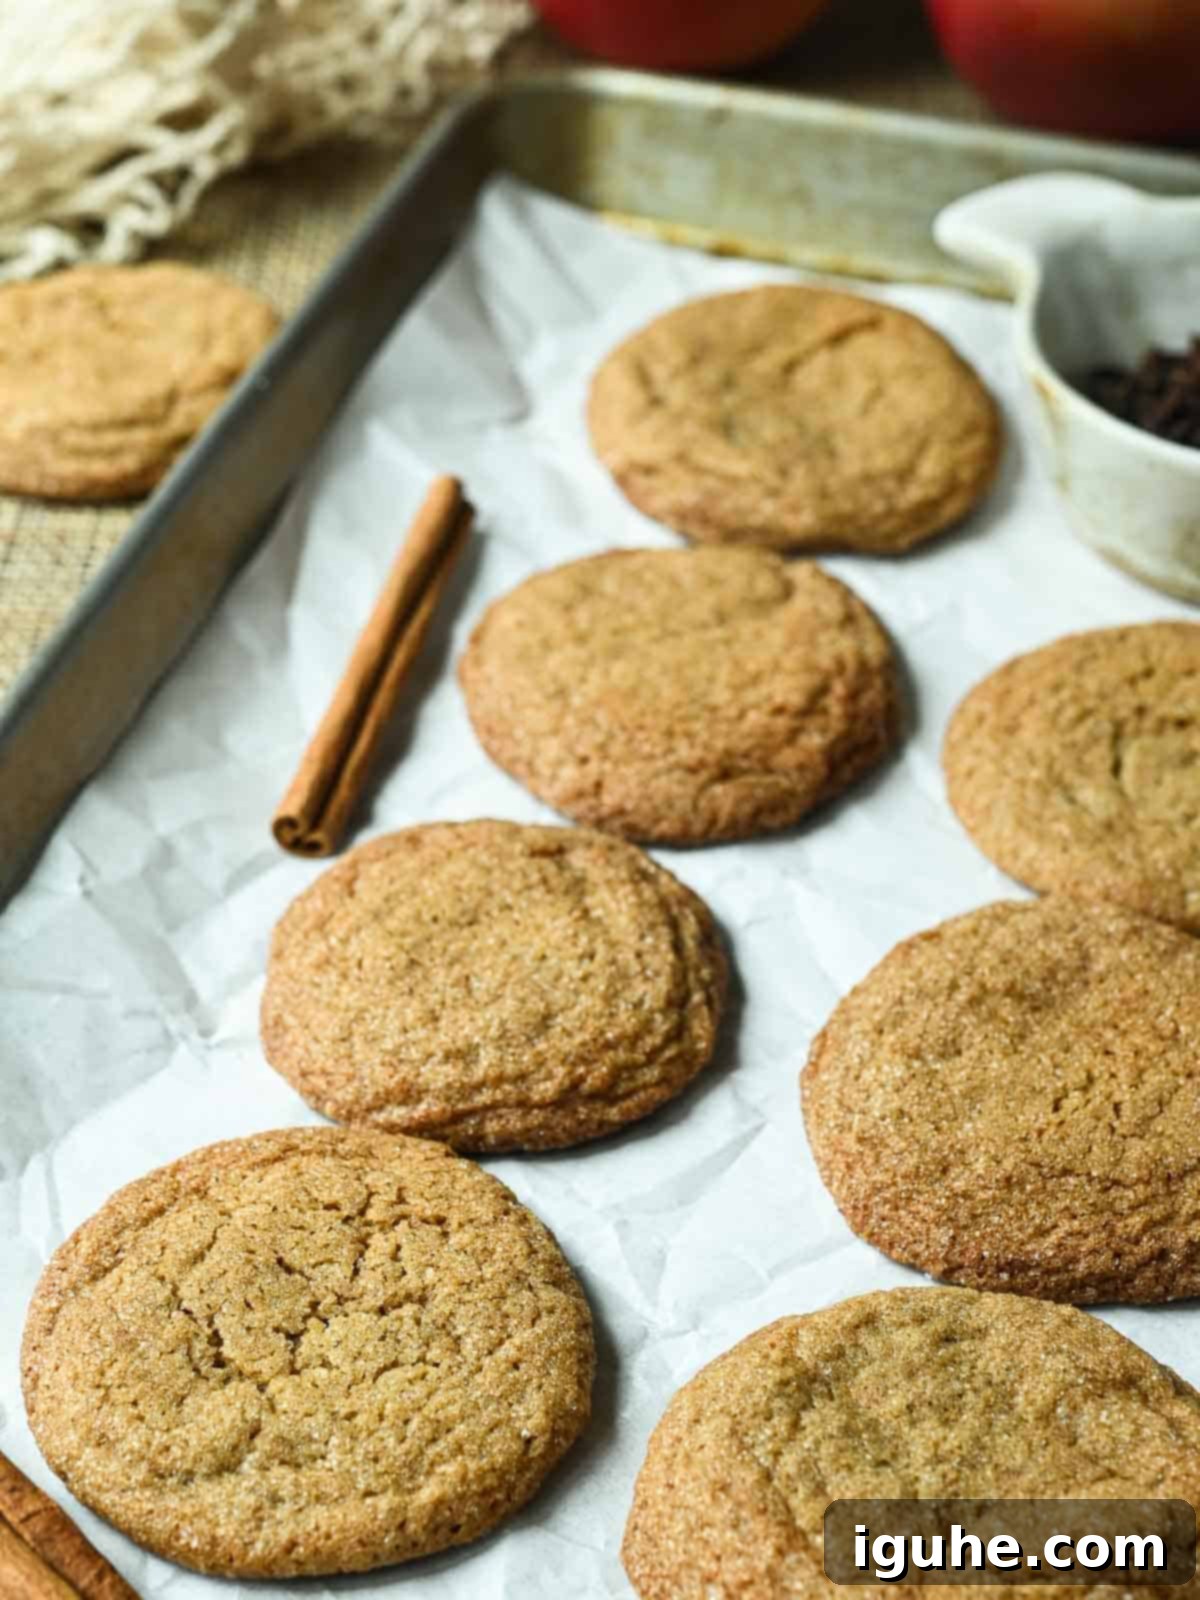
So, what exactly defines an apple cider cookie? Imagine the familiar warmth and tender texture of a classic molasses cookie, but elevated with a unique, intensely fruity twist. These cookies boast a wonderfully buttery-soft and delightfully chewy interior, complemented by a beautifully golden-brown, crackly top. Each bite delivers a harmonious blend of warm, cozy spices and sweet, concentrated apple notes that will transport you straight to an autumn orchard. Sounds absolutely delicious, doesn’t it?
And here’s the best part: making these apple cider cookies is surprisingly easy! You won’t need to spend hours over a hot stove reducing apple cider yourself, as this recipe cleverly utilizes readily available store-bought boiled cider. This powerful flavor booster means you can achieve that deep, rich apple taste without the extra effort. As an added bonus, your kitchen will be filled with the most inviting, autumnal aroma while they bake. You’re welcome!
Why You’ll Love This Apple Cider Cookie Recipe
- Unbelievably Soft & Chewy: The texture is pure perfection – a moist, tender crumb that practically melts in your mouth.
- Deep Apple & Molasses Flavor: A complex, warm flavor profile where sweet apple notes truly sing alongside classic autumnal spices.
- Effortless Preparation: Whether you prefer to mix by hand or use a stand mixer, these cookies come together with ease.
- Perfect for Meal Prep: The dough requires chilling, making it ideal for preparing ahead of time.
- Quick Baking Time: Enjoy freshly baked cookies in just about 11-13 minutes.
- Excellent for Storage & Freezing: These cookies keep well at room temperature and freeze beautifully, ensuring you always have a delightful treat on hand.
Essential Ingredients for the Best Apple Cider Cookies
Beyond the star ingredient, boiled cider, you likely already have most of these pantry staples on hand. Here’s a closer look at the key components and how they contribute to making these cookies truly spectacular:
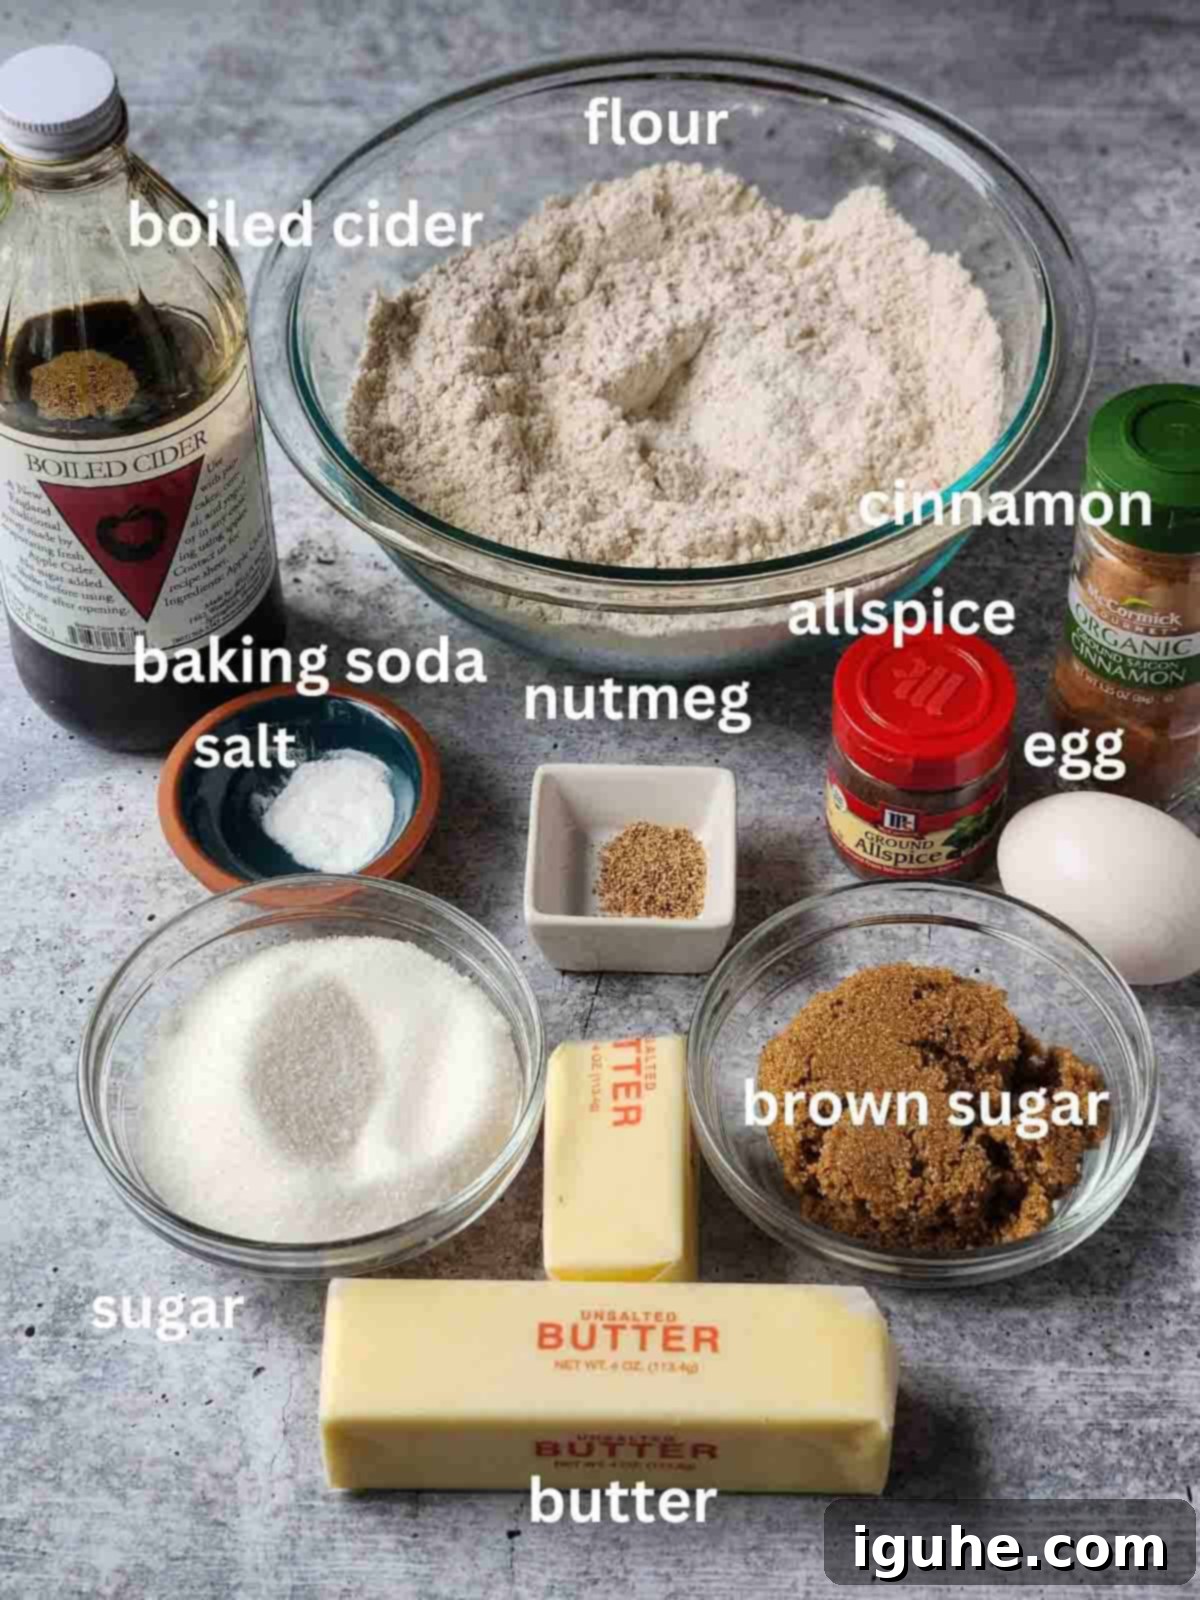
- All-Purpose Flour: The foundation of our cookies, providing structure and body. Ensure you measure it correctly for the best texture – too much can result in dry cookies.
- Baking Soda: This leavening agent helps the cookies rise and contributes to that beautiful golden-brown color and slightly crackly top.
- Warm Spices (Cinnamon, Allspice, Nutmeg): These autumnal spices create the cozy, inviting flavor profile reminiscent of classic apple pie. Feel free to use a pre-mixed apple pie spice blend for convenience if you have it. You can also adjust the ratios to your personal preference.
- Salt: A crucial ingredient that balances the sweetness and enhances all the other flavors, making them pop.
- Unsalted Butter: Using unsalted butter allows you to control the overall salt content of the recipe. Ensure it’s at room temperature for optimal creaming with the sugars, which creates a light and airy dough.
- Granulated & Brown Sugars: This combination is key to achieving that signature chewy interior. White granulated sugar contributes to the crisp exterior, while moist dark brown sugar adds depth of flavor and ensures a wonderfully soft, tender crumb.
- Large Egg: Acts as a binder, adding structure and moisture to the cookies, and aiding in the leavening process. Make sure it’s at room temperature for better emulsification with the butter and sugar.
- Boiled Cider (Apple Molasses or Cider Syrup): This is the secret ingredient that truly sets these cookies apart! Boiled cider is essentially apple cider that has been slowly reduced over heat until it becomes a thick, intensely flavorful syrup, similar in consistency to honey or molasses. It boasts a concentrated apple pie flavor and has been a New England staple since colonial times, originally used as a method to preserve apples. I highly recommend purchasing your boiled cider (this brand is my personal favorite) because making it from scratch can take a significant amount of time (4-6 hours), and we want these delicious cookies in our mouths as soon as possible! When buying, look for a product that lists only apple cider as an ingredient. Do not substitute with regular apple cider, as its watery consistency and lack of concentrated flavor will not yield the desired results. Keep reading for fantastic ideas on what to do with any leftover boiled cider!
- Additional Granulated or Turbinado Sugar for Rolling: This outer coating provides a delightful crunch and sparkle to the finished cookies.
Step-by-Step Instructions for Perfect Apple Cider Cookies
Crafting these cozy apple cider cookies is a straightforward process. Here’s a quick visual overview to guide you, with the complete, detailed instructions available in the recipe card below.
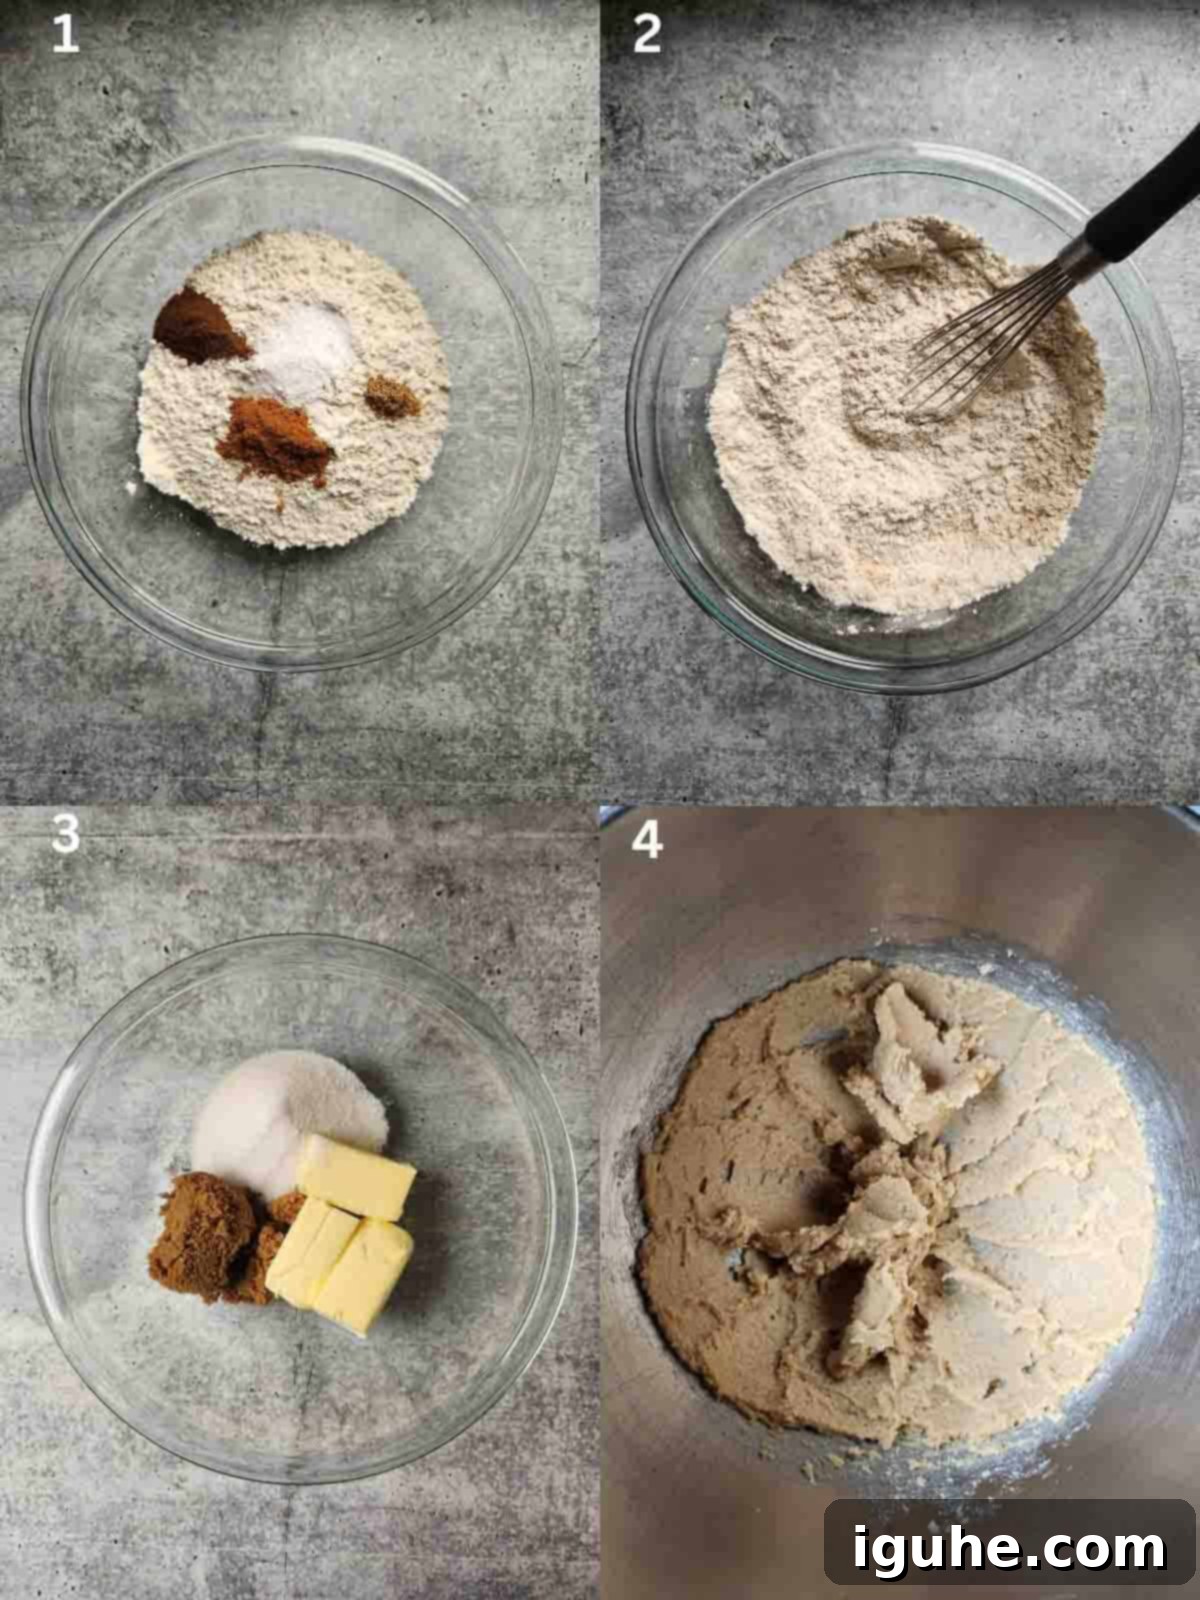
Step 1. Prepare Dry Ingredients: In a large bowl, combine the all-purpose flour, baking soda, salt, ground cinnamon, allspice, and nutmeg. Step 2. Whisk to Combine: Whisk these dry ingredients together thoroughly to ensure they are evenly distributed, then set the bowl aside. Step 3. Cream Butter and Sugars: In the bowl of a stand mixer (or a large bowl if mixing by hand), add the room-temperature unsalted butter along with both white granulated sugar and dark brown sugar. Step 4. Beat Until Fluffy: Cream the butter and sugars together on medium speed until the mixture becomes light, fluffy, and pale in color, typically taking about 2 minutes. This incorporates air, which is essential for the cookies’ texture.
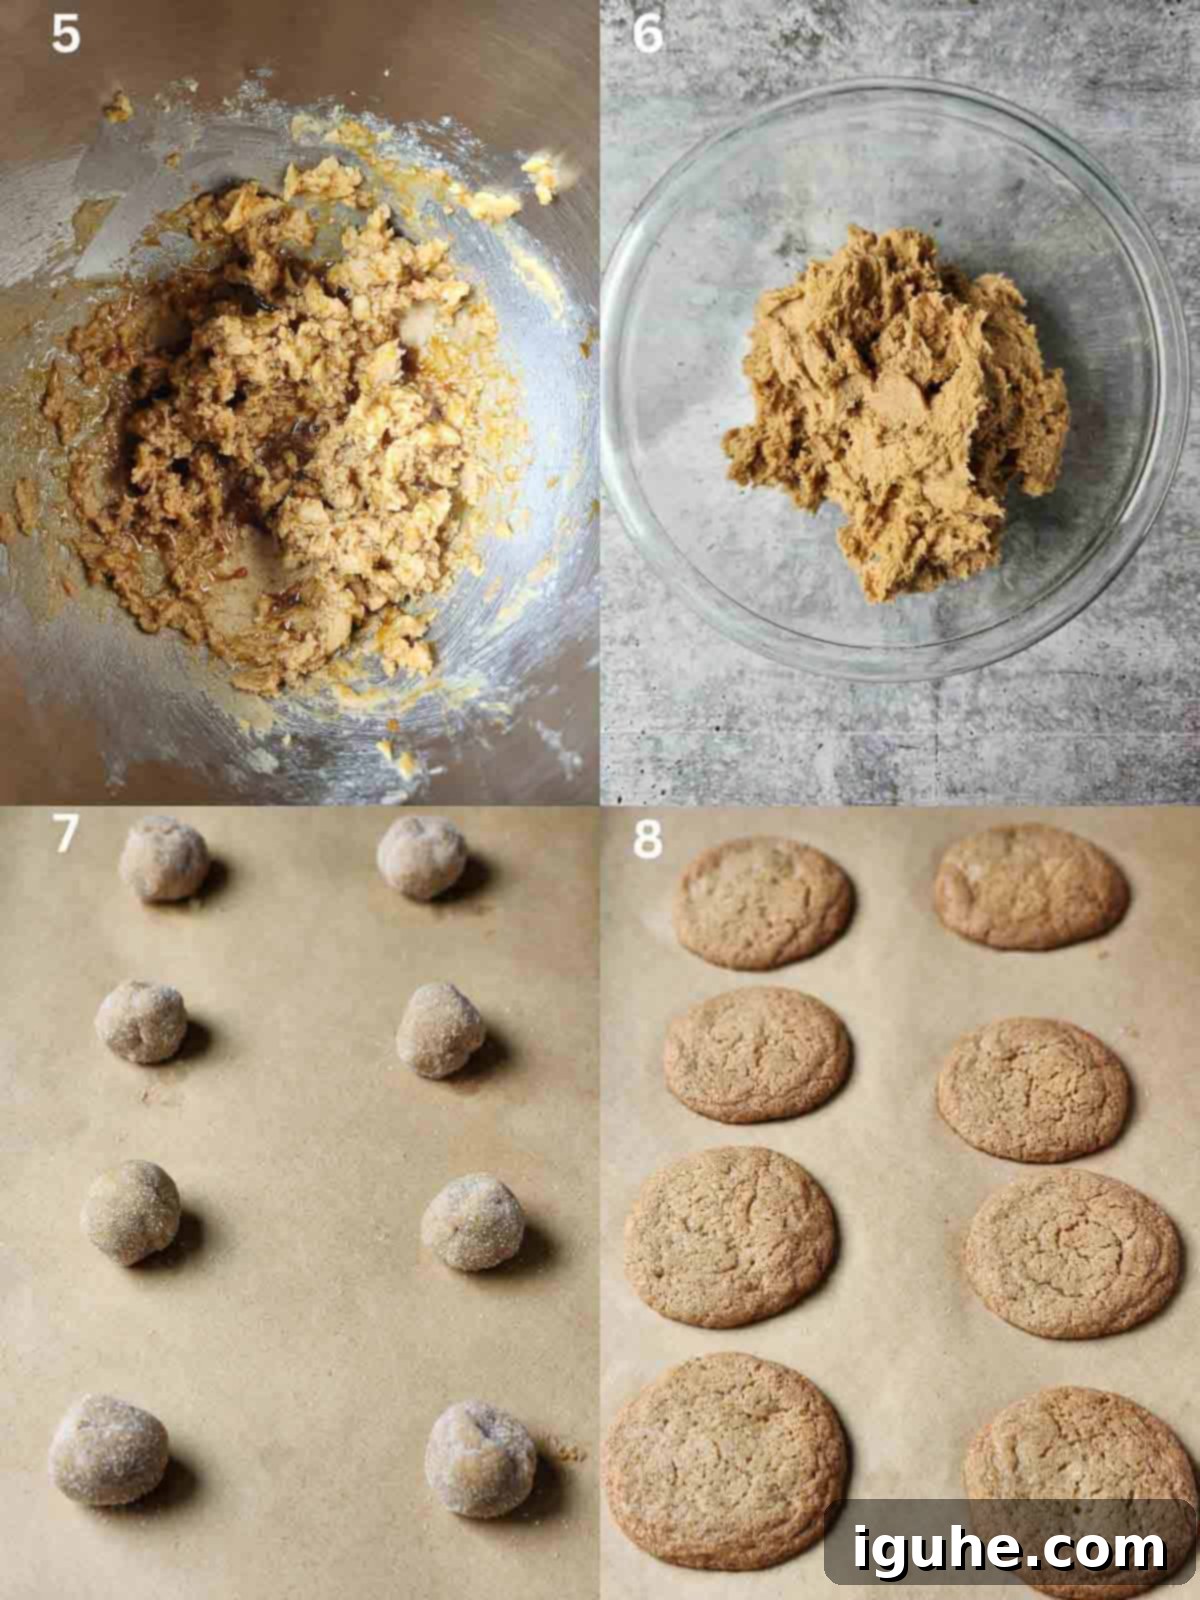
Step 5. Add Wet Ingredients: Introduce the room-temperature egg and the rich boiled cider to the creamed butter and sugar mixture. Mix until just combined – don’t worry if the mixture looks slightly clumpy; that’s normal. Step 6. Gradually Add Flour: Add the whisked dry ingredients to the wet mixture in two batches, mixing on medium speed until the flour is fully incorporated. Be careful not to overmix; scrape down the sides of the bowl as needed to ensure everything is well combined. Step 7. Chill the Dough & Roll: Transfer the dough to the refrigerator and chill for at least 1.5 hours. This step is crucial! After chilling, scoop about one heaping tablespoon of dough, roll it into a neat ball, and then roll each ball in granulated sugar for a sparkling finish. Step 8. Bake to Perfection: Place the sugared dough balls onto prepared baking sheets, ensuring they are spaced 2½-3 inches apart. Bake until the edges are lightly set and golden, even if the centers still appear soft. They will firm up beautifully as they cool.
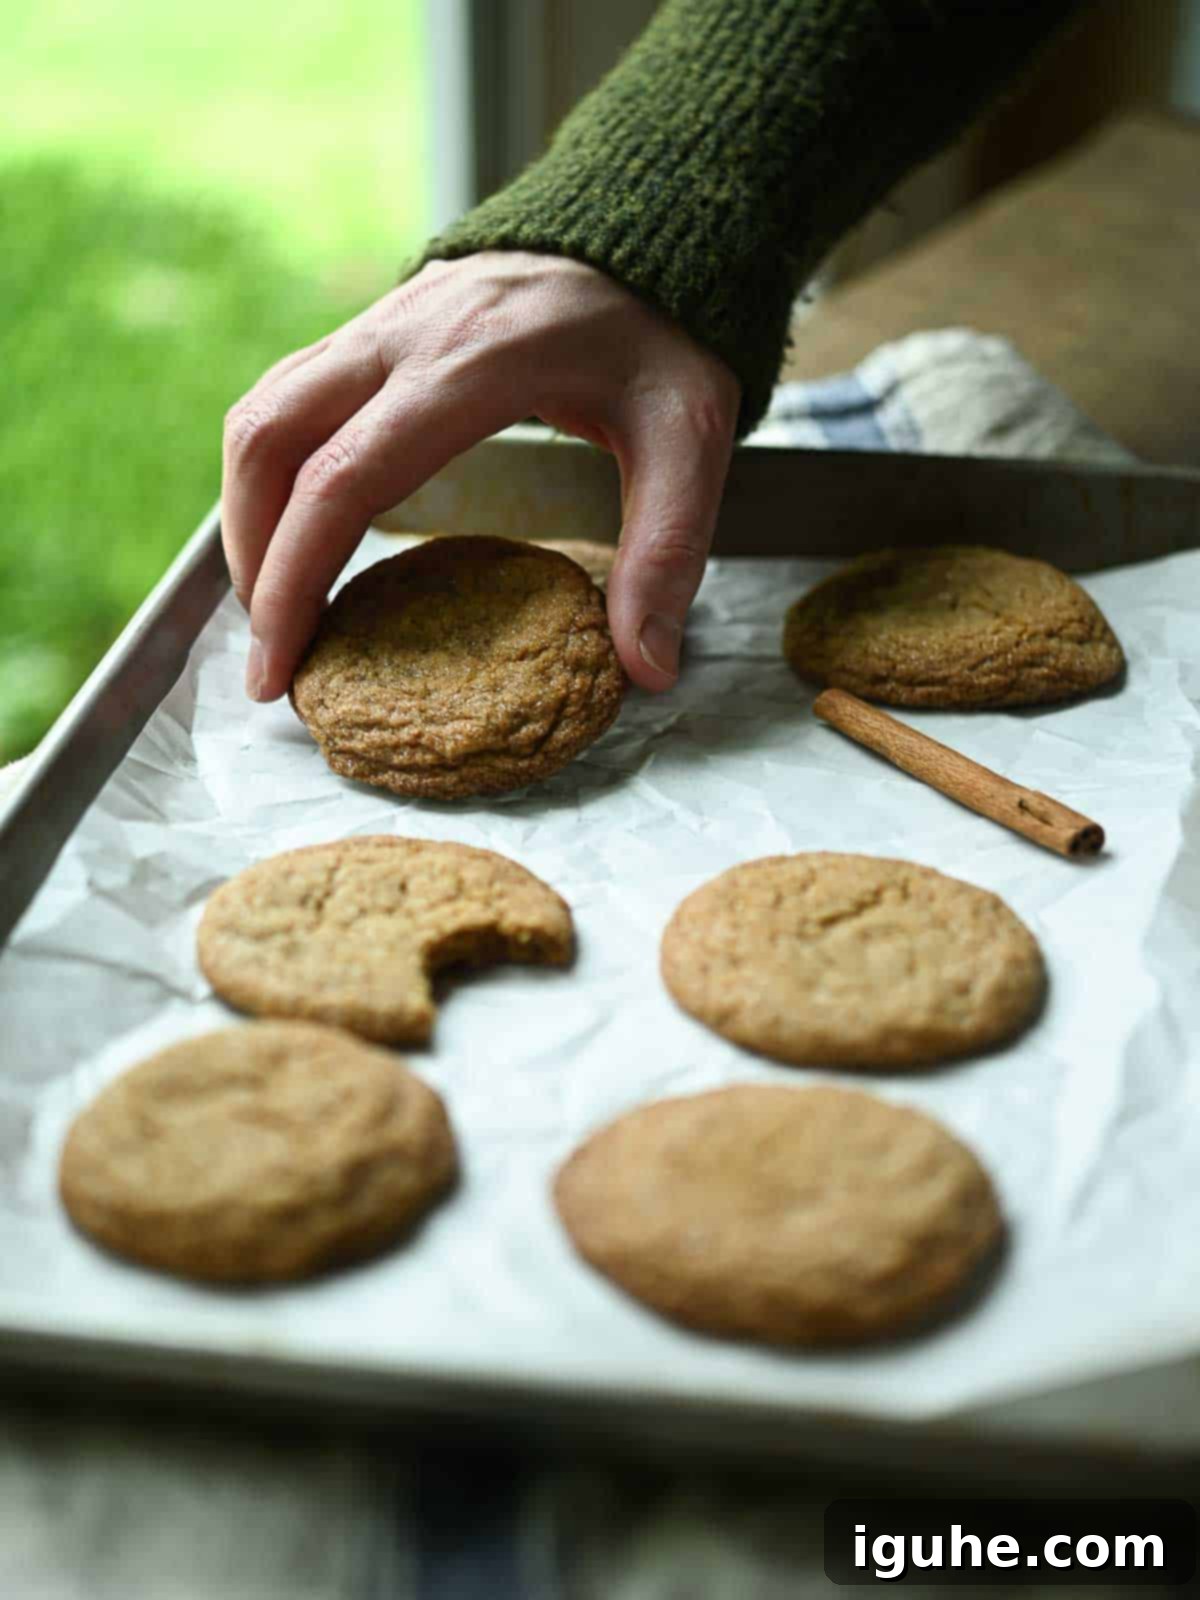
Once out of the oven, allow your freshly baked apple cider cookies to cool directly on the baking pan for about five minutes. This allows them to set slightly before you carefully transfer them to a wire rack to cool completely. Patience is key here, as they will continue to firm up and develop their perfect chewy texture as they cool.
💡Expert Baking Tips for Success
Do not be tempted to skip the chilling time! This step is absolutely essential. Without adequate chilling, your cookie dough will be too soft, causing your cookies to spread excessively and become flat during baking. Proper chilling helps the butter solidify and the flavors meld, resulting in perfectly shaped, chewy cookies.
- Room Temperature Ingredients: Ensure your butter and egg are at room temperature. This allows them to cream together more effectively, creating a smoother, more emulsified batter that traps air for a lighter, chewier cookie.
- Don’t Overmix: Once you add the flour, mix only until just combined. Overmixing can develop the gluten in the flour too much, leading to tough, dense cookies instead of soft and chewy ones.
- Even Scoops: For consistent baking and uniform cookie size, use a cookie scoop or a kitchen scale. Aim for roughly 1-ounce dough balls for about 32 (3-inch) cookies.
- Bake in Batches: Avoid overcrowding your baking sheets. Give the cookies ample space to spread and bake evenly. If baking multiple trays, rotate them halfway through for consistent results.
- Soft Centers are Good: When you pull the cookies from the oven, their centers might still appear slightly soft. This is perfectly normal! They will continue to bake and firm up as they cool on the baking sheet and then on the wire rack.
Substitutions and Variations for Apple Cider Cookies
Missing an ingredient or simply want to experiment? Check out these helpful variations to customize your apple cider cookies:
- Boiled Cider Alternatives: As mentioned, regular apple cider is not a suitable substitute due to its thin consistency and lack of concentrated flavor. However, if you’re out of boiled cider and craving a similar texture, you can turn these into classic **molasses cookies** by swapping out the boiled cider for an equal amount of robust molasses. The flavor profile will shift, but the chewy texture will remain.
- Sugar Options: While dark brown sugar is preferred for its rich flavor and moisture, you can successfully use light brown sugar in its place if that’s what you have on hand. For the rolling sugar, turbinado sugar (raw sugar) offers a coarser texture and a beautiful sparkle, enhancing the crackly top.
- Spice Adjustments: Feel free to play around with the ratios of cinnamon, allspice, and nutmeg to suit your palate. For an even more complex flavor, consider adding a pinch of ground ginger, mace, or even a touch of coriander to your spice blend. A small amount of ground cloves can also deepen the autumnal notes.
- Add-ins: For extra texture and flavor, consider folding in a ½ cup of finely chopped walnuts or pecans, or even a handful of dried cranberries for an added tartness.
Creative Uses for Leftover Boiled Cider
Boiled apple cider isn’t just for cookies! This quintessential fall ingredient is incredibly versatile and can add that little something extra to both sweet and savory dishes, extending the delightful taste of apple throughout your cooking.
- Breakfast Boost: Drizzle it generously over your morning pancakes, waffles, or French toast. It’s a fantastic way to switch up your maple syrup routine with a unique, fruity tang.
- Enhanced Applesauce: Boiled cider is the secret ingredient that takes my homemade applesauce from good to absolutely incredible, adding a concentrated apple depth.
- Baked Goods Amplifier: Use it to intensify the apple flavor in homemade apple pie filling, or incorporate it into other quick breads and muffins for a subtle yet impactful apple note. It can often replace a small portion of other liquid sweeteners.
- Oatmeal Upgrade: Stir a tablespoon into your overnight oats or add it to this easy and flavorful apple pie oatmeal for a warm, comforting breakfast.
- Savory Applications: Don’t limit it to sweets! Boiled cider works wonders in savory dishes. Whisk it into salad dressings for a tart-sweet element, add a splash to BBQ sauces for complexity, or stir it into rich stews and creamy soups like butternut squash for an unexpected depth.
- Instant Apple Cider: For a quick and easy drink, add about 1 tablespoon of boiled cider to ¾ cup of hot or cold water, and stir. Adjust to your desired sweetness and strength.
- Cocktail Enhancer: A splash of boiled cider can elevate your beverages. Try it in a fall Moscow Mule or any autumn-themed cocktail for a burst of concentrated apple flavor.

Storage and Make-Ahead Tips
These apple cider cookies are not only delicious but also convenient to prepare and store, making them perfect for holiday baking or simply having on hand for a sweet craving.
Dough Preparation: The cookie dough can be made ahead of time, which is a fantastic time-saver. Simply cover the bowl tightly with plastic wrap or transfer the dough to an airtight container and store it in the refrigerator for up to 24 hours. When you’re ready to bake, remove the dough from the refrigerator and allow it to sit at room temperature for at least 30 minutes. This ensures the dough isn’t too cold, allowing the butter to soften slightly and the cookies to rise properly in the oven, preventing them from staying flat and dense.
Storing Baked Cookies: Once baked and completely cooled, these cookies will stay wonderfully fresh for up to 5 days. Store them in an airtight container at room temperature to maintain their soft and chewy texture. For optimal freshness, you can place a slice of bread in the container to help keep them moist.
Freezing Instructions: These cookies also freeze exceptionally well, making them ideal for long-term storage. Place the cooled cookies in a single layer on a baking sheet and flash freeze them for about 30 minutes until solid. Then, transfer the frozen cookies to a freezer-safe airtight container or heavy-duty freezer bag, separating layers with parchment paper to prevent sticking. They can be frozen for up to 3 months. When you’re ready to enjoy them, simply thaw them at room temperature or warm them gently in the microwave for a few seconds for that fresh-baked feel.
Frequently Asked Questions
Unfortunately, regular apple cider will not yield the same delicious results as boiled cider in this recipe. Regular apple cider has a much thinner, watery consistency that will cause the cookie dough to spread excessively and become flat when baked, rather than rising properly. More importantly, it lacks the deep, concentrated apple pie-like flavor that boiled cider provides, which is crucial for the unique taste of these cookies. The process of boiling reduces the cider, intensifying its sugars and flavors, and creating that essential thick, syrupy texture.
Once opened, store-bought boiled cider has an excellent shelf life and can last for many months when stored properly in the refrigerator. Its high sugar content acts as a natural preservative. I have personally used a bottle well past the one-year mark, and it still tasted as fresh and potent as the day it was opened. Just ensure it’s tightly sealed after each use to maintain its quality.
While I haven’t personally tested a gluten-free version of this specific recipe, many readers have success substituting all-purpose flour with a 1:1 gluten-free baking blend that contains xanthan gum. The texture might be slightly different, but the core flavors should remain. Always check the specific recommendations for your chosen gluten-free flour blend.
The most common reason for cookies spreading excessively is skipping or shortening the chilling time for the dough. Chilling is crucial because it allows the butter to firm up and prevents the cookies from flattening out in the oven. Other factors can include using butter that’s too soft (over-creamed), incorrect flour measurement, or an oven that isn’t at the correct temperature (a common issue that can be fixed with an oven thermometer). Ensure all your ingredients are measured precisely and follow the chilling recommendation for best results.
More Cozy Fall Recipes to Enjoy
Break out those cozy sweaters and get ready to indulge! We have even more fall favorites waiting to make your autumn season extra special.
- Vanilla Cranberry Compote
- Bourbon Bacon Chutney
- Sweet Potato Bacon Hash
- Pumpkin Bread with Maple Cream Cheese Frosting
Did you make this recipe? I would absolutely love to hear about your experience! Please take a moment to leave a ⭐⭐⭐⭐⭐ rating and a comment right below the recipe card. If you snap a photo of your delicious creation, don’t forget to tag me on Instagram @brunchandbatter. Your feedback truly means the world!
📖Recipe

Apple Cider Cookies
Pin Recipe
Equipment
-
stand mixer fitted with the paddle attachment (optional, but highly recommended for ease)
-
2-3 large baking sheets or cookie sheets
-
parchment paper or non-stick baking mat
-
Large mixing bowls
-
Whisk
-
Rubber spatula
-
Wire cooling rack
Ingredients
- 2 cups (250 grams) all-purpose flour
- 1½ teaspoon baking soda
- ½ teaspoon Kosher or fine sea salt
- 1 teaspoon ground cinnamon
- 1 tsp ground allspice
- ¼ teaspoon freshly ground nutmeg
- ½ cup (4 ounces) white granulated sugar
- ½ cup (4 ounces) dark brown sugar
- ¾ cup (1½ sticks or 6 ounces) unsalted butter, room temperature
- 1 large egg, room temperature
- ¼ cup (2 ounces) boiled cider (apple molasses/cider syrup) *See ingredient notes in post for details on boiled cider and brand recommendations.
- ⅓ cup white granulated sugar or turbinado sugar for rolling
Instructions
-
Preheat your oven to 350℉ (175℃). Line 2 to 3 large baking sheets with a silicone baking mat or parchment paper to prevent sticking and ensure even baking.
-
In a large bowl, thoroughly whisk together the all-purpose flour, baking soda, Kosher or fine sea salt, ground cinnamon, ground allspice, and freshly ground nutmeg. Ensure all ingredients are well combined and set the bowl aside.2 cups (250 grams) all-purpose flour, 1½ teaspoon baking soda, ½ teaspoon Kosher or fine sea salt, 1 teaspoon ground cinnamon, 1 teaspoon ground allspice, ¼ teaspoon freshly ground nutmeg
-
In the bowl of a stand mixer fitted with the paddle attachment (or a large bowl with a hand mixer), add the room-temperature unsalted butter, white granulated sugar, and dark brown sugar. Cream these ingredients together at medium speed for about 2 minutes, until the mixture is light, fluffy, and noticeably paler in color. Next, add the room-temperature large egg and the boiled cider, mixing until they are just combined. The mixture may look slightly clumpy at this stage, which is perfectly normal.½ cup (4 ounces) white granulated sugar, ½ cup (4 ounces) dark brown sugar, ¾ cup (1½ sticks or 6 ounces) unsalted butter, room temperature, 1 large egg, room temperature, ¼ cup (2 ounces) boiled cider (apple molasses/cider syrup)
-
Gradually add the whisked dry ingredients to the wet mixture in two batches. Beat on medium speed until the flour is just incorporated into the dough. Be careful not to overmix; simply mix until no streaks of dry flour remain. Scrape down the sides of the bowl with a rubber spatula as needed to ensure everything is evenly combined. Once the dough comes together, cover the bowl and chill it in the refrigerator for a minimum of 1½ hours, or up to 24 hours. This crucial step prevents the cookies from spreading too much.
-
Remove the chilled dough from the refrigerator and let it sit at room temperature for about 10-15 minutes, if it’s very firm. Scoop about a heaping tablespoon of dough (approximately 1 ounce or 28 grams per cookie for uniform size) and roll it into a smooth ball between your palms. Roll each dough ball generously in the extra granulated sugar (or turbinado sugar) until fully coated. Place the sugared dough balls onto the prepared baking sheets, ensuring they are spaced 2½-3 inches apart to allow for spreading. Bake for 11-13 minutes, or until the edges appear lightly set and golden brown. The centers will still look soft – this is exactly what you want, as they will continue to set as they cool.⅓ cup white granulated sugar or turbinado sugar for rolling
-
Once baked, remove the cookies from the oven. Allow them to cool on the baking sheet for about five minutes to firm up slightly before carefully transferring them to a wire rack to cool completely. They will achieve their perfect chewy texture as they fully cool.
Notes
- Boiled Cider is Key: Do not substitute regular apple cider for the boiled cider. Its thin consistency and lack of concentrated flavor will drastically change the texture and taste of your cookies. This brand is highly recommended for its quality. If you’re adventurous and have the time, feel free to make your own, but be prepared for it to take a substantial amount of time (3-6 hours) for the apple cider to reduce properly.
- The Importance of Chilling: Seriously, don’t skip the chilling time! This step is non-negotiable for achieving the perfect texture and preventing your cookies from spreading too much and becoming flat. The chilled dough helps the butter solidify, ensuring the cookies maintain their shape and develop a desirable chew.
- Optimal Baking Position: For the best and most even results, always bake your cookies on the middle rack of your oven. If you’re baking two trays at once, remember to rotate their positions halfway through the baking time to ensure uniform cooking.
- Don’t Overbake: Your cookies will often not look fully “done” in the center when you first pull them from the oven, and that’s exactly right! They will continue to set and firm up significantly as they cool on the baking sheet and then on the wire rack, resulting in that wonderfully soft and chewy interior.
- Consistent Size for Even Baking: To ensure all your cookies bake evenly and are roughly the same size, it’s highly recommended to use a kitchen scale. Each dough ball should weigh approximately 1 ounce (about 28 grams). At this weight, you should yield about 32 (3-inch) cookies. If you prefer slightly smaller cookies, you can aim for 0.7-0.8 ounces each, which will result in a greater quantity.
- Storage & Freezing: Store these delicious cookies in an airtight container at room temperature for up to 5 days to maintain freshness. For longer storage, they can be frozen for up to 3 months. Make sure they are completely cooled before freezing.
Nutrition*
*Nutrition information is provided as a courtesy and is an estimate only. Nutrition information can vary depending on many factors, such as products used, measurements and substitutions, therefore it is recommended that you obtain nutritional calculations based on your own finished recipe.
