The Ultimate Guide to Fluffy Pancakes: Master the Art of Perfect Breakfast
Do your pancakes often turn out flat, burn too easily, or feel more like dense hockey pucks than delightful breakfast treats? Believe me, I’ve been there. The journey to perfectly fluffy pancakes can seem daunting, but it’s much simpler than you think. With a little kitchen confidence and the right techniques, you can master the art of making pancakes that are consistently light, airy, and utterly delicious. After years of perfecting my pancake craft, I’m thrilled to share all my tried-and-true tips and tricks to help you achieve the fluffiest, most mouth-watering pancakes that will have everyone coming back for more!

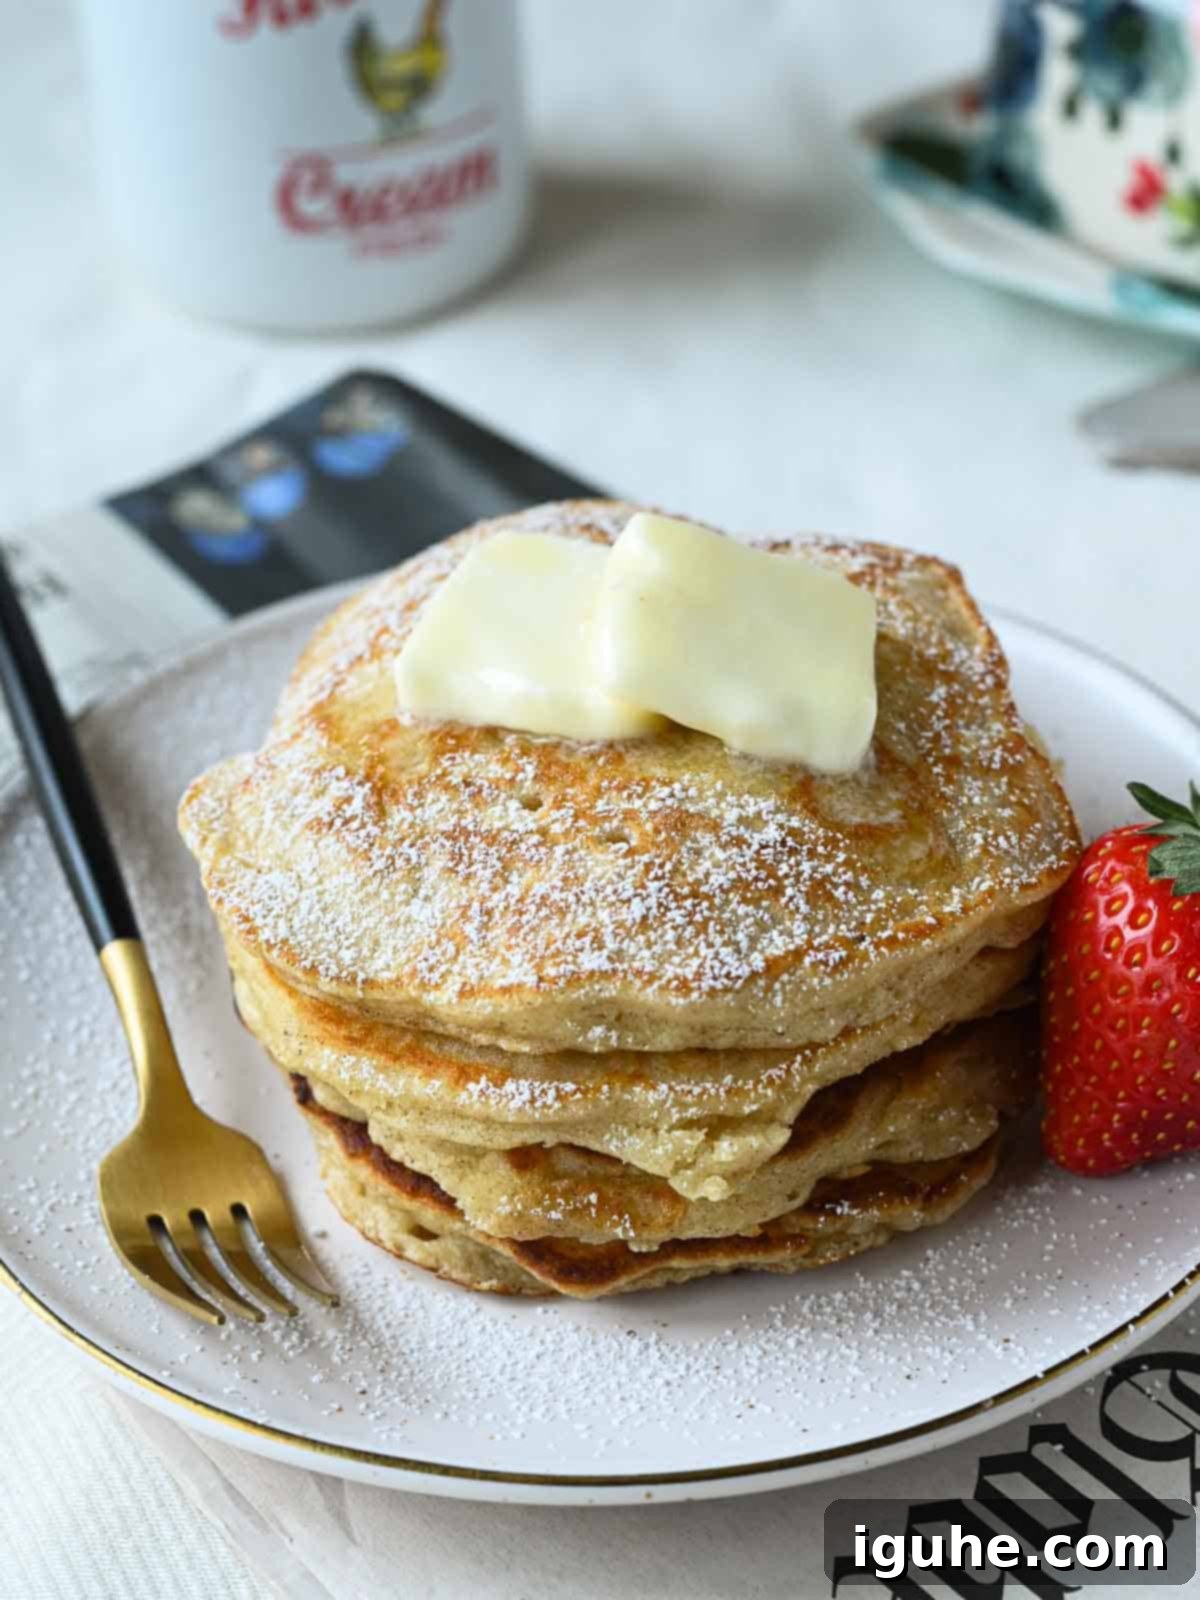
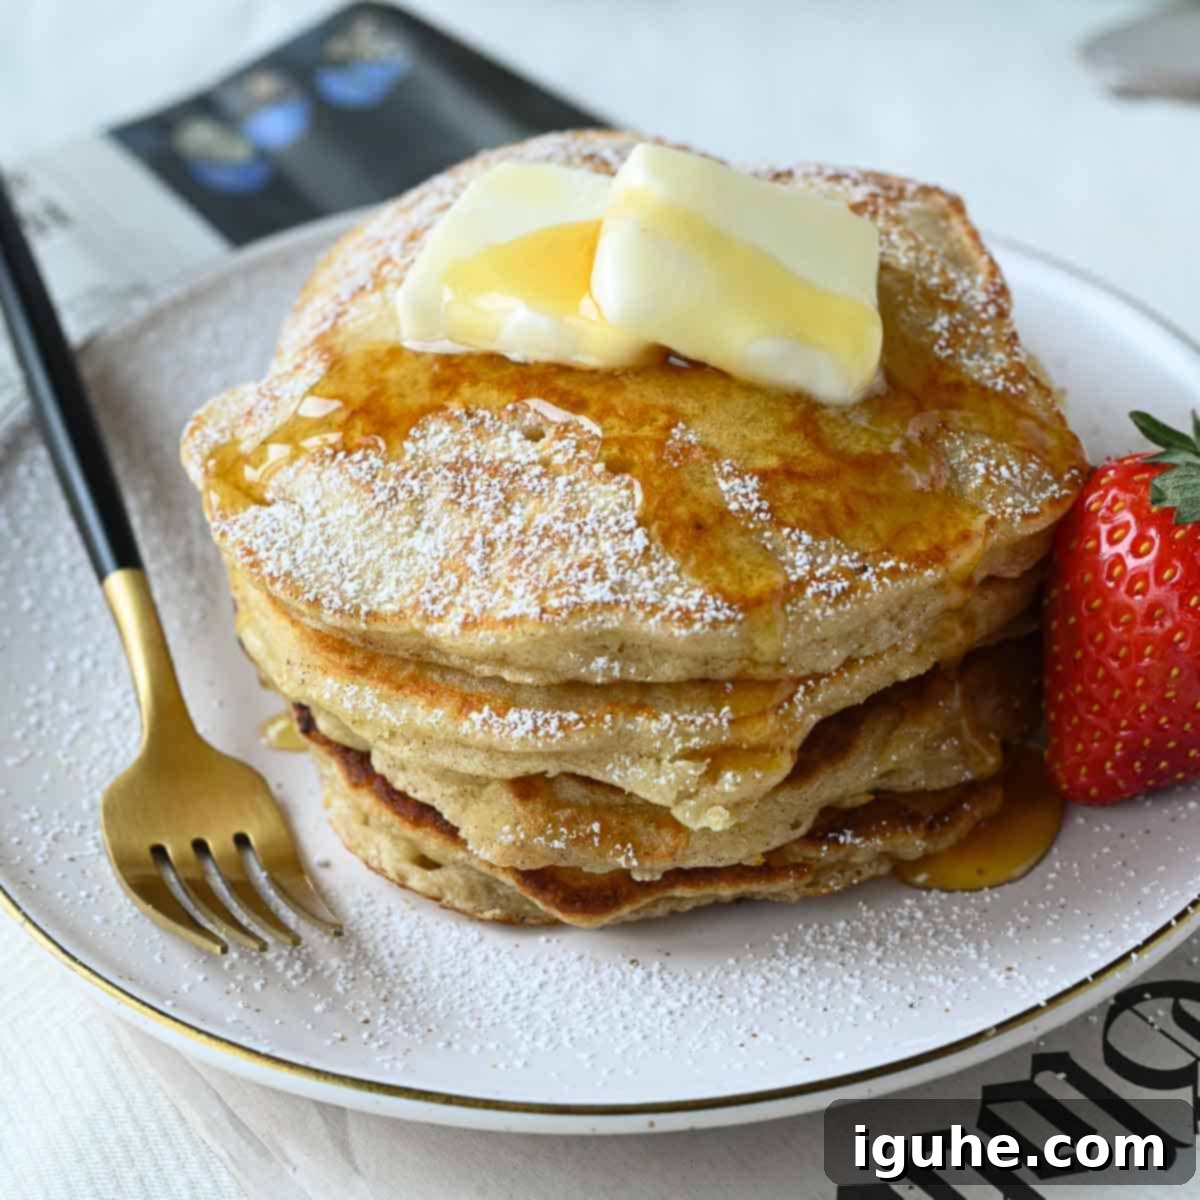
Whether you’re crafting classic pancakes with buttermilk, indulging in rich mascarpone variations, or making decadent heavy cream pancakes, mastering a few fundamental guidelines is key to achieving that impressive rise. Unlike their thin, delicate cousin, the crêpe, the ideal pancake should boast a beautiful height and airy texture. I’ve meticulously compiled my most effective tips to ensure your pancake endeavors are always a delicious success.
1. The Golden Rule: Do Not Overmix Your Batter
Let’s kick things off with the most common pitfall in pancake making: overmixing. In my early days, I would whisk pancake batter until it was perfectly smooth, thinking I was achieving perfection. Little did I know, all that vigorous mixing was actively developing the gluten in the flour, which is exactly what you want to avoid for light, fluffy pancakes. Overworked gluten leads to a tough, dense, and disappointingly chewy texture.
Another crucial reason to resist the urge to overmix lies with your leavening agents – baking soda and/or baking powder. These ingredients create tiny air bubbles (carbon dioxide) within the batter, which are essential for a light and airy structure. Excessive mixing breaks down these delicate bubbles, preventing your pancakes from rising properly. Think of these bubbles as tiny balloons inflating your pancake; you don’t want to pop them before they get a chance to do their job!
So, how do you know when you’ve mixed enough? The goal is to combine the wet and dry ingredients just until you no longer see streaks of dry flour. A few lumps in the batter are not only acceptable but actually desirable! They indicate that the gluten hasn’t been overdeveloped and that the precious air bubbles are still intact. Embrace the lumps; they are a sign of future fluffiness.
Bottom line: Mix until just combined. A lumpy batter is a happy batter.
2. Unlock Fluffiness with Buttermilk
Okay, I get it – buttermilk isn’t a staple in every refrigerator. But trust me, this ingredient makes an undeniable difference. While you can create a makeshift buttermilk substitute with regular milk and an acid (like lemon juice or vinegar), it simply doesn’t compare to the richness and effectiveness of true buttermilk. Investing in a carton of actual buttermilk will elevate your pancakes to a new level.
So, what’s the magic behind buttermilk? According to experts like America’s Test Kitchen, the acidity in buttermilk reacts powerfully with baking soda. This reaction produces carbon dioxide gas, which causes the batter to expand and rise beautifully, resulting in wonderfully tall and airy pancakes. As an added bonus, buttermilk also imparts a delightful tangy flavor and a subtle richness that enhances the overall taste profile of your pancakes, making them more complex and satisfying.
For buttermilk to perform at its peak, it needs an alkaline counterpart to react with. This is where baking soda (sodium bicarbonate) comes in. Without baking soda, buttermilk alone won’t generate the impressive lift that comes from the release of CO2 when these two ingredients combine. They are a dynamic duo, working in tandem to create that irresistible fluffiness.
And don’t worry about having leftover buttermilk; it’s an incredibly versatile ingredient. I use buttermilk in almost all my baking because it consistently produces moist and tender results. You’ll quickly find it indispensable for making delicious breads, muffins, and so much more!
Bottom line: Buttermilk and baking soda are the ultimate team for achieving a fluffy rise and rich flavor!

3. The Freshness Factor: Use Potent Ingredients
While this might seem like a no-brainer, it’s a surprisingly common oversight. If baking isn’t a regular activity in your kitchen, there’s a good chance your baking powder or baking soda might have passed their prime. Expired leavening agents lose their potency, meaning they won’t produce enough gas to give your pancakes that desirable rise. Always check the expiration dates on your baking essentials!
When in doubt, you can quickly test the freshness of your leavening agents with these simple checks:
🔎To test your baking soda: Add 1 teaspoon of white vinegar (an acid) to a small amount of baking soda in a bowl. If it fizzes and bubbles vigorously, it’s still good! If there’s no reaction, it’s time to replace it. This test works because baking soda (a base) reacts with acid to produce carbon dioxide.
🔎To test your baking powder: Add a little boiling water to a small amount of baking powder in a bowl. If it bubbles immediately and vigorously, it’s still potent! If not, it’s lost its leavening power. Baking powder contains both an acid and a base, and the hot water activates its double-acting properties, causing a rapid release of gas.
Beyond leavening agents, ensure all your ingredients are fresh. Fresh eggs, good quality flour, and fresh dairy products will all contribute to the superior flavor and texture of your pancakes. Think of it this way: your pancakes are only as good as the ingredients you put into them.
Bottom line: Fresh ingredients, especially leavening agents, are non-negotiable for fluffy results.
4. To Rest or Not to Rest? The Great Batter Debate
I understand; mornings are often a rush, and your time is precious. But when it comes to pancake batter, there’s a fascinating debate about whether a short rest is beneficial. Some culinary sources swear by resting your batter for a brief period – typically 10 to 15 minutes max – claiming it’s crucial for achieving maximum fluffiness.
Proponents of resting argue that it allows the flour to fully hydrate. When flour absorbs the liquid in the batter, it softens the gluten (which we want to keep relaxed!) and contributes to a more tender crumb. Resting also gives the leavening agents a bit more time to fully activate and begin producing those essential air bubbles. This brief pause can lead to a more uniform rise and a consistently light texture.
However, esteemed culinary experts, such as J. Kenji López-Alt of Serious Eats, present a compelling counter-argument. They suggest cooking your pancakes immediately after mixing the batter. Their reasoning is that the chemical reaction of baking soda or baking powder begins instantly upon contact with liquid, immediately producing gas. This gas, they argue, starts to escape into the air almost as soon as it’s formed, so waiting too long could mean losing some of that crucial leavening power.
Bon Appetit also aligns with this view, recommending immediate cooking for similar reasons. So, the jury is indeed out on this one! My best advice is to experiment. Try cooking a batch immediately, and then another batch after a 10-15 minute rest, and see which method yields the results you prefer. A short rest is unlikely to harm, but anything much longer (30 minutes or more) could indeed lead to the gas escaping and result in denser, chewier pancakes.
Bottom line: A brief rest of about 10-15 minutes can aid hydration and activation, but don’t overdo it. Listen to your batter and your preferences!
5. Master the Heat: Achieve Consistent Cooking
The “sacrificial first pancake” is a phenomenon many of us are familiar with. It’s often undercooked, overcooked, or just plain sad. This is usually due to inconsistent heat, and it highlights just how crucial temperature control is for perfect pancakes. The ideal cooking temperature for pancakes generally falls between 350°F and 375°F (175°C-190°C).
If you’re using a gas stove, a medium to medium-low heat setting is typically perfect. The key is to preheat your pan thoroughly but not excessively. A pan that’s too cold will result in pale, tough pancakes, while one that’s too hot will burn the exterior before the inside has a chance to cook through and rise.
Many pancake aficionados swear by an electric griddle for superior pancake production. The main advantage of an electric griddle is its ability to maintain a consistent temperature across the entire cooking surface, a feat often challenging on a traditional stove burner. If you find yourself constantly adjusting the heat or having unevenly cooked pancakes, an electric griddle might be a worthwhile investment.
Regardless of your cooking surface, pay attention to the pan. If your pancakes are browning too quickly, lower the heat. If they’re taking too long and not browning sufficiently, increase it slightly. Also, ensure your pan is lightly greased before each pancake or batch, either with butter, oil, or non-stick spray, to prevent sticking and promote even browning.
Bottom line: Consistent, even heat is paramount for uniformly cooked, golden, and fluffy pancakes. Patience in preheating pays off!
6. The Art of the Flip: Timing is Everything
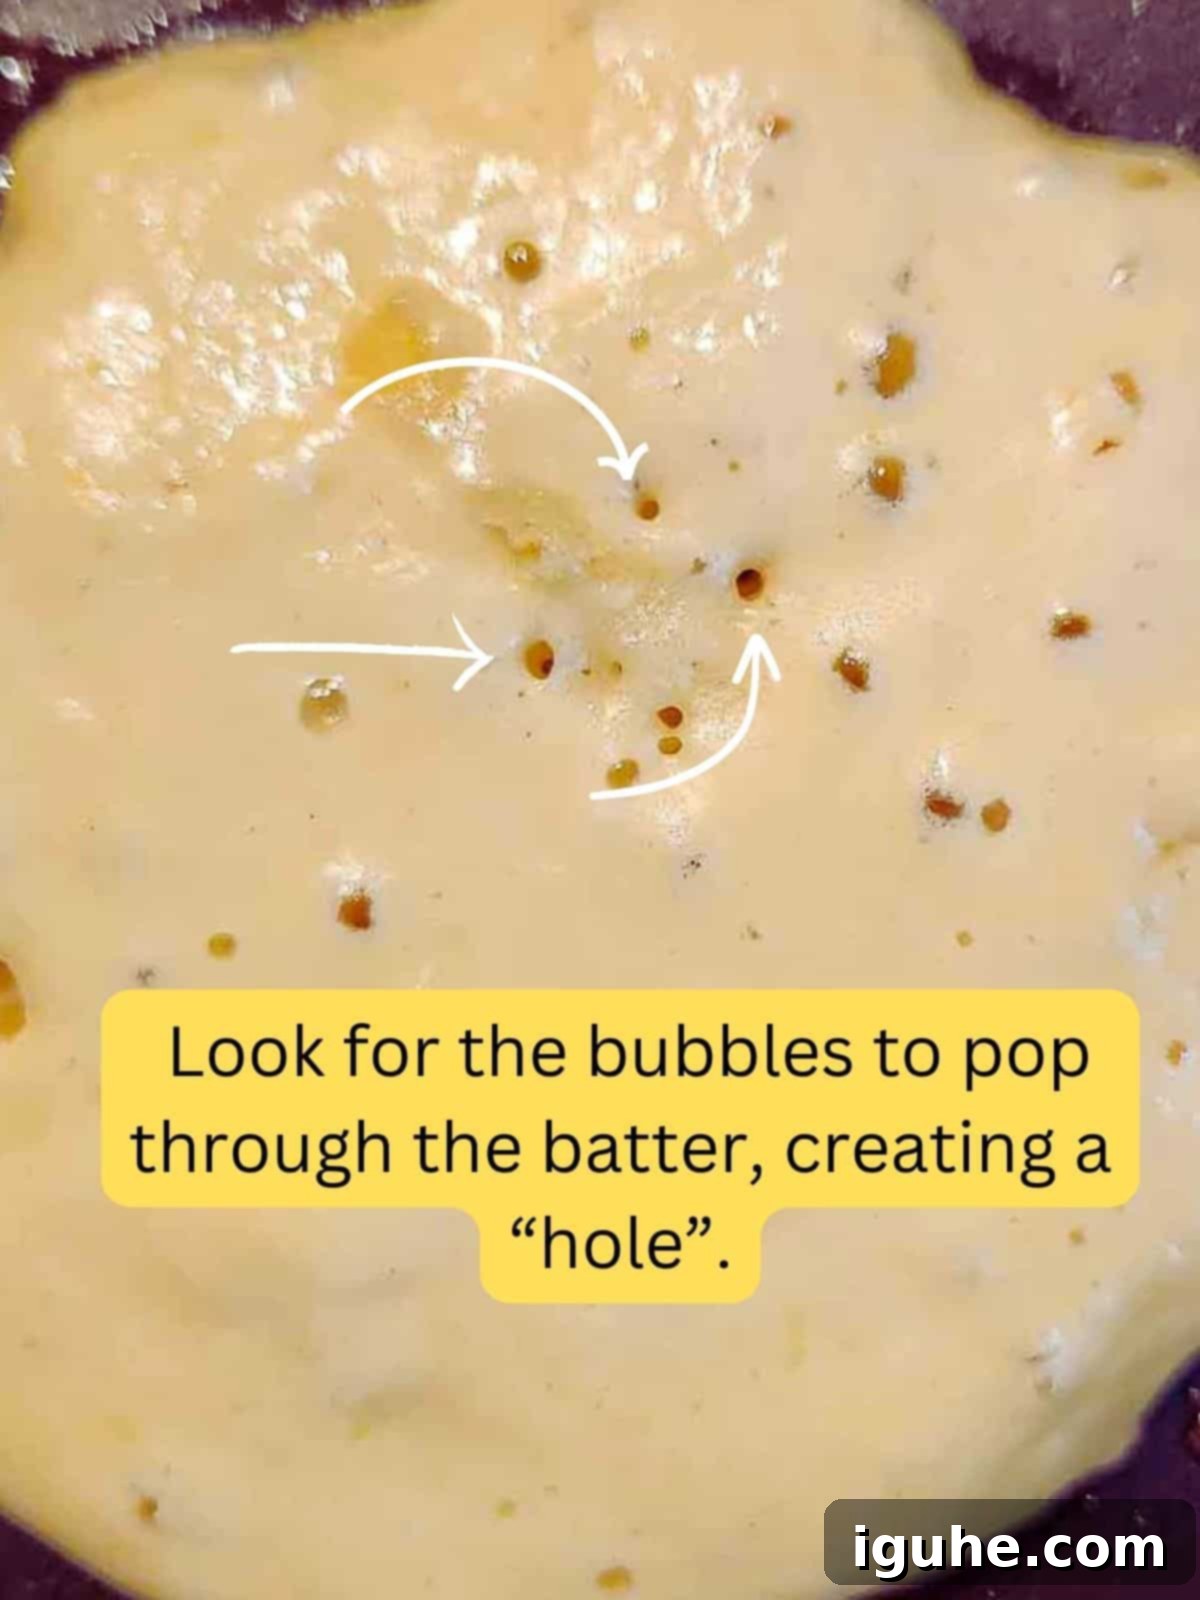
Ah, the pancake flip! Who hasn’t experienced the messy disaster of flipping a pancake too soon, only to have runny batter splatter across the pan? I certainly have! But over time, I’ve learned to rely on specific visual cues that signal the perfect moment to flip. It’s not just one or two bubbles; I’m looking for a constellation of 8-10 consistent bubbles that have not only formed but also started to pop through the top surface of the batter. The edges of the pancake should also appear slightly set and dry.
When you see these signs, and only then, is it time to gently slide your spatula under the pancake and execute a swift, confident flip. The goal is to land the pancake back in the same spot, cooking the second side evenly. It’s crucial not to press down on the pancake with your spatula after flipping. This common mistake will undoubtedly flatten your pancake, expelling all those precious air bubbles you worked so hard to create. Keep it light, with a simple flick of your wrist.
Lastly, while it’s perfectly fine to take a quick peek underneath to check for browning on the second side, there’s no need to flip your pancake multiple times. One single, decisive flip is all that’s required to cook both sides to golden perfection and ensure maximum fluffiness. Each unnecessary flip risks cooling the pancake and collapsing its airy structure.

Bottom line: Wait for distinct bubbles and set edges, flip once gently, and never flatten.
7. The Game-Changer: Whip Your Egg Whites
Here’s a little trick that might be new to you, but it’s a total game-changer for achieving truly ethereal pancakes. Instead of adding whole eggs directly to your batter, try separating the egg whites from the yolks. Then, whip those egg whites until they form soft, fluffy peaks, essentially creating a light meringue. Finally, gently fold these whipped egg whites into your prepared batter just before cooking.
While this method does mean dirtying a few extra dishes, the results are undeniably worth the minimal additional effort. I frequently use this technique for my pumpkin waffles, and it works like an absolute charm, transforming them into cloud-like delights.
Whipping egg whites for pancakes (or waffles) serves a critical purpose: it incorporates a significant amount of air into the batter, creating a vast network of stable air bubbles. When these pancakes hit the hot cooking surface, the heat causes these trapped air bubbles to expand dramatically. This expansion is what gives the pancakes their incredible lift and airy, pillowy texture.
Furthermore, the whipped egg whites act as an additional leavening agent, providing an extra boost of lightness as the pancakes cook. The proteins in the egg whites also play a crucial role in stabilizing these delicate air bubbles, ensuring they don’t collapse easily. The result is a pancake that is not only remarkably fluffy but also wonderfully tender and incredibly airy, offering a melt-in-your-mouth experience that plain pancakes simply can’t match.
Bottom line: Separating and whipping egg whites before gently folding them into the batter is the secret to exceptionally light and fluffy pancakes.
Practice Makes Perfect: Your Journey to Pancake Mastery
And there you have it, folks! My ultimate collection of tips and tricks designed to help you bake the fluffiest, most irresistible pancakes you’ve ever made. Have you tried any of these techniques before? What methods have worked best for you in your quest for pancake perfection? I’d love to hear your insights in the comments below, especially if you have any other secret fluffy tricks up your sleeve!
If you’re still feeling a little apprehensive about tackling individual pancakes, don’t despair! You can always try my foolproof blueberry skillet pancake recipe. It’s an oven-baked wonder that lets the oven do all the hard work, ensuring a perfectly risen and delicious pancake with minimal effort. Happy baking, and get ready to enjoy the breakfast of champions!
Fluffy Recipes to Try
- Cinnamon Sweet Cream Pancakes
- Double Chai Spiced Pancakes
- Lemon Mascarpone Pancakes
- Easy Spiced Eggnog Waffles
