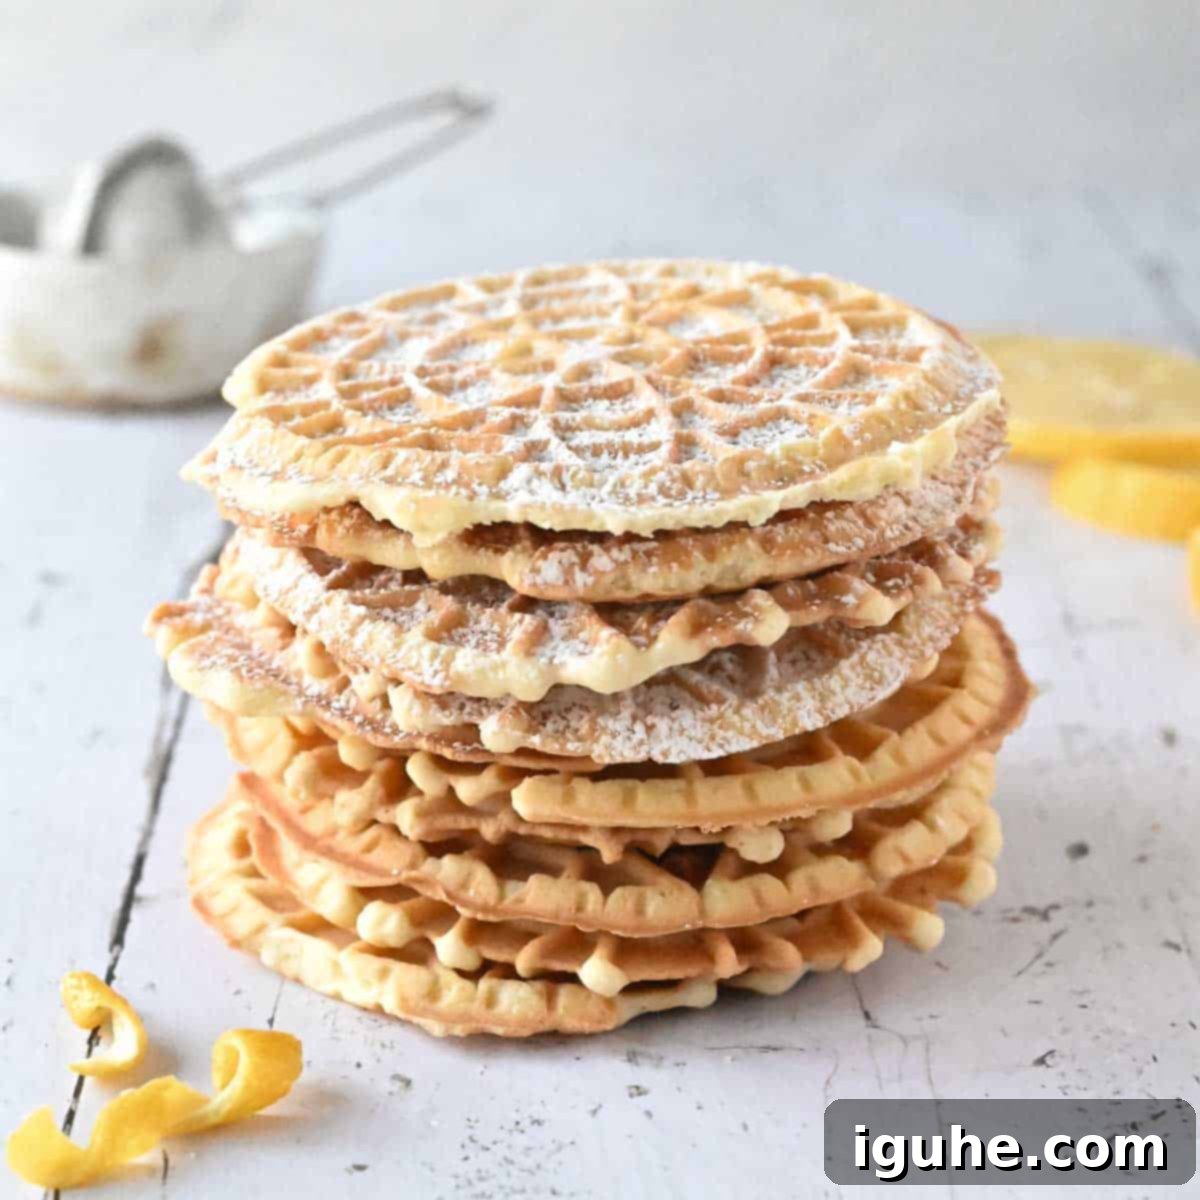
Zesty & Crispy Lemon Pizzelle: The Ultimate Italian Waffle Cookie Recipe
Step into the delightful world of Italian baking with these incredibly easy lemon pizzelle. This recipe offers a bright, citrusy twist on the beloved classic Italian waffle cookie. Forget complicated baking – simply whisk together a light batter, then pour it onto your pizzelle maker to create delicate, crispy treats that are hard to resist. While pizzelle are traditionally a staple for festive occasions like Christmas, these refreshing lemon-infused versions are absolutely perfect for spring celebrations such as Easter, Mother’s Day, or really, any day you’re craving a light, elegant, and utterly delicious dessert. Their sunny flavor and delicate texture make them a versatile and crowd-pleasing choice.
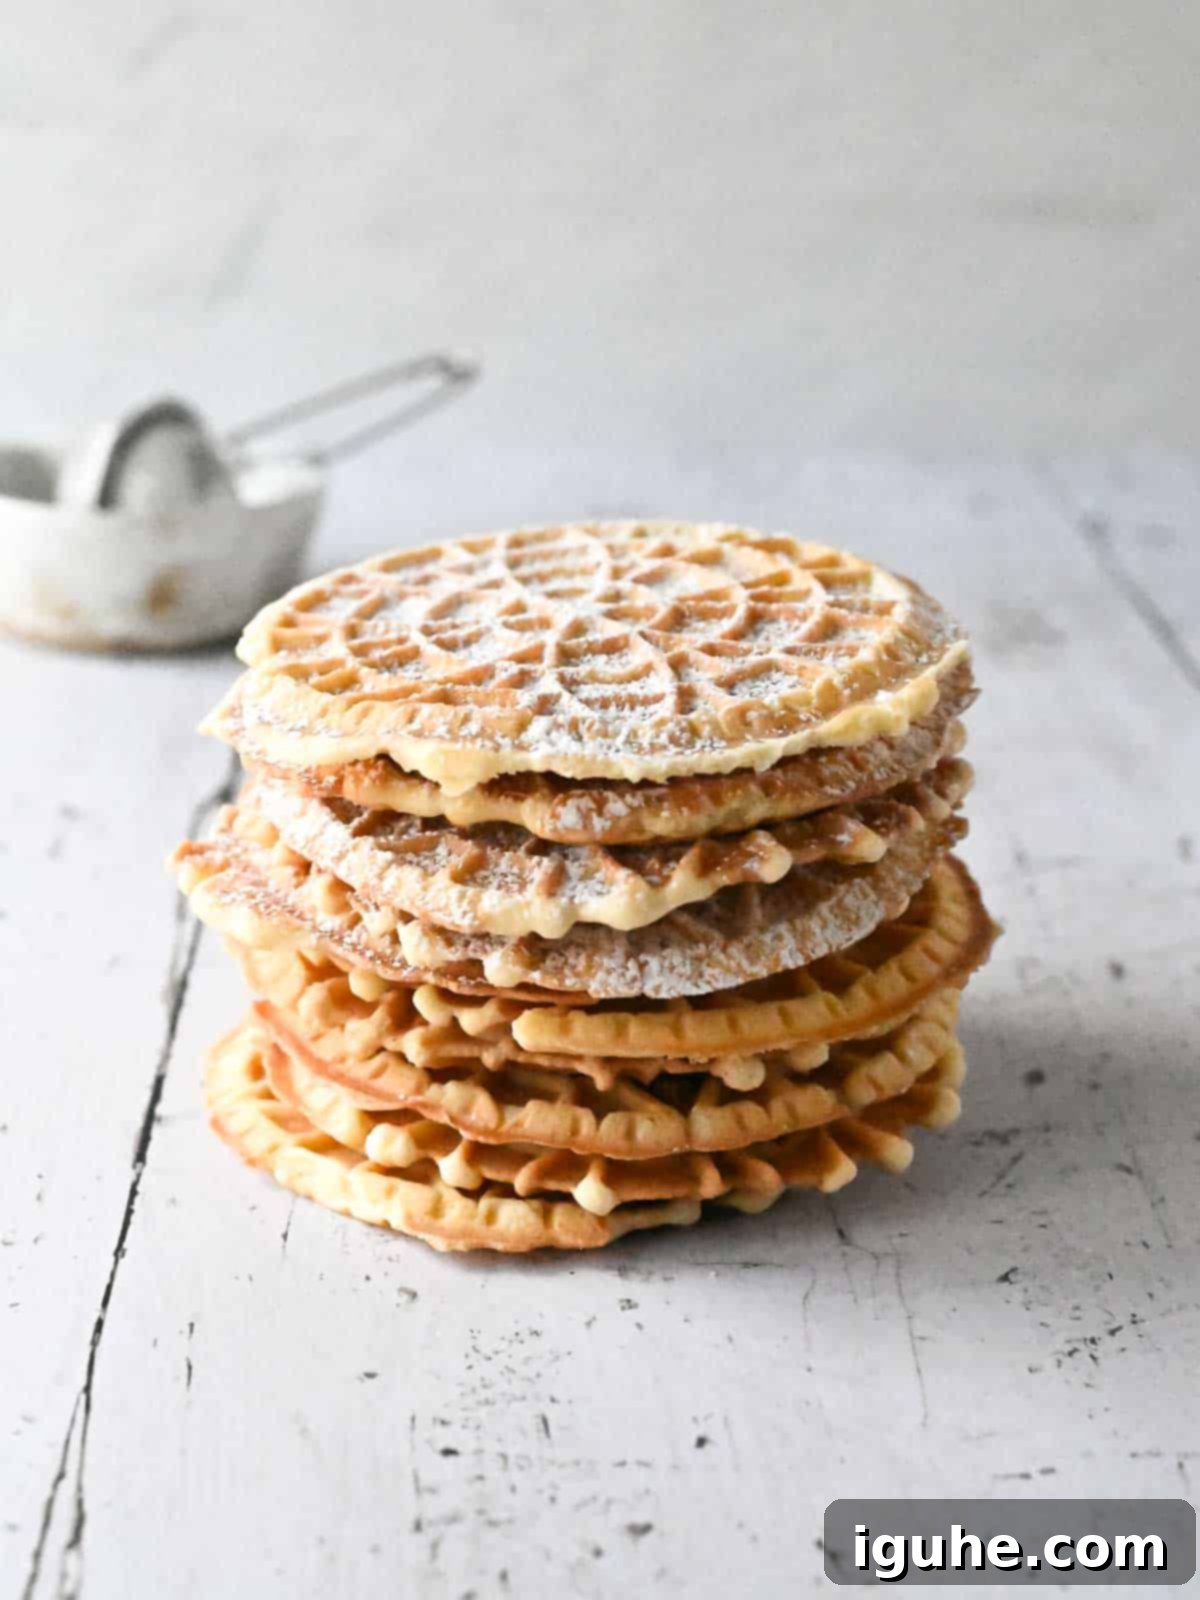
I recall a lively debate at my last Christmas cookie swap: do pizzelle truly count as “cookies”? This question often sparks a friendly discussion amongst baking enthusiasts. For me, the definition is simple: if it’s utterly delicious, delightfully sweet, easily portable, and I can enjoy it with my hands, then it unequivocally earns the title of “cookie”! Pizzelle perfectly fit this description, offering a unique texture and flavor profile that stands out from traditional cookies while still delivering that satisfying sweet treat experience.
Making pizzelle shares a delightful similarity with preparing waffles. You begin by creating a simple batter, then infuse it with your chosen flavors before spooning it onto a specialized iron, known as a pizzelle maker. The beauty of this recipe lies in its simplicity: the batter comes together in minutes, requires no tedious resting time, and is remarkably foolproof. This makes pizzelle an ideal choice for both seasoned bakers and beginners looking for an impressive yet straightforward dessert.
While traditional pizzelle often feature a distinctive almond or anise flavor, this recipe dares to introduce a vibrant lemon twist. I’ve found that the bright, zesty notes of citrus elevate these Italian treats to a whole new level of deliciousness. With just one easy flavor swap, you can certainly revert to the more classic profiles, but I have a strong feeling that the irresistible freshness of lemon pizzelle will quickly become your new favorite, leaving you completely hooked on their cheerful taste!
Why You’ll Fall in Love with This Lemon Pizzelle Recipe
These lemon pizzelle aren’t just another cookie; they’re a delightful experience waiting to happen. Here’s why this recipe is bound to become a staple in your kitchen:
- Effortlessly Easy: From start to finish, this recipe is designed for simplicity. The batter comes together quickly, and the pizzelle maker does most of the work, making it perfect for busy schedules or new bakers.
- No Oven Baking Required: Unlike traditional cookies, these beauties are cooked on a special iron, meaning no need to heat up your kitchen with an oven, especially appealing during warmer months.
- Excellent Shelf Life: These cookies store remarkably well, retaining their crisp texture and vibrant flavor for an extended period, making them ideal for make-ahead treats or gifting.
- Light & Crispy Texture: Each pizzelle is delicately thin and boasts an irresistible crispness that melts in your mouth, offering a satisfying crunch with every bite.
- Flavor Customization at Your Fingertips: While lemon is the star here, the base recipe is incredibly versatile. Easily swap out extracts or add spices to create a variety of flavors to suit any preference or occasion.
- Versatile Serving Options: Enjoy them simply dusted with powdered sugar, or get creative! Use them to craft elegant ice cream sandwiches, layer with fruit, or dip in chocolate for an extra decadent treat.
- A Festive Favorite: Their intricate patterns and unique texture make them a beautiful and impressive addition to any cookie swap, holiday gathering, or special celebration.
- Perfect for Any Occasion: While excellent for Christmas, Easter, or Mother’s Day, their light and refreshing lemon flavor makes them suitable for everyday indulgence, bridal showers, or summer parties.
What Exactly Are Pizzelle? A Glimpse into Italian Waffle Cookies
Pizzelle are much more than just cookies; they are a cherished tradition in Italian culinary heritage. These thin, crisp Italian waffle cookies are instantly recognizable by their delicate, often intricate patterns, typically floral or snowflake designs, imprinted by a special iron. The name “pizzelle” itself is rooted in the Italian word “pizze,” meaning “round and flat,” perfectly describing their characteristic shape.
At their core, pizzelle batter typically comprises a simple yet rich blend of flour, eggs, sugar, and butter or vegetable oil. However, it’s the flavoring that truly defines them. For generations, recipes have been lovingly passed down, often featuring classic essences like anise, almond, or vanilla, each evoking a sense of nostalgic comfort. In recent times, however, innovative bakers have introduced more contemporary and trendy flavors, such as pumpkin spice for autumn or rich chocolate for a decadent twist, expanding the beloved pizzelle’s appeal beyond its traditional roots. Whether classic or contemporary, each pizzelle offers a delightful, melt-in-your-mouth experience.
Gather Your Ingredients: What You’ll Need for Lemon Pizzelle
Creating these vibrant Italian lemon pizzelle requires a few simple, readily available ingredients. Here’s a detailed look at what you’ll need to achieve that perfect balance of crispness and bright citrus flavor:
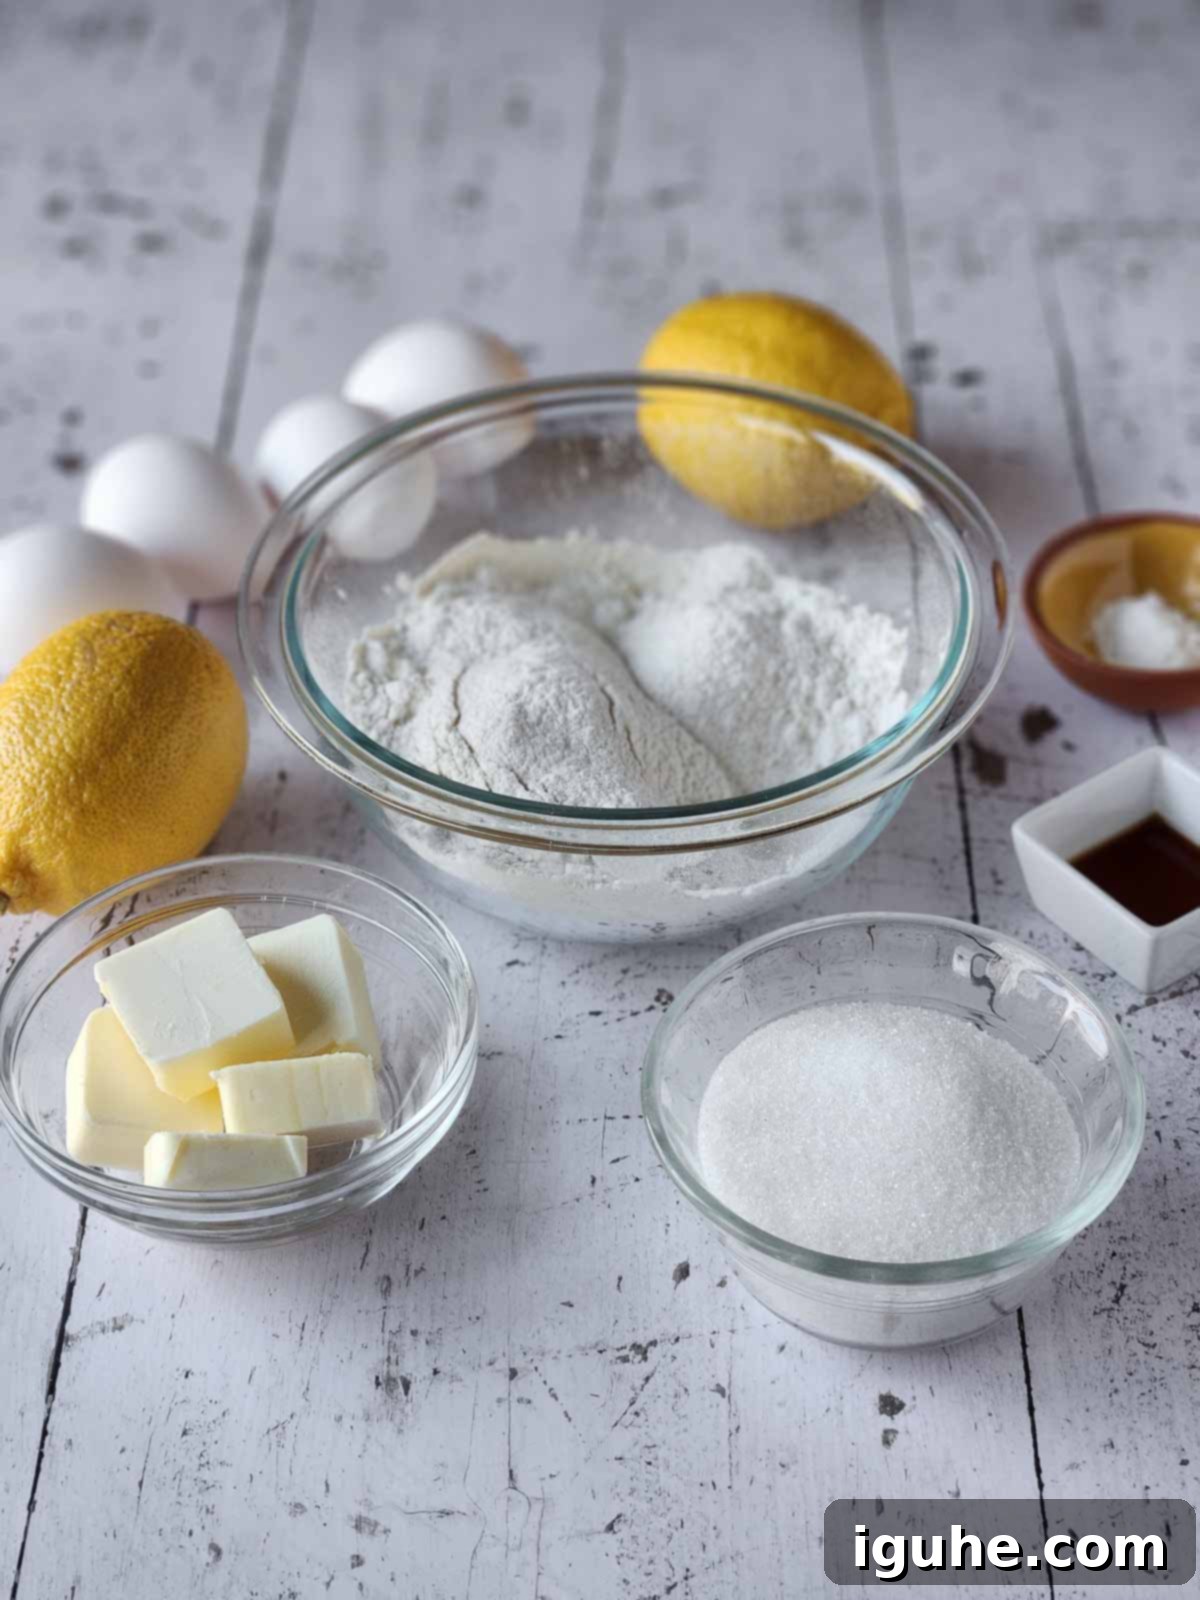
- All-Purpose Flour: This forms the foundational structure of your pizzelle. I highly recommend sifting the flour after measuring it to ensure a light and airy batter, which contributes to the signature crispness of the cookies.
- Baking Powder: A small amount of baking powder provides a slight lift to the batter, preventing the pizzelle from being too dense and ensuring their delicate, thin texture.
- Granulated Sugar: Standard white granulated sugar sweetens the pizzelle and also plays a crucial role in achieving that beautiful golden-brown color and desirable crisp texture.
- Large Eggs: Eggs act as a binder, holding the batter together and contributing to the richness and structure of the pizzelle. Ensure they are at room temperature for better incorporation into the batter.
- Vanilla Extract (or Lemon Extract): Just a touch of vanilla is added to complement, not overpower, the star flavor – lemon. For an even more intense lemon kick, you can substitute with pure lemon extract.
- Unsalted Butter (Melted & Slightly Cooled): Butter provides richness and flavor. Using unsalted butter allows you to control the overall sodium content of your cookies. Make sure it’s melted but not hot, as hot butter can “cook” the eggs prematurely.
- Lemon Zest (from 2 Whole Lemons) or Lemon Oil: This is where all the bright, fresh lemon flavor comes from! Zesting two entire lemons will infuse your pizzelle with an incredible citrus aroma and taste. For an even more concentrated flavor, high-quality lemon oil can also be used.
- Powdered Sugar: Essential for a beautiful final dusting, powdered sugar not only adds a touch of sweetness but also gives the pizzelle an elegant, finished look.
For precise measurements, refer to the full recipe card below.
Essential Equipment for Perfect Pizzelle
When it comes to making pizzelle, there’s one non-negotiable item: a pizzelle maker. This specialized appliance is truly indispensable for achieving the unique, intricate patterns and thin, crisp texture that defines these Italian waffle cookies. There’s really no way around needing one!
I personally use this Cuisinart model, and it has served me faithfully for years, consistently delivering beautiful and delicious pizzelle. While a pizzelle maker is the star, you’ll also need some standard kitchen tools to streamline the process:
- Mixing Bowls: At least two – one for dry ingredients and one for wet.
- Whisk: For smoothly combining the wet ingredients and later, the batter.
- Sifter or Fine Mesh Sieve: Crucial for sifting your flour and baking powder, ensuring a lump-free and light batter.
- Rubber Spatula: Ideal for gently folding ingredients and scraping down the sides of bowls.
- Cookie Scoop: While optional, a cookie scoop (I recommend a #60, which holds about 1 tbsp + ⅓ tsp) is incredibly helpful for portioning the batter evenly onto the pizzelle maker, ensuring uniform cookie size and thickness. This consistency is key for even cooking.
- Cooling Rack: Essential for allowing the freshly cooked pizzelle to cool completely and crisp up.
Step-by-Step Directions: Crafting Your Lemon Pizzelle
Don’t be intimidated by the idea of making pizzelle; the process is quite straightforward! After you’ve made your first few cookies, you’ll quickly get a feel for the consistency of the batter and how your specific pizzelle maker operates. Remember, even if they’re not perfectly round (like the delicious example you see in step 7), they will still taste absolutely incredible!
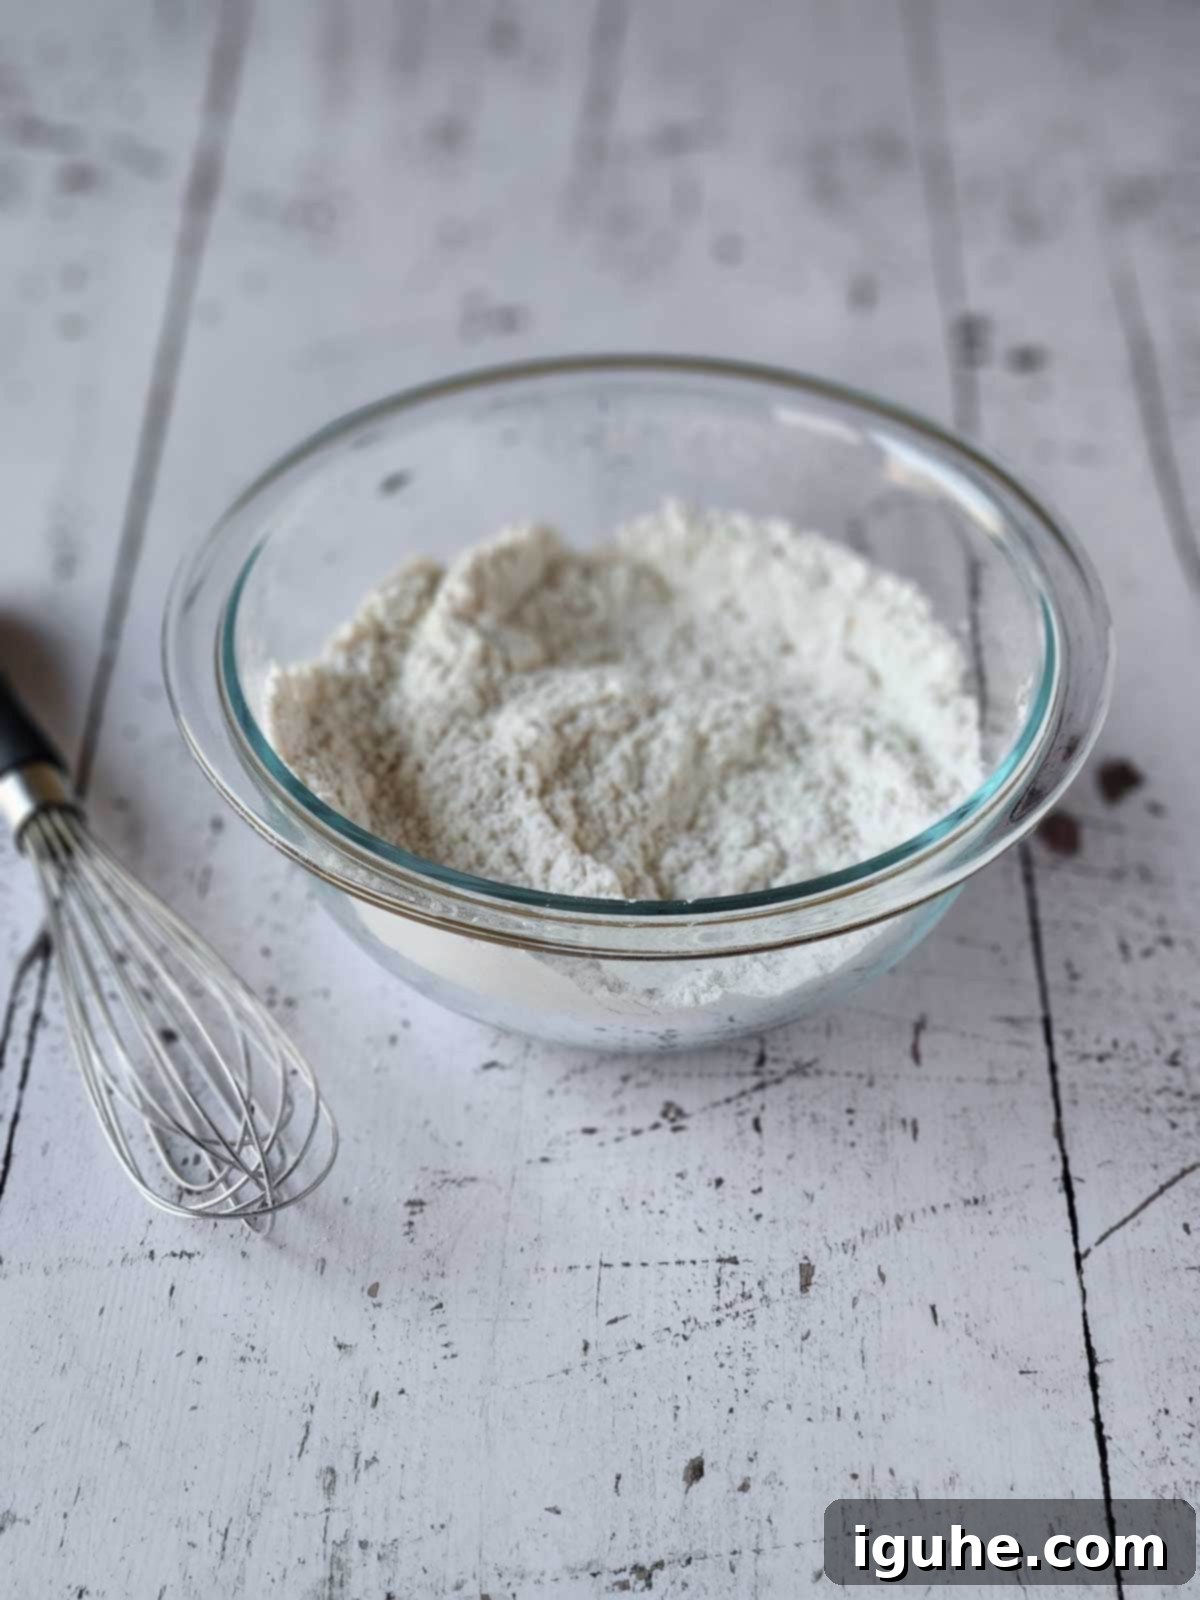
1. Combine Dry Ingredients: In a medium-sized bowl, carefully sift together your all-purpose flour and baking powder. Sifting ensures there are no lumps and helps create a lighter, more delicate pizzelle.
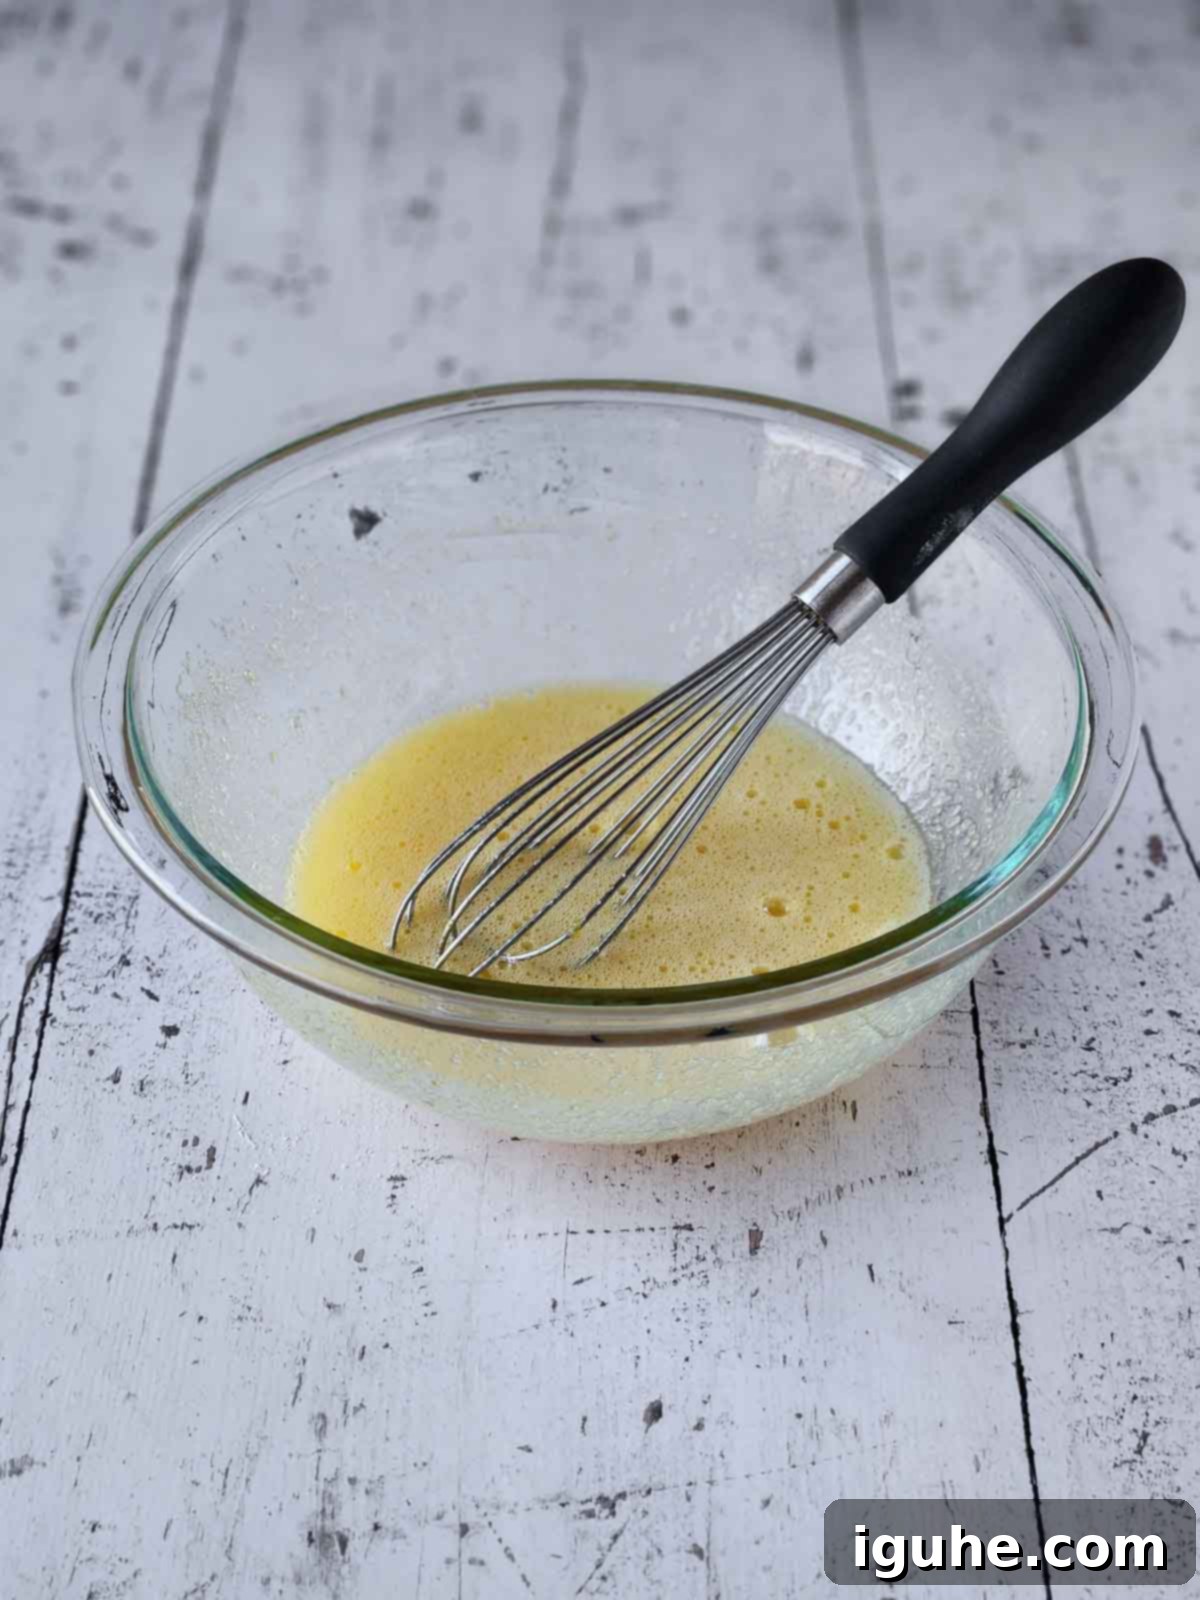
2. Whisk Wet Ingredients: In a separate, larger bowl, vigorously whisk the eggs and granulated sugar for approximately 30 seconds until the mixture transforms into a pale yellow, slightly frothy consistency. Then, incorporate the vanilla (or lemon) extract, whisking until fully combined.
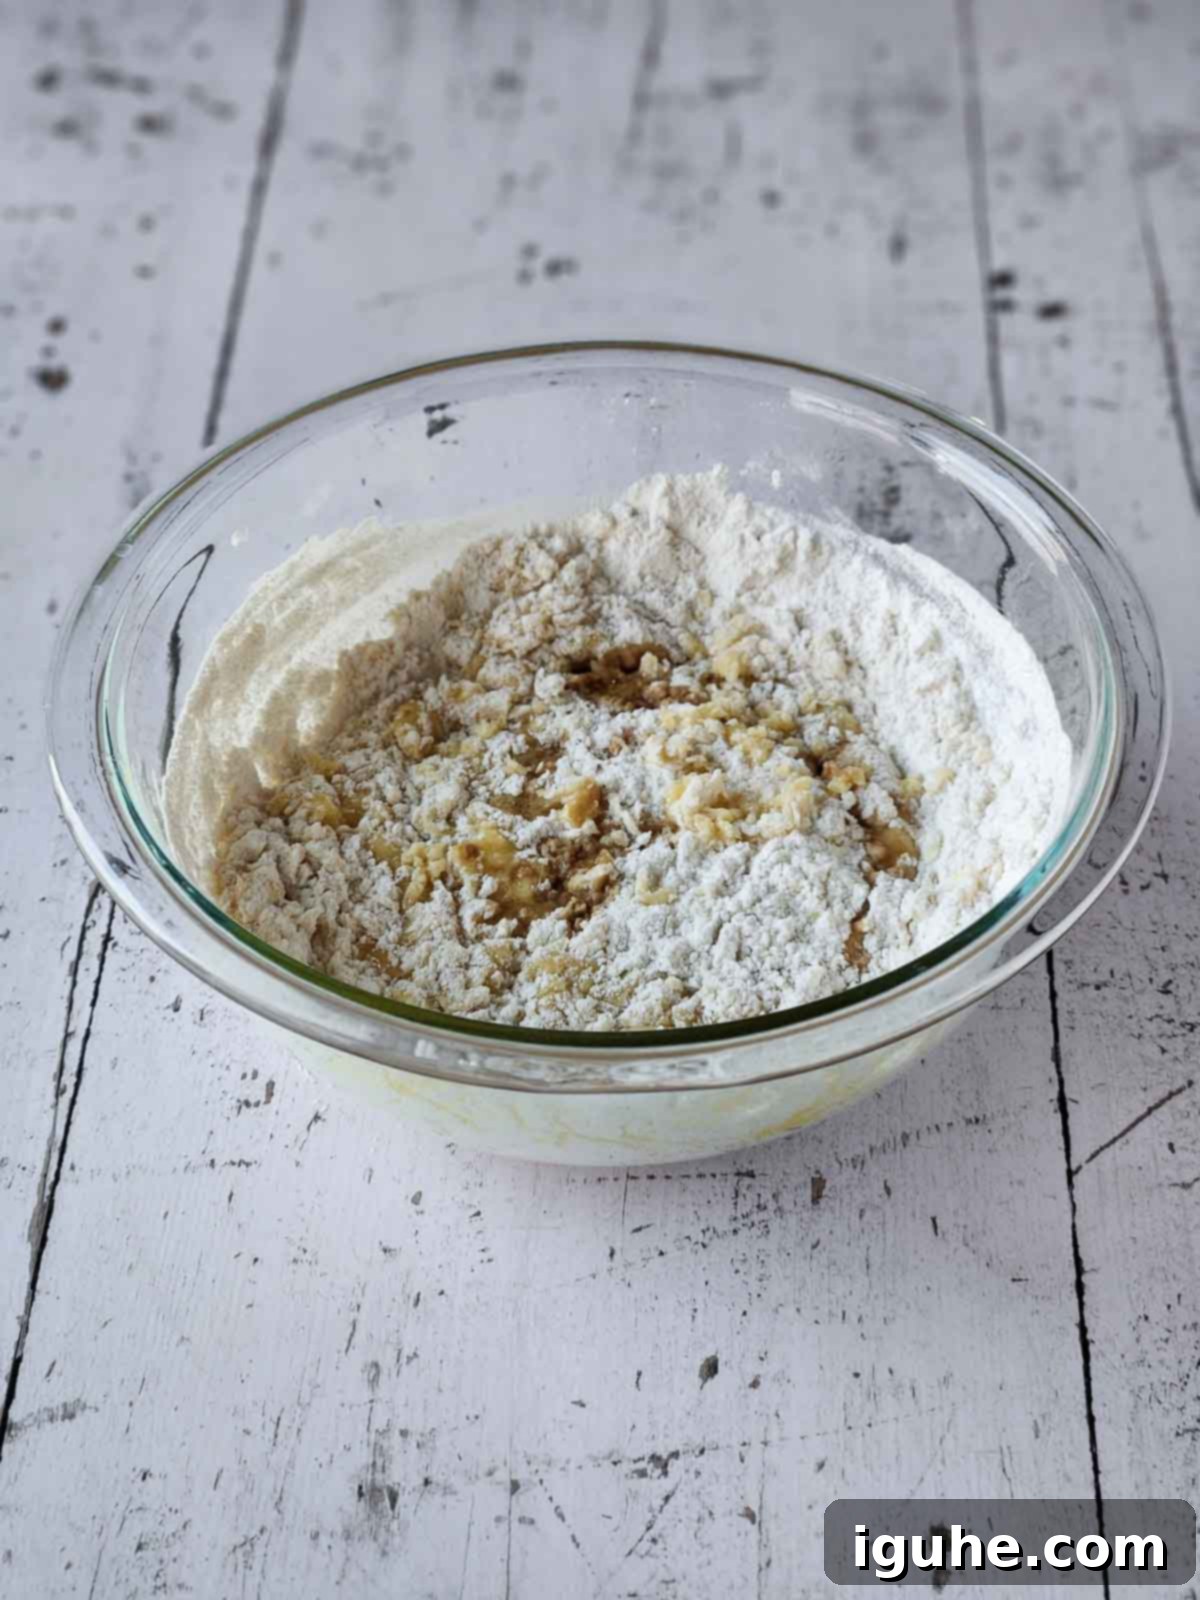
3. Combine Mixtures: Gradually pour the egg mixture into your prepared flour mixture. Stir gently with a whisk or rubber spatula until they are just combined. At this stage, the batter will appear quite thick and somewhat dry – this is perfectly normal for pizzelle batter.
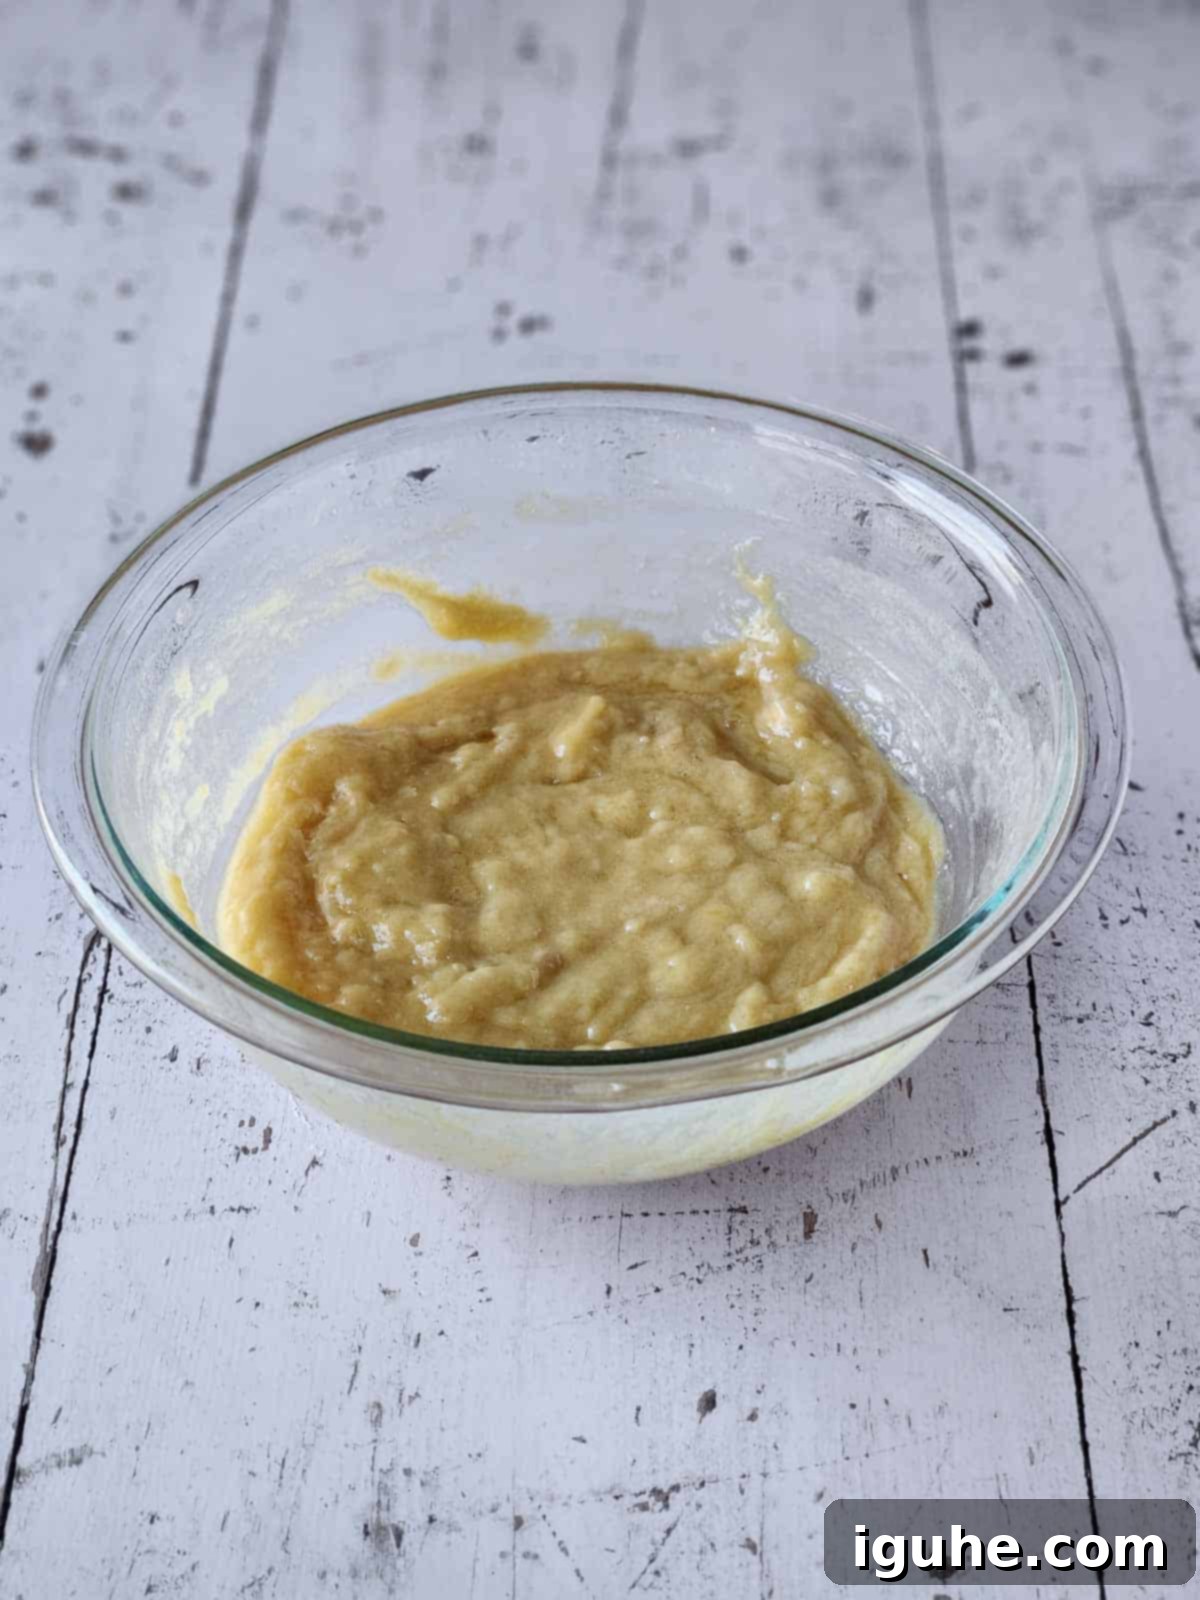
4. Add Melted Butter: Introduce the slightly cooled melted butter to the flour/egg mixture in two additions. Stir gently after each addition until the butter is just incorporated into the thick batter. Avoid overmixing, as this can develop the gluten too much, leading to tough pizzelle.
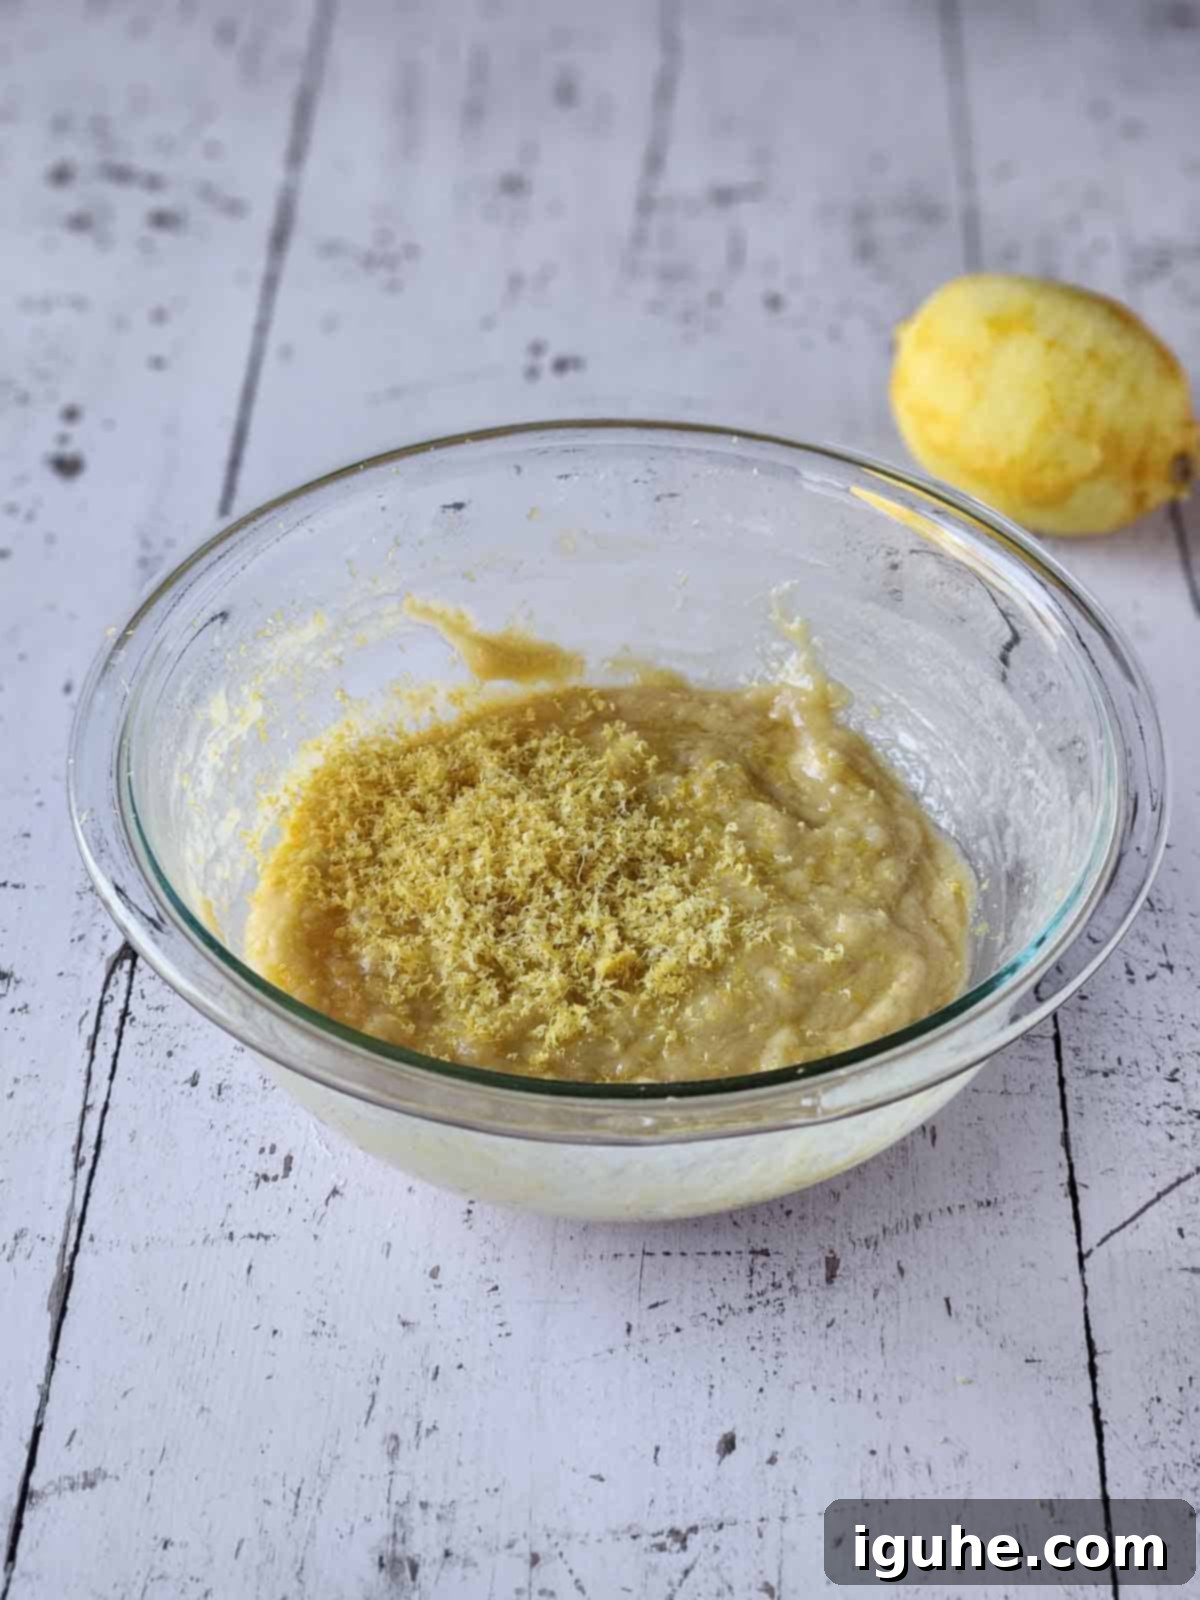
5. Incorporate Lemon Zest: Finally, gently fold in the fresh lemon zest. Stir just enough to distribute it evenly throughout the batter. Remember, overmixing at this stage is still a no-go for tender pizzelle.
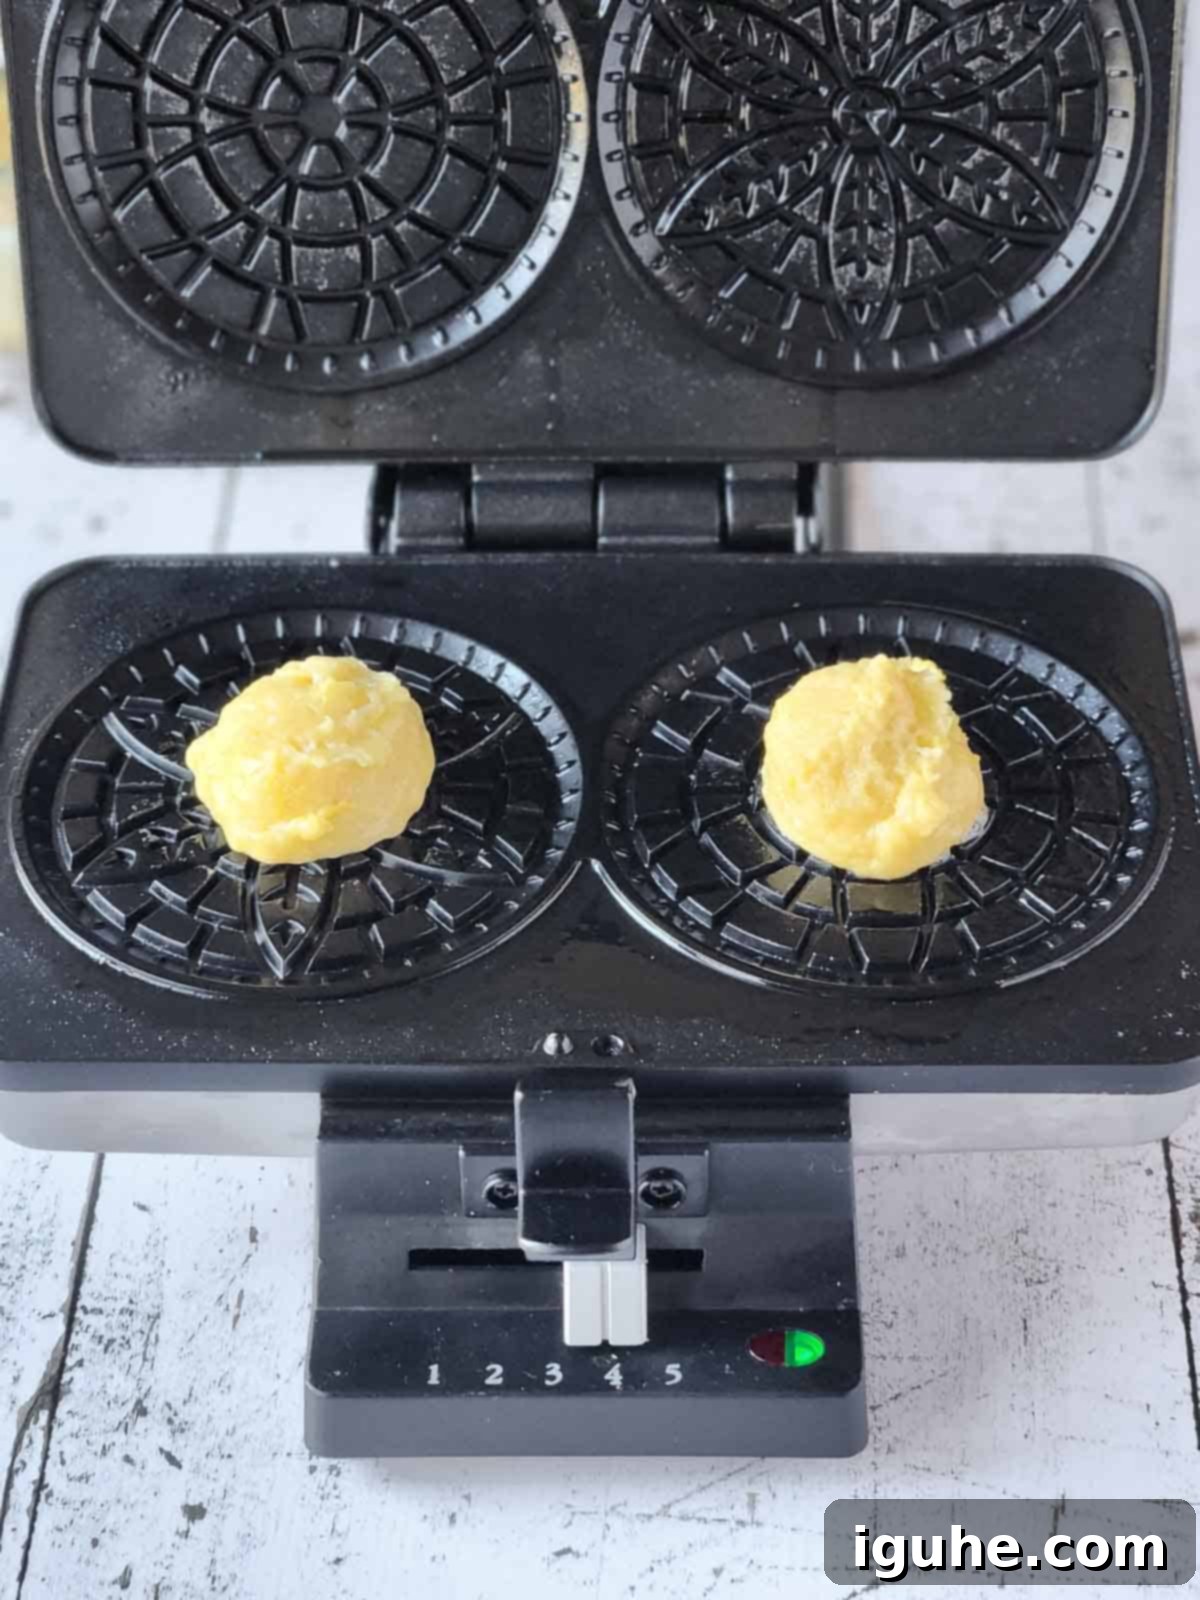
6. Cook on Pizzelle Maker: Once your pizzelle maker is fully preheated according to its manufacturer’s instructions, use a cookie scoop (or a heaping tablespoon) to drop the batter precisely onto the center of each decorative pattern. Ensure you don’t overfill.
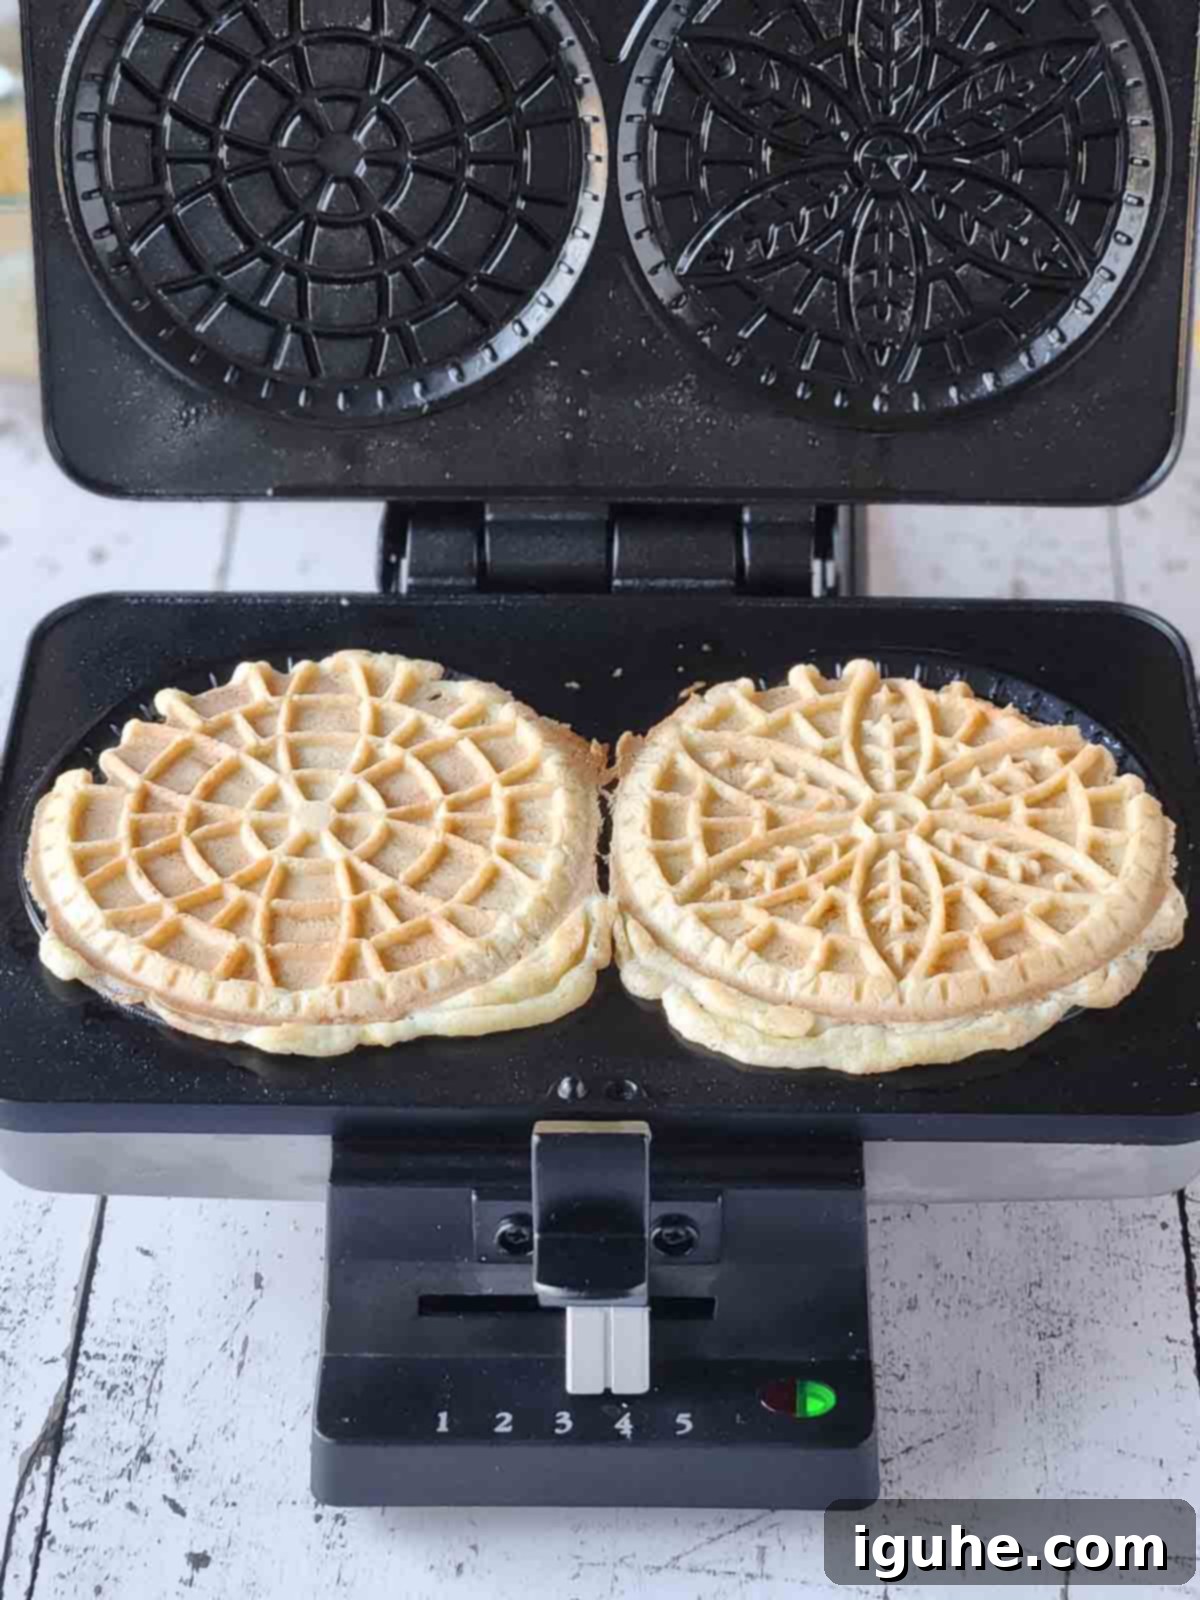
7. Close & Cook: Close the lid of the pizzelle maker firmly. Cook for about 3 minutes, or according to your manufacturer’s specific directions, until the pizzelle achieve a beautiful light golden-brown color and the steam subsides. The exact cooking time will vary slightly by machine.
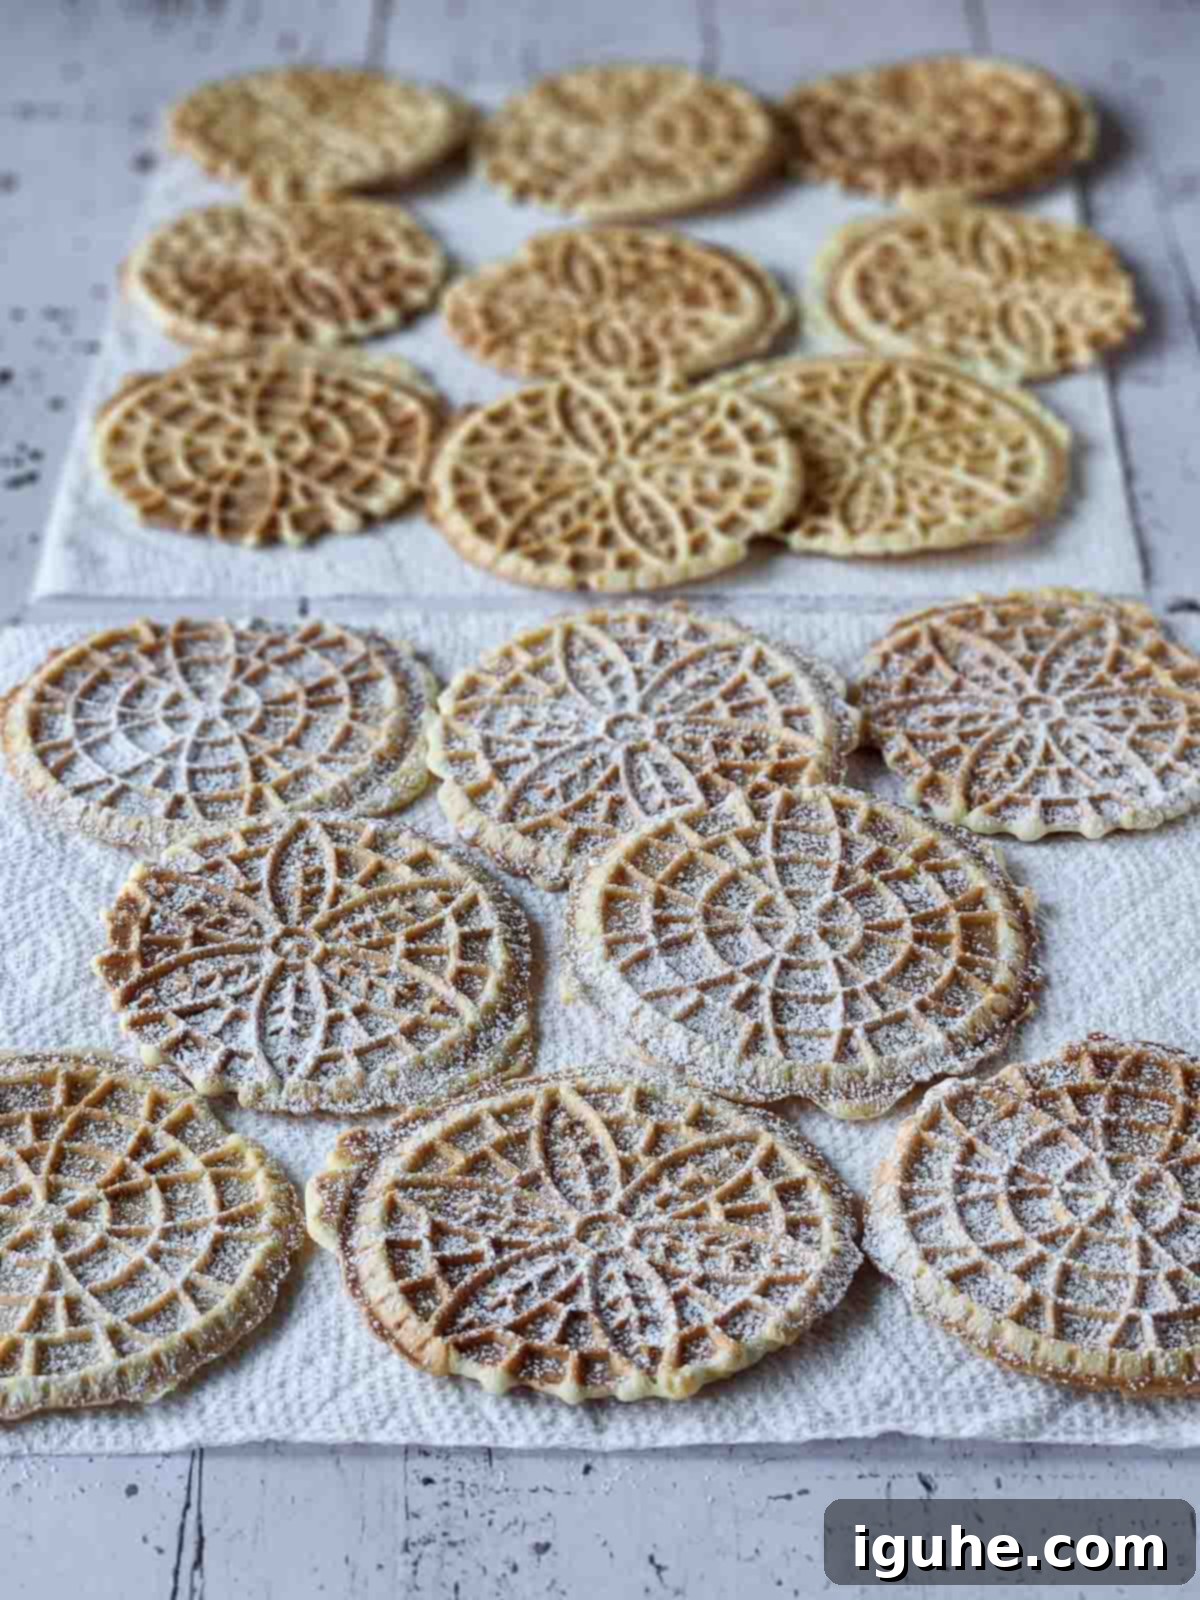
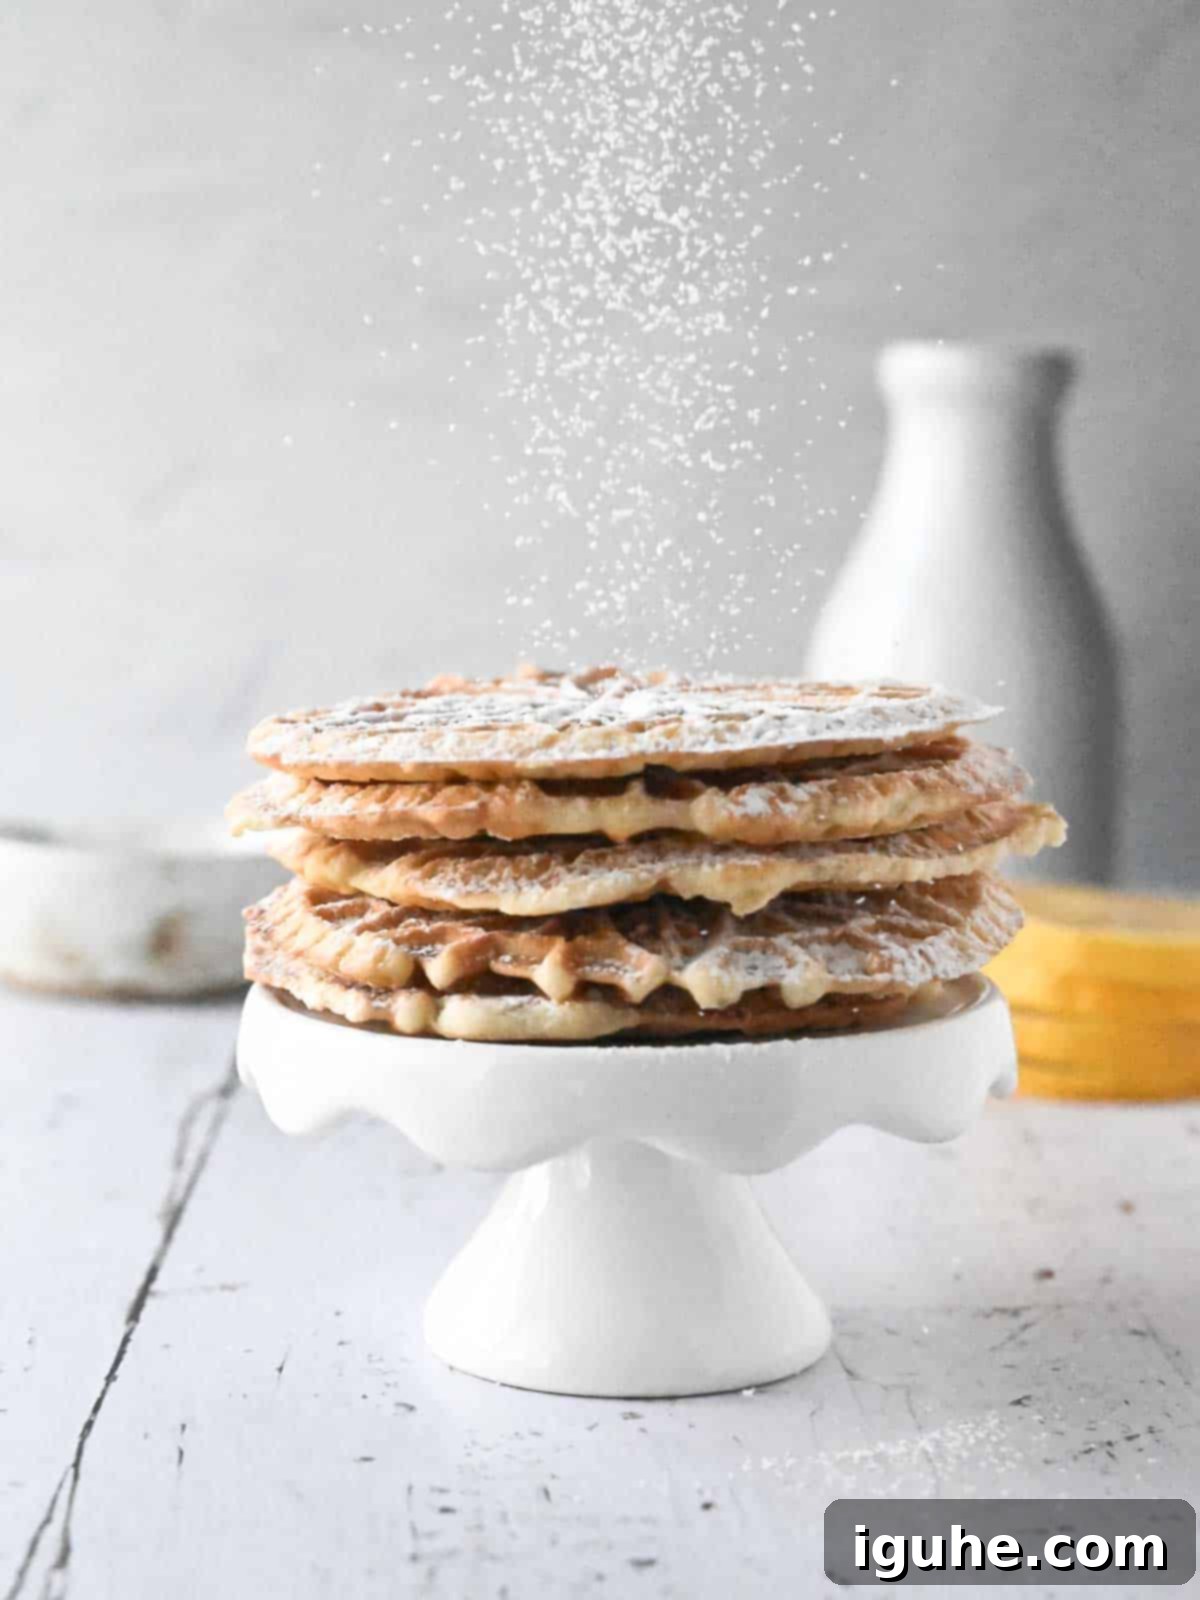
8. Cool & Dust: Gently remove the cooked pizzelle from the iron and lay them flat on a cooling rack or clean paper towels. They will feel soft initially but will firm up and become delightfully crisp as they cool completely. Once fully cooled, dust generously with powdered sugar for that perfect finishing touch. Repeat the process with the remaining batter.
📝Expert Recipe Notes for Perfect Pizzelle
- Batter Consistency is Key: Don’t be alarmed if your pizzelle batter looks unusually thick and somewhat gummy. This is entirely normal and expected for this type of cookie, designed to spread thinly under the pressure of the iron.
- Mastering Your Pizzelle Maker: Every pizzelle maker is a little different. Always follow your specific appliance’s manufacturer’s directions for preheating and cooking times. On my Cuisinart model, I find that cooking between settings 3 and 4 yields the best results – a perfect golden hue and crispy texture.
- Don’t Overcrowd: To ensure even cooking and beautifully patterned pizzelle, avoid putting too much batter on the iron. A cookie scoop (a #60, which holds about 1 tablespoon + ⅓ teaspoon or 0.54 ounces of batter, is ideal) is your best friend here, helping you precisely drop the batter right in the middle of each pattern. If you don’t have a scoop, a generous heaping tablespoon works well.
- Patience is a Virtue (for Crispness): Your pizzelle will still be soft when you first remove them from the hot iron. This is completely normal! Resist the urge to stack them immediately. Lay them flat on a wire rack or paper towel and allow them a few minutes to cool completely; they will gradually harden and become wonderfully crisp.
- Cool Completely Before Dusting: For a perfect finish, ensure your pizzelle are entirely cool before dusting them with powdered sugar. If they are still warm, the sugar will melt, creating a sticky, less appealing surface.
Creative Variations: Explore Different Pizzelle Flavors
While the bright lemon zest is undeniably delicious, the beauty of pizzelle lies in their versatility. The base recipe is incredibly adaptable, allowing you to easily switch out the lemon for a different extract or spice to create a whole new flavor experience. Get creative and try some of these delightful variations:
- Classic Anise: For a truly traditional Italian flavor, omit the lemon zest and add anise extract or a pinch of ground anise seeds. This provides a distinctive, mild licorice-like taste that is a hallmark of authentic pizzelle.
- Nutty Almond: Swap the lemon zest for pure almond extract to achieve a rich, nutty flavor that’s another popular classic choice, often found in Italian bakeries.
- Simple Vanilla: Sometimes, less is more. For a universally loved and comforting flavor, simply use a good quality vanilla extract. It’s a timeless crowd-pleaser that pairs well with anything.
- Warm Cinnamon: Introduce a cozy warmth by adding a generous pinch of ground cinnamon to the batter. This variation is particularly wonderful during the cooler months or for a spicy-sweet treat.
- Seasonal Pumpkin Spice: Embrace autumn by incorporating pumpkin puree and a blend of warm spices such as cinnamon, nutmeg, cloves, and ginger. These make for a delightful seasonal pizzelle.
- Rich Espresso: For coffee lovers, mix in a teaspoon or two of instant espresso powder or finely ground coffee into the batter. This creates a sophisticated, coffee-infused pizzelle, perfect with an afternoon pick-me-up.
- Elegant Lemon-Lavender: These two flavors are a match made in heaven, as demonstrated in my lemon-lavender shortbread cookies. To create lemon-lavender pizzelles, keep the lemon zest as per the recipe, and add 2 teaspoons of culinary-grade dried lavender for a unique and beautifully aromatic twist.
Creative Ways to Serve Your Lemon Pizzelle
These crispy lemon pizzelle are incredibly versatile and can be enjoyed in many delightful ways! While we absolutely adore them simply dusted with powdered sugar – which also gives them such a beautiful, elegant appearance – don’t hesitate to explore these fun and delicious serving ideas to truly elevate your dessert experience:
- Chocolate Dipped: For an extra touch of indulgence, melt white, dark, or even milk chocolate. Dip one end of each lemon pizzelle into the melted chocolate, then place them on parchment paper to cool and set before serving. The contrast between the tart lemon and sweet chocolate is divine!
- Jam or Curd Sandwiches: Transform your pizzelle into elegant sandwich cookies! Simply spread a layer of tangy lemon curd or your favorite fruit jam (like my refrigerator blueberry Earl Grey jam) between two pizzelles.
- Accompanied by Fresh Berries: Arrange a beautiful platter of lemon pizzelle alongside a vibrant assortment of fresh berries such as sweet strawberries, juicy blueberries, or tart raspberries. The fresh fruit perfectly complements the citrus notes of the cookies.
- Homemade Ice Cream Sandwiches: Take your dessert game to the next level by creating gourmet ice cream sandwiches. Place a generous scoop of creamy vanilla ice cream between two lemon pizzelles. For a truly unique flavor combination, try it with my no-churn pistachio ice cream – the flavors are surprisingly harmonious!
- Perfect with Tea or Coffee: The delicate crispness and bright flavor of lemon pizzelle make them an exquisite accompaniment to your favorite hot beverage. They are particularly wonderful paired with a fragrant lavender tea latte or a strong espresso, providing a perfect balance of flavors and textures.
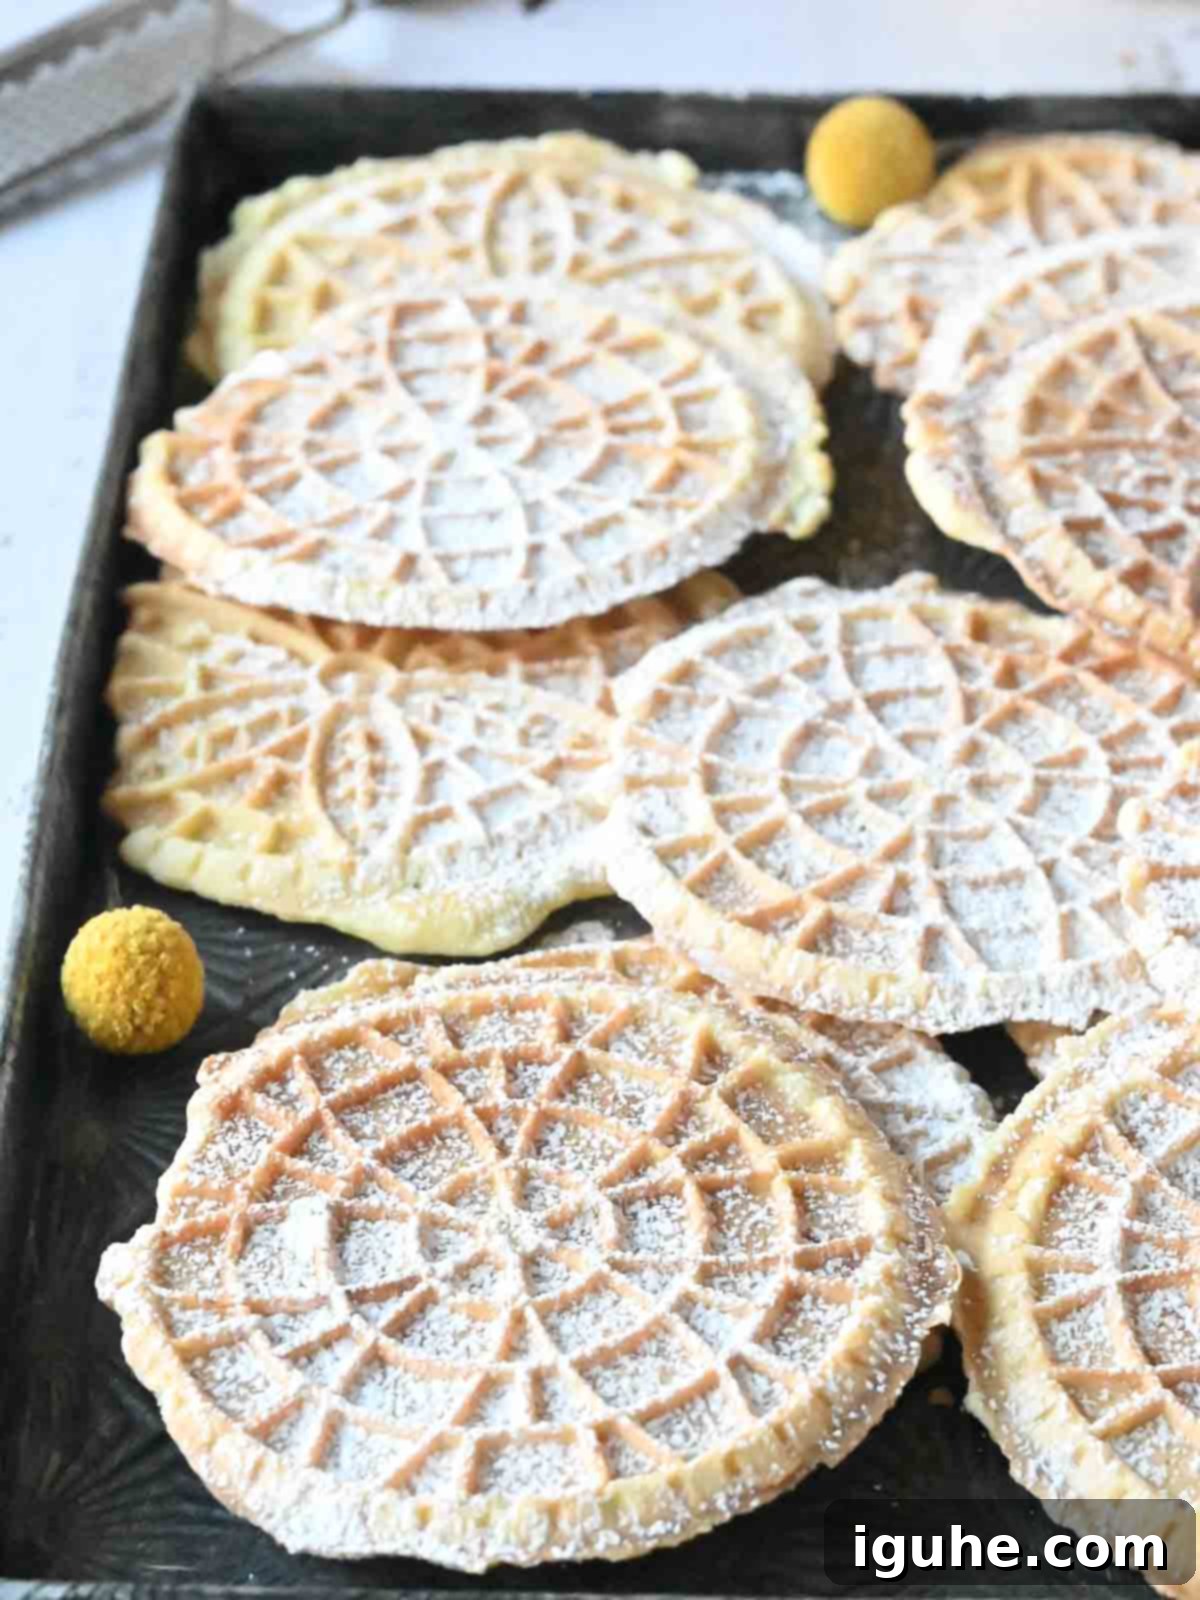
Storage and Make-Ahead Tips for Pizzelle
One of the many wonderful qualities of pizzelle is how well they store, making them an excellent make-ahead treat for parties, holidays, or just to have on hand for a sweet craving. To maintain their signature crispness and fresh flavor, proper storage is key:
- Airtight is Essential: Once completely cooled, store your pizzelle in an airtight container at room temperature. A good seal is crucial; any exposure to air will cause them to soften over time, losing their delicate crisp texture.
- Layer with Parchment: If stacking multiple pizzelle in a container, consider placing a sheet of parchment paper between layers to prevent them from sticking together and to offer a bit more protection.
- Longevity: When stored correctly, pizzelle can last for up to 2 weeks at room temperature, maintaining much of their crispness and flavor.
- Freezing (Cooked Pizzelle): For longer storage, you can freeze cooled pizzelle. Place them in a single layer on a baking sheet and freeze until solid, then transfer them to a freezer-safe airtight container or bag. They can be frozen for up to 2-3 months. Thaw at room temperature. They might lose a tiny bit of crispness but can often be refreshed in a warm pizzelle iron for a few seconds.
- Can You Make the Batter Ahead? While the batter comes together quickly, it’s generally best to cook pizzelle fresh. The texture can change if the batter sits for too long, potentially affecting the crispness of the final product. If you must prepare it ahead, keep it covered tightly in the refrigerator for no more than 1-2 hours, bringing it back to room temperature before cooking.
Frequently Asked Questions About Lemon Pizzelle
Always refer to the manufacturer’s directions for your specific pizzelle maker model. Most modern non-stick pizzelle irons require minimal, if any, oiling. I typically give mine a very quick, light coat with non-stick cooking spray only after it has fully pre-heated for the very first batch. After that, I find it’s usually not necessary to re-apply for subsequent batches, as the butter in the batter often provides enough lubrication. Excessive oil can lead to greasy pizzelle and sticky residue.
There are a few common reasons for soft pizzelle: 1) They weren’t cooked long enough. Ensure they reach a light golden-brown color. 2) The batter was too thick or too thin. Follow the ingredient ratios closely. 3) They were stacked while still warm. Always lay them flat on a cooling rack to allow air circulation and for them to crisp up as they cool. 4) Improper storage. Make sure they are in an airtight container once completely cool to prevent moisture from making them soft.
Unfortunately, a pizzelle iron is specifically designed to create the thin, crisp texture and intricate patterns characteristic of pizzelle. While a regular waffle iron could cook a similar batter, the result would be thicker, softer, and would lack the traditional delicate design, making it more akin to a thin waffle than a true pizzelle. There isn’t a direct substitute that yields the authentic pizzelle experience.
Always unplug your pizzelle maker and allow it to cool completely before cleaning. Never immerse it in water. Use a damp cloth to wipe down the non-stick plates. For stubborn bits of batter, a soft-bristled brush or a wooden skewer can gently dislodge them. Avoid abrasive cleaners or metal utensils that can damage the non-stick surface.
Looking for Other Delicious Italian Favorites?
If you’ve fallen in love with these lemon pizzelle, you’re sure to enjoy exploring more delightful Italian recipes. Here are some popular options that bring the taste of Italy right to your kitchen:
- Italian Lemon Drop Cookies
- Easy Italian Pignoli Cookies
- Italian Bread Pudding with Panettone
- Panettone French Toast
🍳Did you make this recipe? I would love to hear about it! Please leave a recipe rating with comment right below the recipe card. If you snapped a photo of your creation, don’t forget to tag me on Instagram @brunchandbatter.
📖Recipe
Easy Lemon Pizzelle
Equipment
- pizzelle iron/maker
- mixing bowls and measuring spoons
- sifter or fine mesh sieve
- whisk
- cookie scoop optional
Ingredients
- 2 cups all-purpose flour
- 1 teaspoon baking powder
- 4 large eggs, room temperature
- 1 cup white granulated sugar
- ½ teaspoon vanilla or lemon extract
- 10 tbsp (1 stick+2 tbsp) unsalted butter, melted and slightly cooled
- 2 lemons, zested
- powdered sugar for dusting
Instructions
- Preheat the pizzelle maker according to the manufacturer’s instructions.
- In a medium bowl, sift together the flour and the baking powder.2 cups all-purpose flour, 1 teaspoon baking powder
- In a separate bowl, whisk the eggs and sugar until the mixture is pale yellow (about 30 seconds). Add vanilla (or lemon) extract and whisk to combine.4 large eggs, room temperature, 1 cup white granulated sugar, ½ teaspoon vanilla or lemon extract
- Add the flour mix to the egg mixture, alternating with the melted butter until combined. Fold in the lemon zest and stir until just combined (batter will be thick). Do not overmix.10 tablespoon (1 stick+2 tbsp) unsalted butter, melted and slightly cooled, 2 lemons, zested
- Using a cookie scoop, drop the batter onto the hot pizzelle iron (place the batter right in the middle of the patterns). Cook per manufacturer’s directions until lightly golden brown. The cookies will be soft at first but will crisp up after removing them. Lay the cookies flat to cool. Repeat with the remaining batter. When the cookies are cool, dust them with powdered sugar.powdered sugar for dusting
Notes
-
- The batter will be thick and appear gummy. This is completely normal.
- Follow the manufacturer’s directions for heating your pizzelle maker. I cook mine between a 3 and 4 on my particular model.
- Don’t crowd the pizzelle maker. Use a cookie scoop to drop the batter right in the middle of each pattern. I use a #60 cookie scoop, which holds 1 tbsp+⅓ teaspoon of batter, or 0.54 ounces. If you don’t have a cookie scoop, drop a heaping tablespoon of batter instead.
- Your pizzelles are ready when they are lightly browned. They will still be soft when you remove them from the iron. They will harden after a few minutes.
- Make sure your pizzelles are completely cool before adding the powdered sugar or the sugar will melt.
Nutrition*
*Nutrition information is provided as a courtesy and is an estimate only. Nutrition information can vary depending on many factors, such as products used, measurements and substitutions, therefore it is recommended that you obtain nutritional calculations based on your own finished recipe.
